Call Of Duty Modern Warfare 2: The Ultimate Guide To Vondel Waterfront Map

The mid-season update brought a lot of new and exciting changes and additions to the game, one of which is the Vondel Waterfront map. In this guide, we take a closer look at the new area as well as share some tactics that will help you not just survive but win matches. So, let’s get started, Operator!

TABLE OF CONTENTS

Vondel Waterfront Map: An Overview


Vondel Waterfront is the new core 6v6 map that is based on Floating District, the POI from Warzone 2 Vondel map. There you’ll find floating homes and waterways presenting flanking paths with two main power positions located near the center. 

One of the main differences between the new map and the POI it’s based on is that it has four traversable buildings instead of ten. Two of those buildings – Blue and Red houses – are the map’s two most important positions you need to control. Another difference is the streamlined waterways throughout the Multiplayer map that ensure a more steady flow. In addition, the most observant players will notice some architectural changes, like extra borders around the map.

And now that you know what the map has to offer, let’s talk about its zones in more detail, starting with the spawning points.

Spawn Zones

KorTac Spawn Zone (East): Upper Deck


Advancing from the east, forces of KorTac have a direct pathway to the Blue House. Leap over the short iron barrier and navigate across the planter boxes for quick access via the rear window. Alternatively, progressing toward the grand Mural fronting the Blue House while following the central route can obstruct enemy vision streaming into the opposite Red House.

If you prefer to avoid the center, flank right through the Park up to the Food Trucks. The vehicular cover in this area is more robust compared to the opposite side, providing a distinct defensive edge. Players equipped with short-range loadouts may favor taking the southern Lower Deck toward the Boathouse, a compact indoor area that favors Shotguns and Submachine Guns.

SpecGru Spawn Zone (West): Back Deck


Though the Red House lacks a rear entry, SpecGru forces can effortlessly infiltrate from both sides, with the northern entrance via the window providing immediate access to the upper floor. If bypassing the house is more appealing, you might want to head towards the central Pub, which offers lesser exposure to the upper Blue House window.

Go to the left to approach the North Path by the piled Boxes; this region is well-suited to long-range loadouts as there’s little substantial cover here. With a bit of platforming, the southern route through the Kitchen leading to the Boathouse can also be a viable option.

Planning Routes


One can divide the map into six sections, and these are:

  • North Path
  • Yellow House
  • Red House
  • Center Deck
  • Blue House
  • Upper Deck

Each has a lot to offer route-wise, but still, some are better than others, and we’ll share the ones that can give you an edge. 

North Path

Offering a straight route across the map, North Path has Boxes, Park, and Food Truck areas. The western Boxes are mostly suited for long-ranged loadouts, especially when you’re facing off against enemies heading in the same direction. And when you fight enemies in the middle, consider equipping mid-ranged loadouts.

The eastern part of the section is filled with large vehicles that are great for defense. They are indestructible, so you don’t need to worry about being affected by explosives. You can climb them, and food stands to get a better view of the southern part of the section. However, be careful as this position is quite exposed.

Yellow House

This area consists of both the Yellow House and the Back Deck and is suitable for exterior combat as both buildings cannot be entered. The fight will take place on the level ground along the Back Deck, where only stacked canoes serve as cover. Also, be careful with waterways as the danger might await you there. But, on the other hand, it can also be a great way to escape. 

When getting closer to the Red House, be aware of foes who move up from the middle and through the North Path and Kitchen. Standing near the north-south path here exposes you to movement coming from all directions, so try to avoid it.

Red House

Red House and the Kitchen can serve as the place where you can take a break from combat, with Red House also being one of the main power positions. Move back on the upper floor to not be noticed through the north window, and be aware of your exposure as you make your way out to the deck. Also, make sure to defend the lower floor, as two east-facing windows draw less attention than the upper level.

In addition to having direct access to the Boathouse, the nearby Kitchen also has its own lines of attack against the upper Blue House window, as well as the Back and Center Decks. Use short-range weapons to keep intruders out of the building when the fight gets heated.

Center Deck

By seizing dominance over the Center Deck, players can impose a restrictive grip on adversary movement. The Pub and the adjacent white house serve as an excellent defensive stronghold, particularly when your squad holds control over either the Blue or Red House, enabling you to focus your attacks more effectively. Get out of sight from the Deck in the Boathouse – be mindful of closing the doors post-entry. Utilize the window to gain a better vantage point on foes in the upper Blue House.

The water around the Center Deck provides a convenient pathway to submerge and traverse to the map’s opposite end. Be prepared to wield your Sidearm if you possess one.

Blue House

Blue House has two floors with front-facing windows on both levels, a deck, and a side window. 

Mount your weapon on the wooden fence in front of the house for a better vantage point against foes on the Center Deck, and hide behind the trellis to avoid being seen via the upper Red House window. The Mural on the other side provides cover from exposure to the Red House, allowing you to focus on the lanes around it.

Upper Deck

While being a mostly open area, the section has two buildings that can protect you when you’re moving between lanes. For the back, consider equipping the long-ranged weapons. Also, to protect yourself when engaging the opponent, crouch behind the raised platform.

Moreover, the Lower Deck is also worth exploring as there you can see the Center Deck and easily get to the Boathouse.

Modes Intel

Domination

The Red and Blue Houses always pose a risk of crossfire, especially in Domination matches where the B flag near the Bar is a constant target. Even though these are important spots, they’re not the only strategy. The North Path lets you attack from the map’s top, and the waterways let you sneak up on your enemies.

If the B flag is under heavy attack, you can swim to capture A or C, which helps take pressure off the Center Deck. After securing the middle flag, move to areas like the Boathouse, the Mural, and the Bar to see more of the map and spot enemies. 

Search & Destroy 

Beginning on the western Back Deck, the attacking team has several directions to head toward. One is going to the A flag bomb site located south of the Bar, and the second is using the North Path toward the B flag bomb positioned between the two Food Trucks. The first option means a more aggressive approach, as you’ll have to take control of the area to ensure safe planting.

The defending team can use the North Path to have more cover, therefore allowing for one or two players to spot the incoming enemies on that route so that you can send another part of the squad to protect A.

On either side, sending a sniper up to the North Path can lead to getting an early kill. For close to mid-range Operators, heading south toward the Boathouse can also be profitable. Use a mix of both strategies to squeeze enemies stuck in the middle.

Hardpoint

The mode sends teams all over the map, lessening the importance of Red and Blue Houses compared to other modes. However, they are still prominent at the start of the match as the first Hardpoint activates in and around the central Bar. Next, go to the southeast part of the Upper Deck near the traversable docked boats; then go north of the Red House, inside the whole Boathouse, and lastly to the northeast Park over the grass.

Change your equipment as needed for each Hardpoint. 

Keep your Handgun ready when swimming in case you have to fight enemies. Since all spots except the Boathouse are open to the sky, you can also use air-to-ground streaks to remove opponents from the objective.

Top 10 Tips for Vondel Waterfront

Be Ready for Underwater Combat

There’s not much you can use underwater: Handguns, melee weapons, certain Equipment, and the Field Upgrade. Thus, combining the Throwing Knives and Shock Stick with the Resupply Bonus Perk for refilling Equipment paired with Inflatable Decoy Field Upgrade can increase your chance of defeating your opponent.

Pay Attention to the Buoys

The minimap’s red borders show the edges of the water you can use, but this can be hard to remember during fights. If you need to focus on what’s ahead, just stay within the floating red buoys. 

Don’t Use the Front Doors

You can get to the upper levels of both Red and Blue House directly through entry points on their south-facing walls. For the Red House, climb the white container and then the deck; for the Blue House, ascend the blue storage unit and then climb through the kitchen window.

Get Out of the Kitchen

If you’re in the Red House and stuck in a standoff with an enemy in the Blue House, consider jumping out the kitchen window and into the water. If you’re quick, you can swim behind the Blue House and enter through the back bedroom.

Start a Food Fight

The North Path is a good way to attack enemies in the upper Blue and Red House. For the Blue House, jump onto the big Zatrif Food Truck or the orange stand next to it. For the Red House, get onto Gerrie’s Food Truck if you have a long-range weapon, or climb one of the white umbrellas for a closer view and shoot through the side window.

tipsandtricksmw2

Give Yourself a Small Break

Although getting out of the water on the land is a fast process, it still takes time to be back on the deck. So, when you do that, try to avoid being exposed to the enemies and stay in a concealed position for a flank attack.

Get in the Boathouse from Behind

To avoid getting blasted the moment you open the door, try to use water and come up from behind. This tactic is especially effective when the enemy is busy with the north-facing window.

Don’t Forget to Use Launcher

A Handgun as your secondary is a great help when it comes to underwater combat; you can also switch to Launcher loadout when you need to deal with enemy aerial streaks. 

Defend the Building

Though blocky buildings are rather small, you can still use them for coverage when you move between different lines. Pick a house in a busy location and defend it.

Home Safety

Think about using the Portable Radar or Tactical Camera Field Upgrade when you’re in the Red or Blue Houses, the Kitchen, or the Boathouse. These places have many entrances, so the extra information is really important.

Dominate the New Map!


This is everything you need to know about the map and how to navigate it to have a successful game, though sometimes this knowledge isn’t enough. It takes a lot to win matches in Modern Warfare 2, but you can increase your chances with the right weapons, which, however, might be difficult to unlock and level up. But it doesn’t have to be for you because you have LFCarry.

Our experts – the true veterans of the game – can deal with the grind and deliver you any weapon unlocked and ready so that you can take down enemies on Vondel Waterfront as soon as possible. All you need is to go to LFCarry.com, pick the right offer, and let us do all the hard work for you. Don’t let any inconveniences and difficulties ruin the game for you; choose LFCarry and secure victories like no one’s business!

Twitter
LinkedIn
Facebook

Read also:

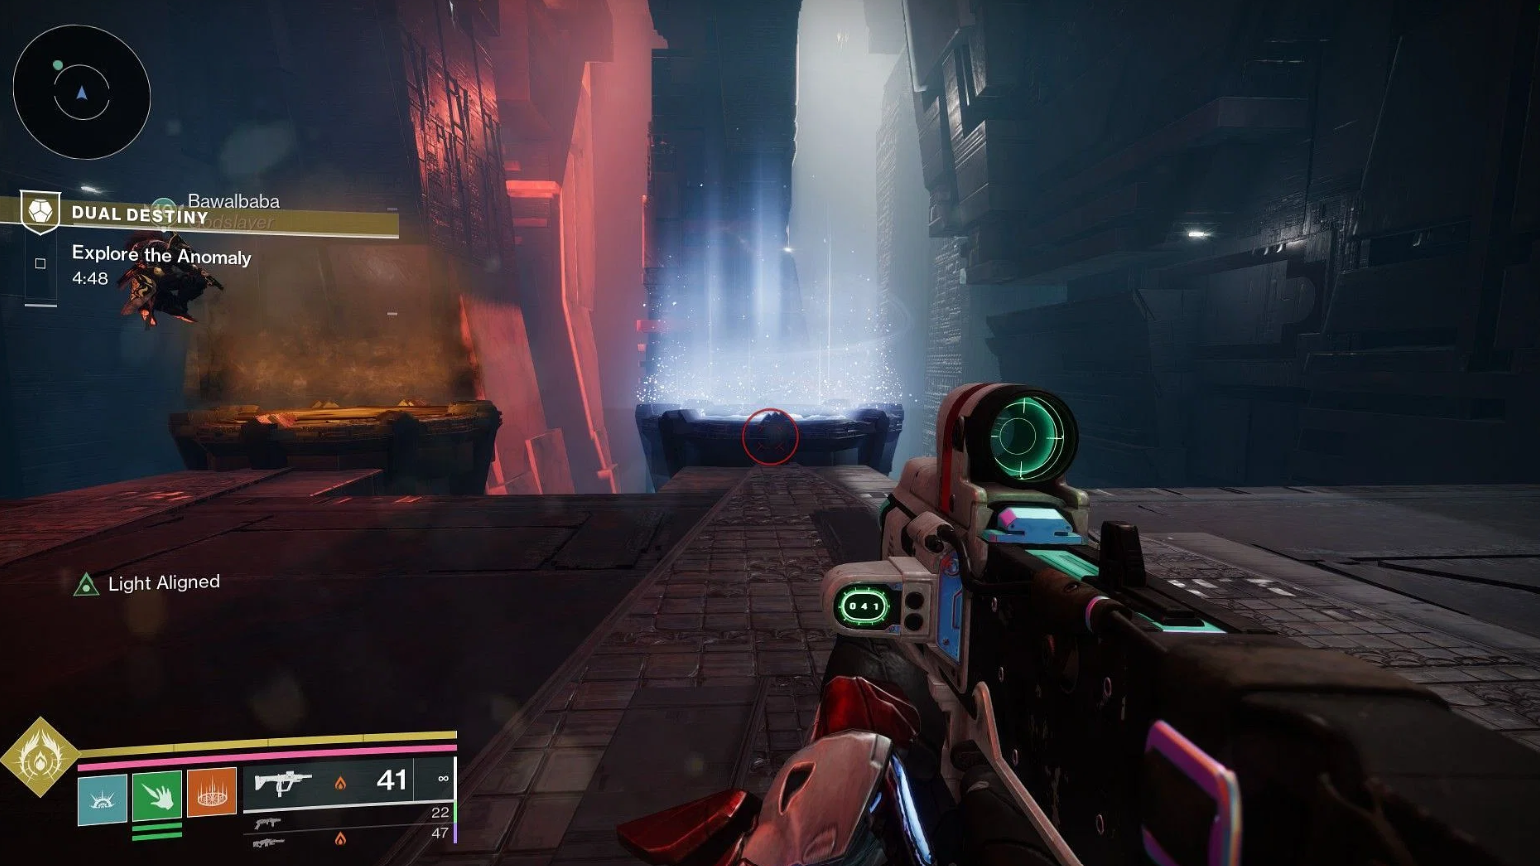
Maximize Your Loot: Exploit the Double Class Loot Glitch in Destiny 2

Hey Guardians! Exciting news for those looking to maximize their loot in Destiny 2. A new glitch in the Dual Destiny Mission lets you snag two exotic class items in a single run.

Read More

WoW: The War Within – Everything You Need to Know!

Prepare yourselves, adventurers! The world of Azeroth is about to be shaken to its core with the release of World of Warcraft: The War Within. Scheduled to launch on December 12, 2024, this expansion promises to bring a wealth of new content, including powerful gear, challenging raids, and immersive storylines to keep players engaged for months. Get ready to embark on your most incredible adventure yet!

Read More

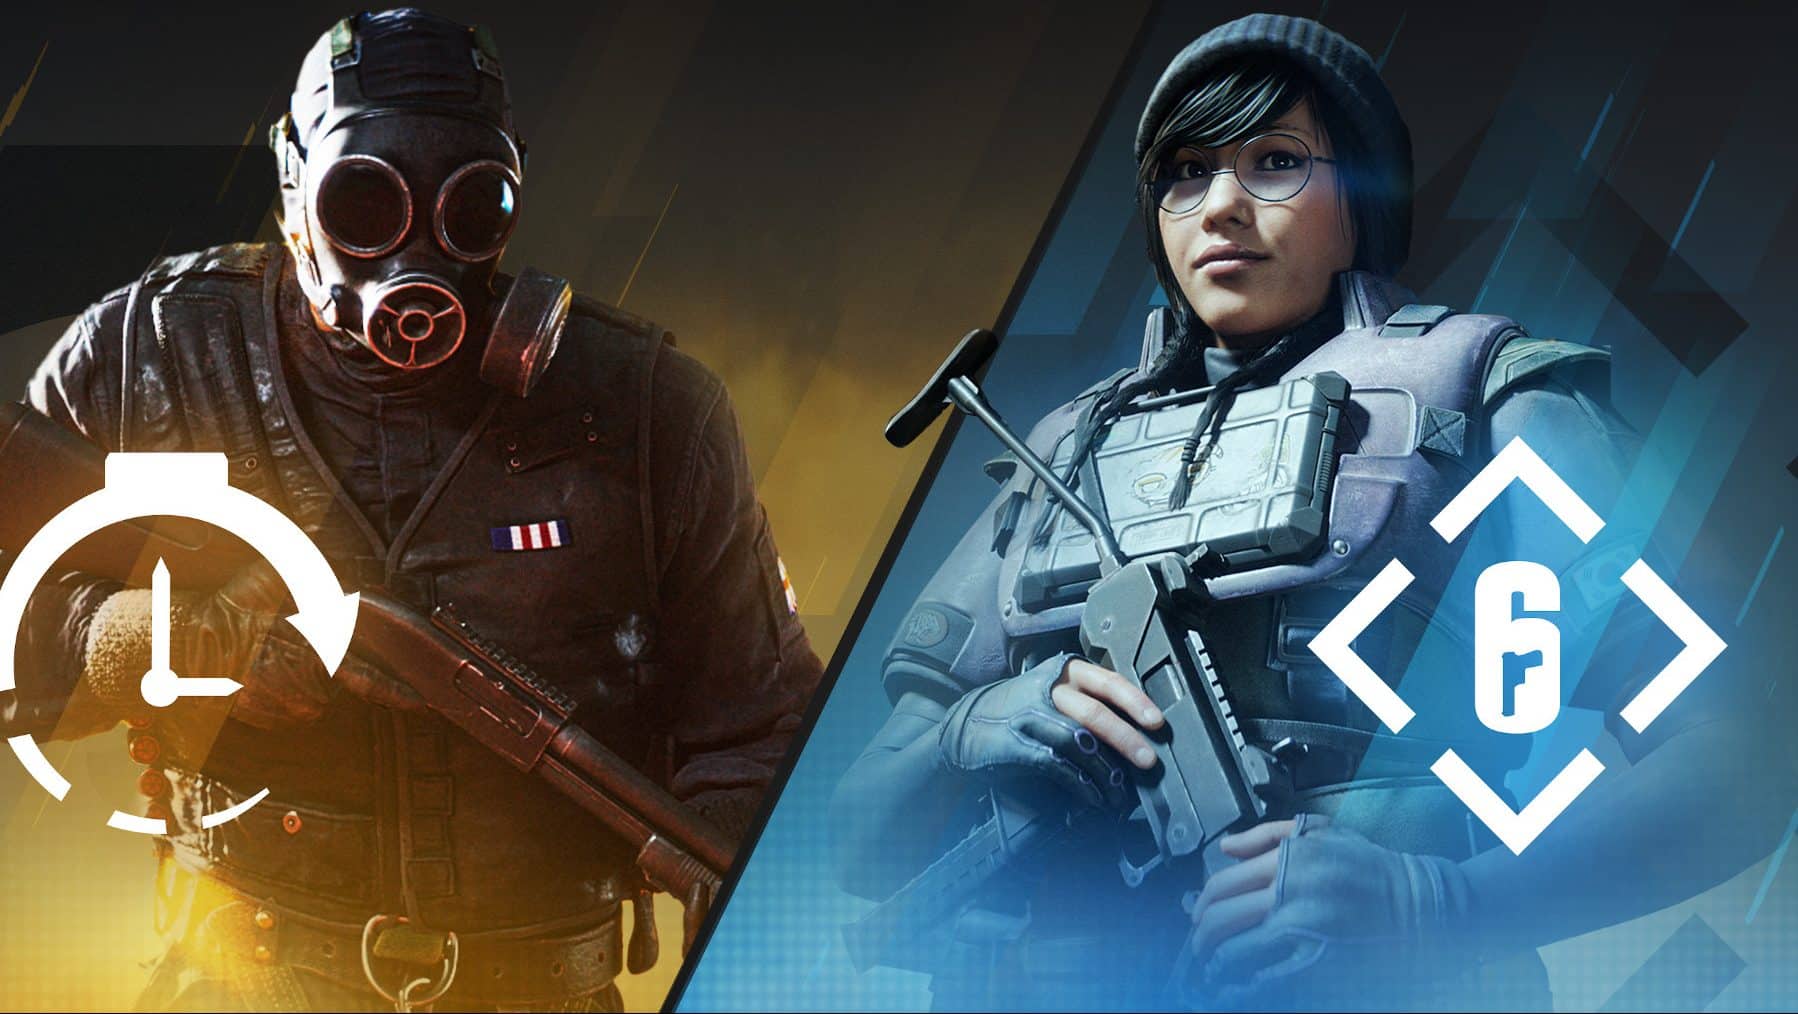
Rainbow Six Siege Season 2 (Year 9) Overview

The new season of Rainbow Six Siege is here, bringing many exciting updates and changes to the game. Whether you’re a seasoned player or just starting, here’s everything you need to know about the updates in Season 2 of Year 9.

Read More

Leave a Reply