
Thanks to Dragonflight Patch 10.1 PTR, the players got an opportunity to test several boss fights we’ll be facing in the upcoming raid. We gathered everything we know about each encounter as well as the best tactics you should use to win. Our Dragonflight raid guide will be divided into three parts, and in this one, we’ll have a look at Kazzara, The Amalgamation Chamber, and The Forgotten Experiments encounters.
TABLE OF CONTENTS
Let's Explore Aberrus, the Shadowed Crucible Raid!
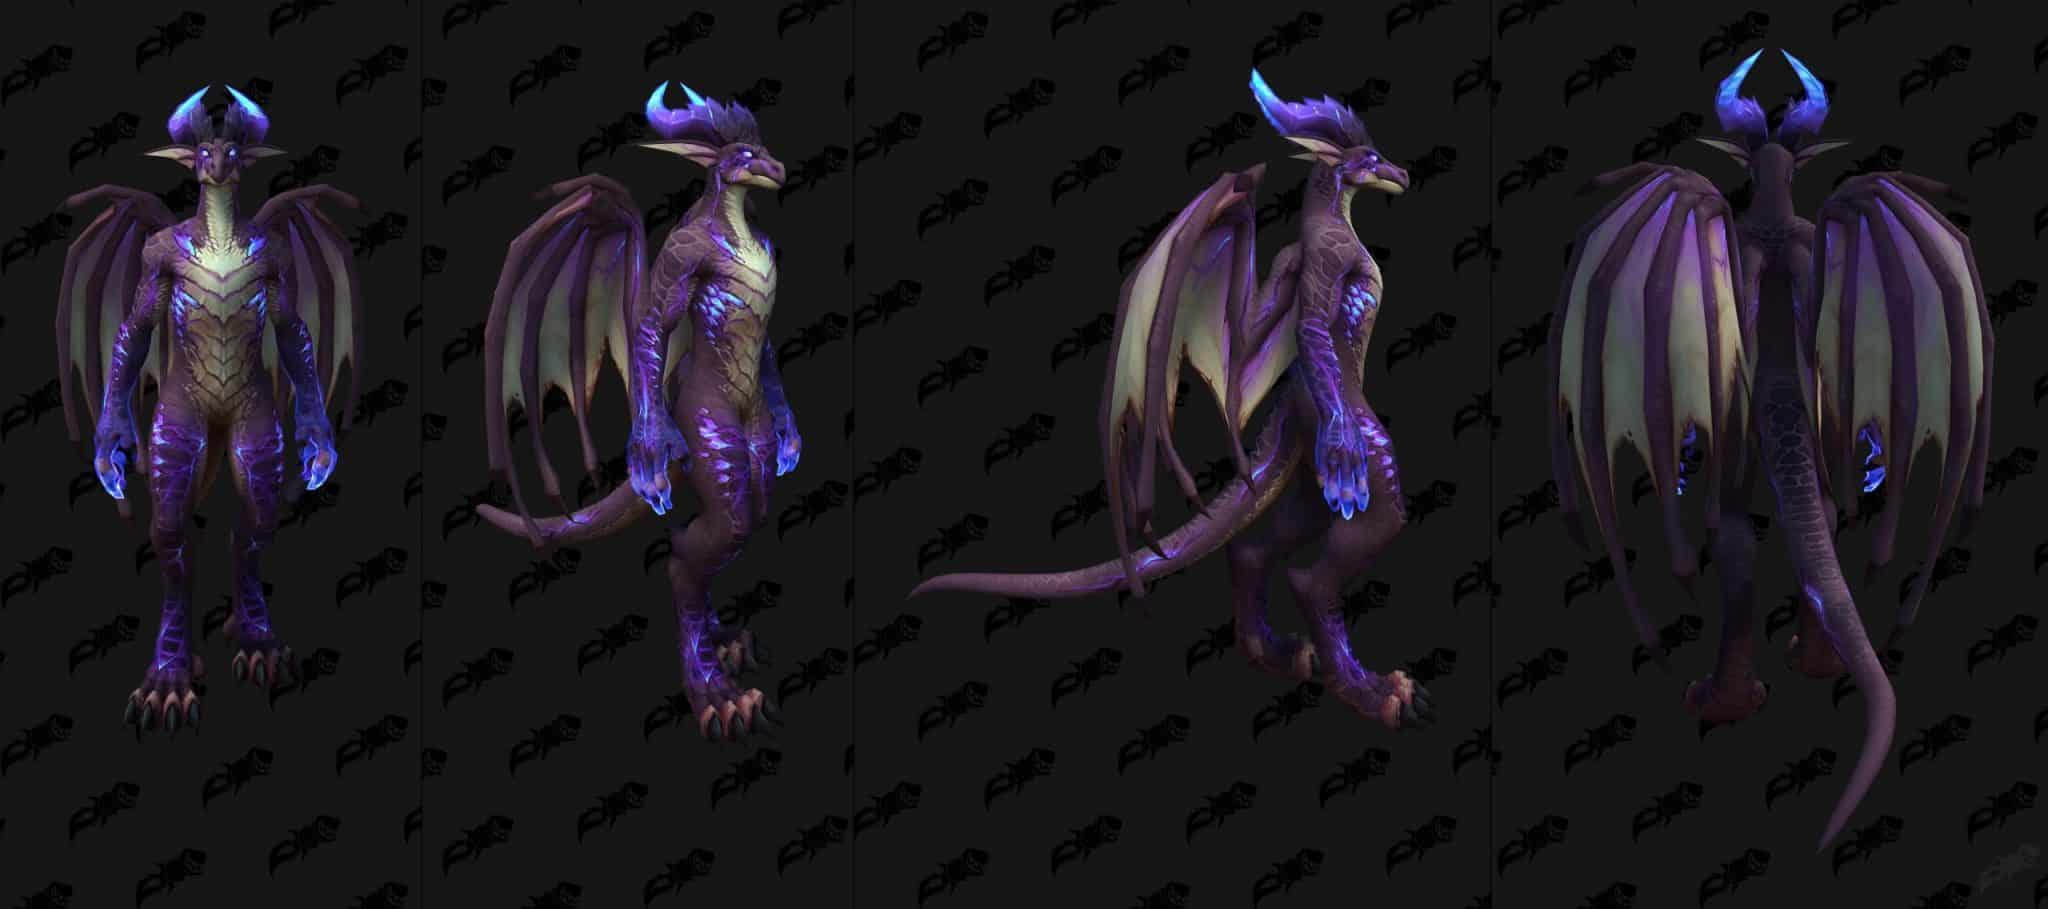
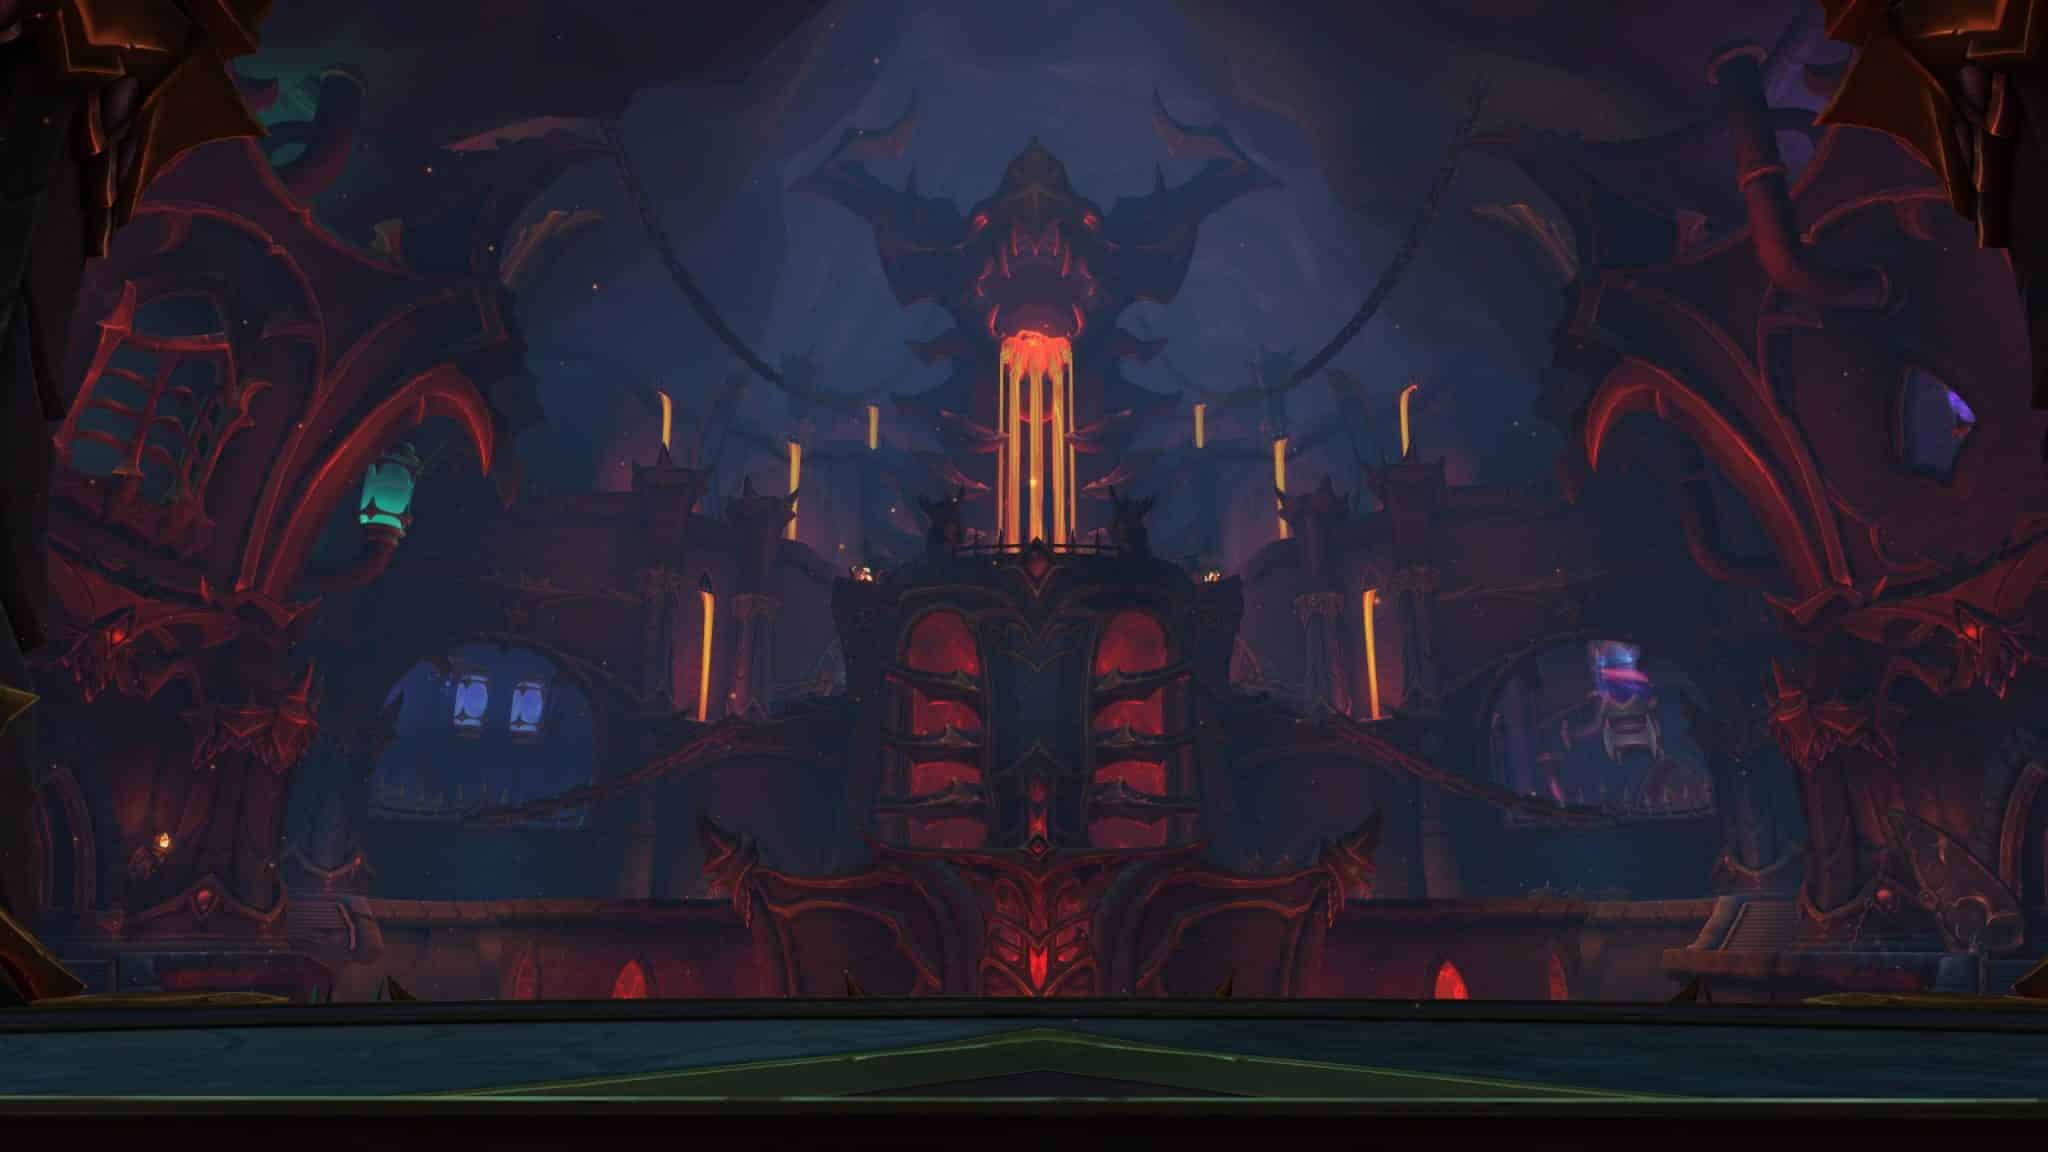
The raid is set in the underground laboratory, a place Neltharion used for his secret experiments. Your primary goal is to stop the forces of the Incarnates that are now trying to claim the Deathwing legacy and face nine bosses on your way.
Though we don’t have detailed images of every area where your future battles will take place, the content creator MrGM managed to take a walk there and shared what they’ve found in the video below. Please note that the final image of objects and surroundingы might differ from what is shown in this video. With that being said, let’s see what the mysterious laboratory looks like!
And if you’d like to have a quick look at every boss you’ll meet there and the loot they drop, feel free to check our overview of raid encounters.
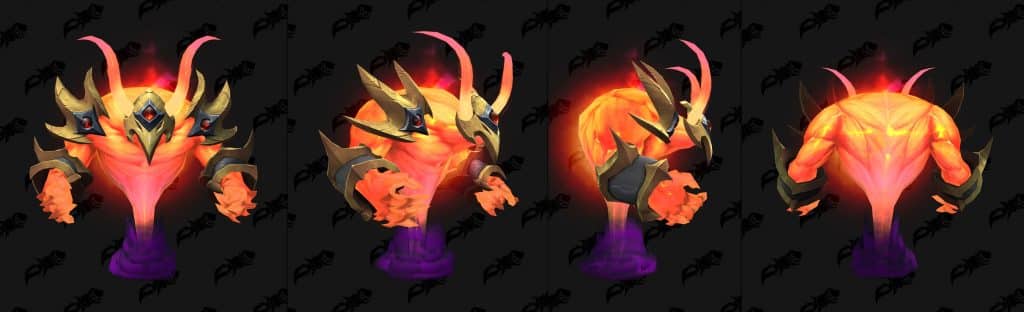
Kazzara, The Hellforged: Heroic Boss Guide
On March 16, players went to PTR to test the first encounter with the raid guardian – Kazaara, The Hellforged – at Heroic difficulty. Some of them even recorded their testing and shared it with us. You can check one from the WoW content creator Kalamazi below:
Kazzara Abilities
Hellsteel Carnage: Kazzara’s volatile center is kept safe by powerful elementium plates. When she reaches 70%, 50%, and 30% HP, the plates of armor break into Hellsteel Fragments, each dealing 166,519 Shadowflame damage within 4 yards of impact to all players.
- Infernal Heart: Kazzara’s exposed core pulses applying DoT that deals 41,630 Shadowflame damage to everyone in the raid every 4 seconds. As the boss’s HP gets lower, the speed increases.
- Revenant’s Blood: The lifeblood from Kazzara’s wounds spawns on the ground, inflicting 124889 Shadowflame damage within 3 yards of the impact.
Dread Rifts: The boss releases a roar, marking several players in the raid. After 5 seconds, the rifts tear open beneath them and deal 145,704 Shadowflame damage to those who stand within 5 yards. When another piece of Kazzar’s armor is shattered, her exposed core makes Dread Rifts target an additional player.
- Riftburn: The Dread Rifts’ scorching heat deals 83,259 Shadowflame damage every 1 second to everyone who stands in them.
Rays of Anguish (Normal Raid Finder): Kazzara summons fragments of blazing energy to blast out from Dread Rifts. Each fragment ignites a blistering beam and hunts a nearby player, leaving a Molten Scar in its wake. The beam inflicts 83,259 Shadowflame damage every 0.3 sec to players caught within.
- Molten Scar: Scorched ground that inflicts 74,933 Shadowflame damage every 1 second to players standing within.
Rays of Anguish (Heroic and Mythic): Works the same but continues haunting players until they are consumed by Dread Rifts.
- Molten Scar: Works the same
- Infernal Fusion (Mythic): If a Rays of Anguish crosses onto an existing Molten Scar, the amalgamation of energy erupts in a hellish combustion inflicting 83,259 Shadowflame damage and an additional 45793 Shadowflame damage to all players.
Hellbeam: Upon reaching 100 energy, Kazzara unleashes an annihilating beam of horrific power from her jaws, inflicting 187334 Shadowflame damage every 0.3 sec for 3 seconds to any players caught inside. Kazzara additionally disgorges increasing amounts of Revenant’s Blood as her armor is shattered off.
Wings of Extinction: Kazzara thrashes her titanic wings, inflicting 104074 Shadowflame damage to all players and pushing them back. The wave of forbidding flames inflicts an additional 24,978 Shadowflame damage to all players every 2 seconds for 20 seconds.
Terror Claws: Kazzara descends her incinerating claws upon the target, inflicting 624,445 Physical damage and 208,148 Shadowflame damage. The charred gashes inflict 49,956 Shadowflame damage every 1 sec and increase damage taken from further Terror Claws by 200% for 25 seconds.
The Best Strategy for Kazzara, The Hellforged
Setup: 2 Tanks, 4 Healers, 14+ DPS
Now let’s see how you can defeat the first boss as efficiently as possible. First of all, the tanks need to focus the enemy’s attention away from the group and keep her in one place. It will help to be aware of her Hellbeam attacks, for which she does a 180-degree turn. Moreover, the tanks should also switch roles after every Terror Claws.
Begin by using Hero/Lust and make sure to spread behind Kazzara to avoid lasers spawning on nearby players and bait other abilities. Also, the boss will hit 70% HP pretty quickly, meaning that you should always keep a close eye on spawning puddles to not get caught in them.
While Hellsteel Fragment is only applied when Kazzara’s health is at 70%, 50%, and 30%, the Revenant’s Blood puddles are created throughout the encounter and increase every time the boss’s health is reduced. So avoid every one of them at all costs.
As for the lasers, the best tactic would be drawing them into Dread Rifts. Just try not to place those puddles too far from each other to avoid longer kites.
When Kazzar reaches 100 energy, she casts Hellbeam that you need to dodge. Since she will be locked in one position when making an attack, you only need to dodge once.
Moreover, the boss will cast Wings of Extinction that pushes you back. When this happens, try to avoid getting knocked into a laser and puddle, as that way, you’ll take extra damage.
Once Kazzar’s health is 30%, the real challenge is starting because now damage to all players is drastically increased. So, avoid taking any additional damage as it can lead to death.
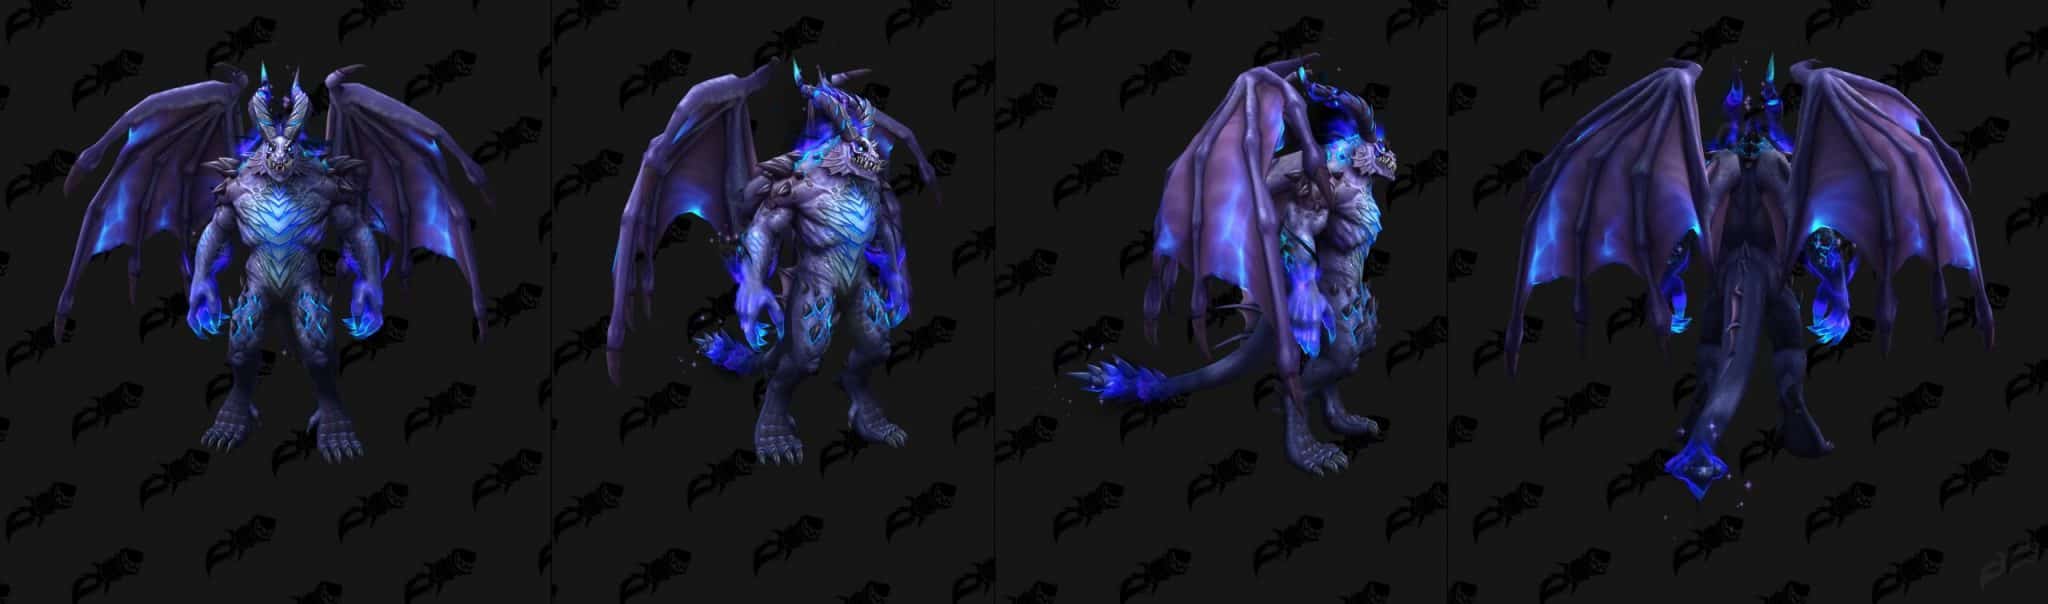
The Amalgamation Chamber: Heroic Boss Guide
The second boss in the raid is Molgoth, the joined force of two elementals: Krozgoth (Shadow) and Moltannia (Fire). The players got a chance to test them too on March 16 at Heroic difficulty, and you can check how it went.
Since this enemy isn’t quite an ordinary one, therefore, there are three sets of abilities.
Krozgoth
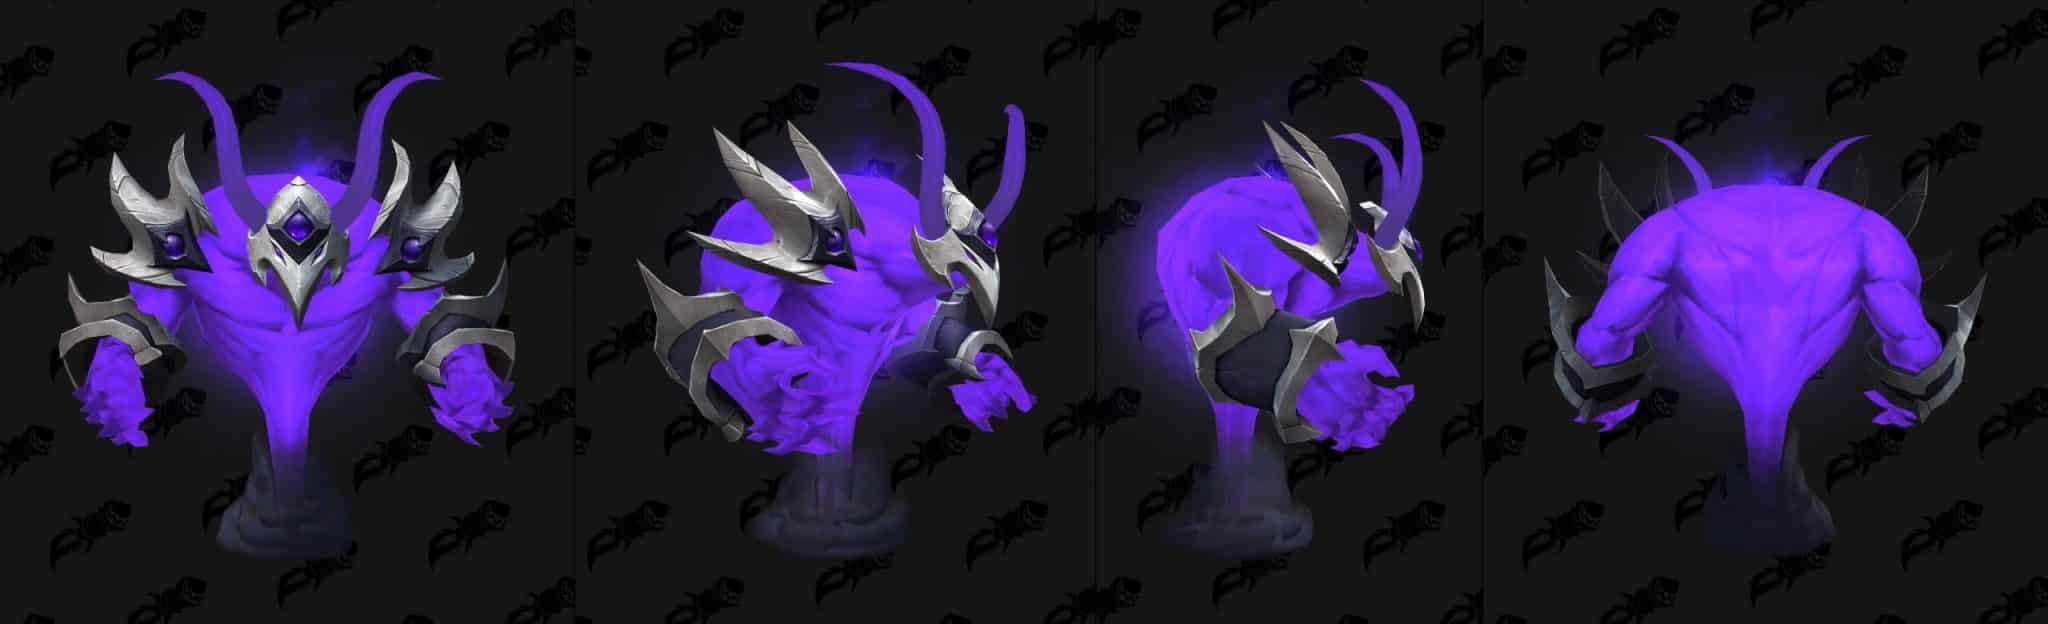
Coalescing Void: Krozgoth condenses a point around them with intense void energy, this inflicts 249,630 Shadow damage to all players within 50 yards and applies Corrupting Shadow. Players farther from the center take less damage.
Corrupting Shadow: Krozgoth pulses with intense shadow energy that applies Corrupting Shadow to all enemies within 50 yards every 5 seconds. Inflicting 6,241 shadow damage every 5 seconds and reducing health by 1% every application.
Umbral Detonation: Krozgoth forms shadow into multiple players that detonates after 6 seconds, inflicting 62,408 Shadow damage to players within 8 yards and applying Corrupting Shadow. This leaves Lingering Umbra at the location.
- Lingering Umbra: Shadow swirls around the ground for 2 minutes, inflicting 34,324 Shadow damage every 1 second and applying Corrupting Shadow.
Shadow Spike: Krozgix pierces their enemy with concentrated shadow for 109,213 Shadow Damage and applies Corrupting Shadow to their current target.
Shadows Convergence: Shadow appears in the mortal plane and converges on Krozgoth, inflicting 156,019 Shadow damage to players in their path. This applies Corrupting Shadow.
Moltannia
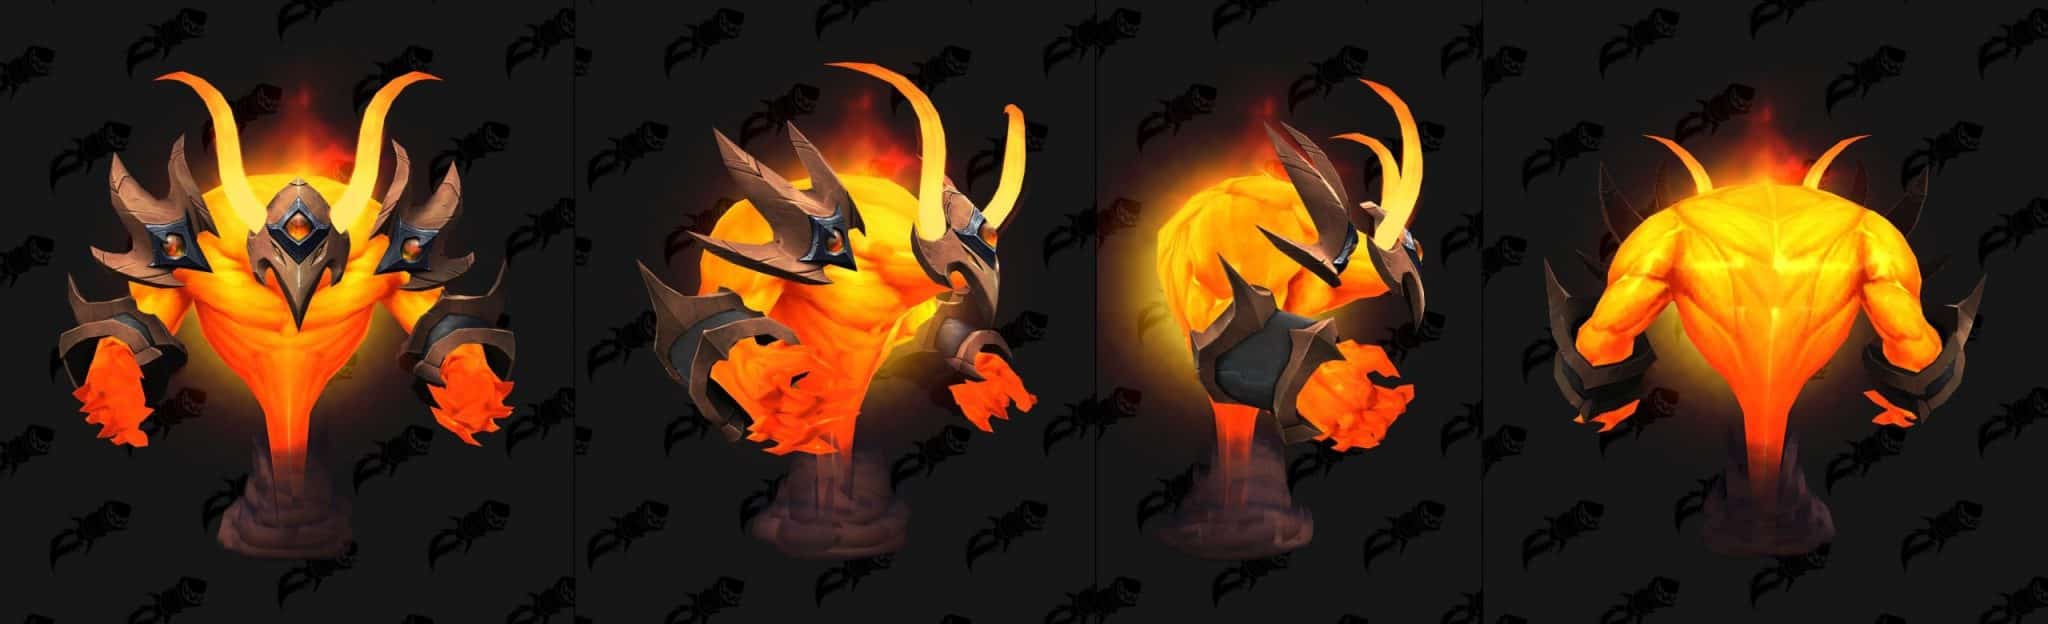
Fiery Meteor: Moltannia calls for a large meteor in front of her inflicting 624,076 Fire damage split between all targets within 8 yards, applying Blazing Heat to all enemies. If no players are struck all players are inflicted with 312,038 Fire damage.
Molten Eruption: Moltannia erupts with fiery strength and launches several missiles into the air. After 5.2 seconds, players can intercept the missiles inflicting 62,408 Fire damage. If no players are struck, for each location, she instead inflicts 124,815 Fire damage to all players.
Swirling Flame: Moltannia swipes at a player, causing swirling fire to move in their direction, inflicting 124,815 Fire damage to all players caught in its path.
Flame Slash: Moltannia focuses fire magic into their hand, slashing for 109,213 Fire Damage.
Blazing Heat: Eternal Blaze pulses with intense fire energy that applies Blazing Heat to all enemies within 50 yards every 5 seconds. Inflicts 1,560 Fire damage every 1 second for every application.
Molgoth
Shadowflame Burst: Molgoth releases a burst of flames at their current target, inflicting 249,630 Shadowflame damage to all players in front of the caster.
Gloom Conflagration: Living Shadowflame creates a large meteor in front of them, inflicting 936,114 Shadowflame damage, split between all targets within 8 yards. If less than 5 players are struck this deals 374,445 to all players.
The impact creates a ball of energy that inflicts 312,038 Shadowflame damage to all players. Players farther from the center take less damage.
Shadowflame: The Shadowflame Amalgamation’s powerful magic burns players from the inside, applying Shadowflame to all enemies every 10 seconds. Inflicting 3,900 Shadowflame damage every 2 seconds and reducing health by 1% every application.
Blistering Twilight: Living Shadowflame imbeds Shadowflame into 4 players that explode after 6 seconds inflicting 93,611 Shadowflame damage. The explosions create Swirling Shadowflame at the location.
- Swirling Shadowflame: Concentrated flames burst from the target creating swirls of Shadowflame, inflicting 156,019 Shadowflame Damage and knocking back the target.
- Engulfing Heat: Shadowflame melts the ground for 5 minutes, inflicting 34,324 Shadowflame damage every 2 seconds.
Convergent Eruption: Molgoth spews out several missiles of destruction into the air. After 5 seconds, players can intercept the missiles inflicting 68,648 Shadowflame damage. Orbs of Shadowflame converge on the spot of detonation inflicting 249,630 to any players struck. If no players intercept each location, they instead inflicts 156,019 Fire damage to all players.
Crushing Vulnerability: Living Shadowflame crushes their current target inflicting 312,038 Physical damage and causing them to take 200% increased damage from Shadowflame.
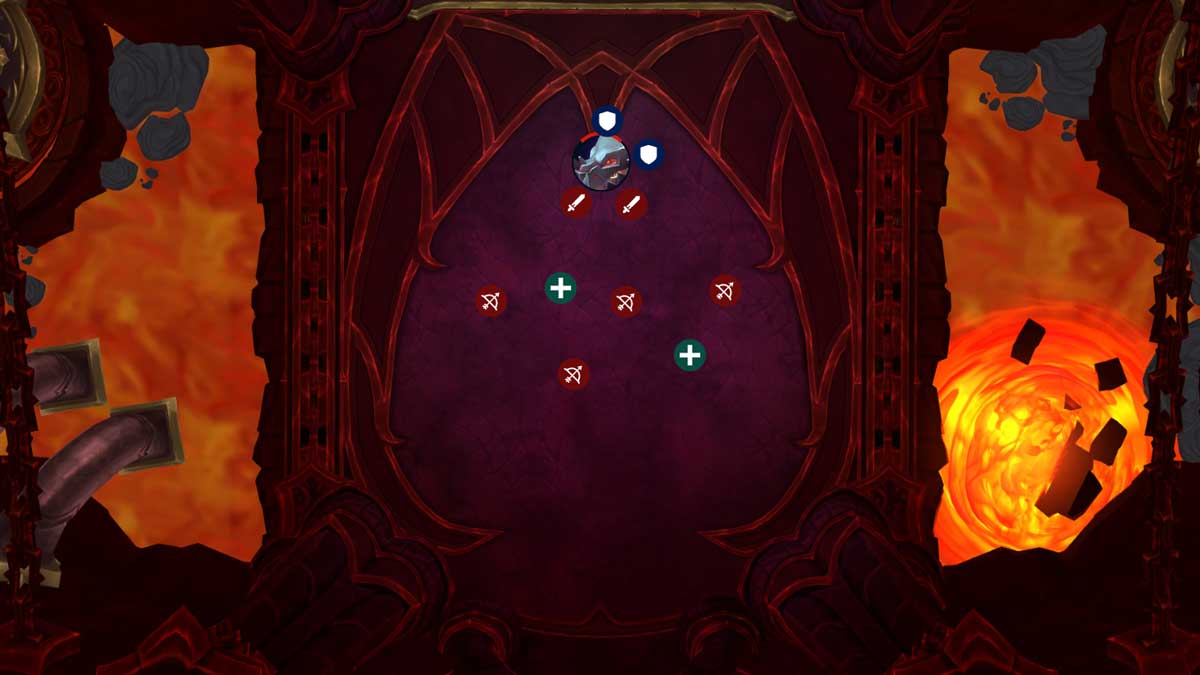
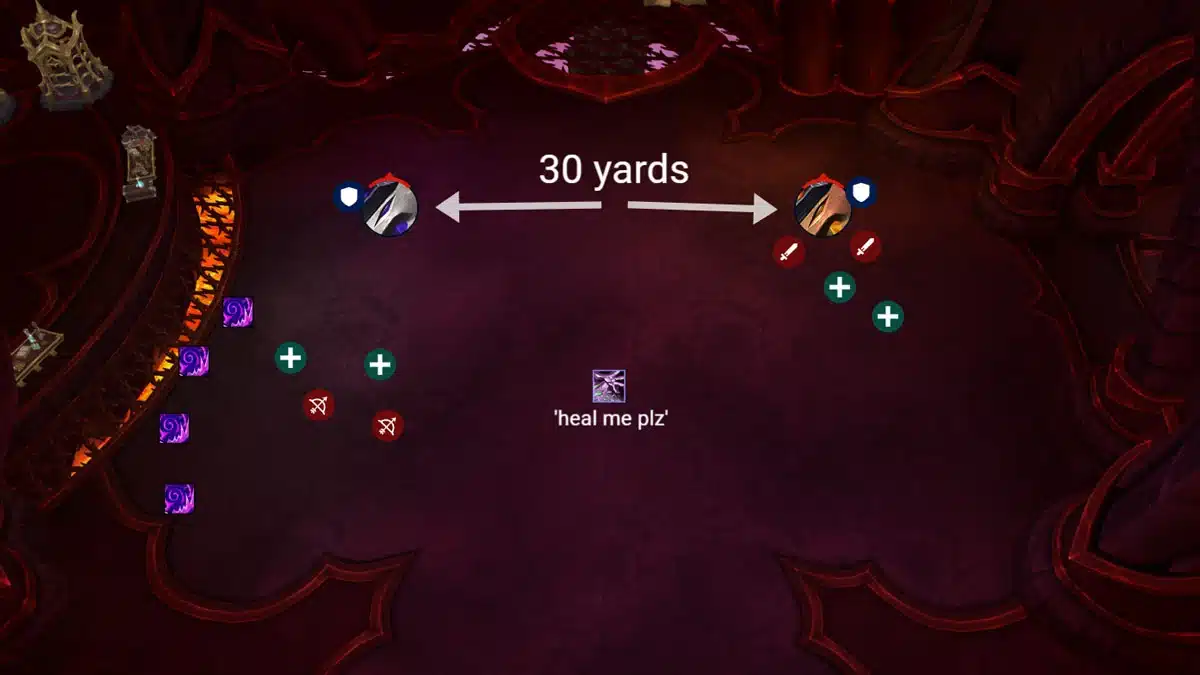
The Best Strategy for The Amalgamation Chamber
Setup: 2 Tanks, 4-5 Healers, 13+ DPS
The players may choose between two strategies that are used for Phase 1, when there are two bosses who aren’t merged into one yet. You can balance your group however you want, but it’s better to focus melee players on Moltannia and ranged ones on Krozgoth at the beginning.
Regardless of strategy, your primary objective is to get two bosses to 50% HP at the same time (preferably) to reduce Molgoth’s health at the end. And now to the strategies.
The first one is called No Boss Swap and suggests that both enemies will not switch sides and that each team is solely focused on their boss. The only thing that might not be as appealing is that the damage you’ll be taking increases pretty drastically toward the end of the phase. Better your healers ready for that moment. Once the Molgoth presents itself, the stacks will reset.
The second strategy is Boss Swap, meaning that tanks will switch bosses in the middle of Phase 1. This will prevent Shadow/Fire stacks from getting significantly high but make you deal with different abilities at a certain point of the fight.
Phase 1
Krozgoth Side
First things first, make sure to create a free space for your group by positioning Umbral Detonation to the side or the back of an area. The ranged players should stack up to bait Coalescing Void to themselves and use Warlock getaway to move away fast and avoid any additional damage.
Don’t forget to pay attention to the other side of the room, too, as someone might bait fire tornadoes in your direction. Furthermore, use personals/externals for Umbral Detonation and potent raid cooldowns for Coalescing Void when stacks get too high.
Moltannia Side
The players with immunities should focus on soaking rotation for the Fiery Meteor. If there’s no one left with immunity, then all players must soak each meteor to take as little damage as possible. Moreover, it’s important to soak Molten Eruption because if you don’t, your allies on the other side might get killed due to reduced HP caused by Corrupting Shadow stacks. As for Swirling Flame, you should bait and dodge it to a safe spot to stop it from hitting players on the opposite side.
Phase 2

In case you used the No Boss Swap strategy in Phase 1, when the bosses start transforming, you need to group up in the center of the room so that you can heal together until the stacks reset.
For the opening position, use Hero/Lust to defeat Molgoth before the stacks get too high. Also, depending on the timing of the push, Hero/Lust should be held until primary DPS cooldowns become available or when execute kicks in.
The tanks’ primary goal should be to ensure that the boss doesn’t face the group to avoid Shadowflame Burst. Furthermore, in case you have vulnerability debuff, try avoiding any boss’s abilities that deal a significant amount of Shadowflame damage.
As for melee players, they should focus on soaking Gloom Conflagration and avoiding the Coalescing Void bomb’s range with the help of Warlock gate to take as little damage as possible. The tactic from Phase 1 involving players with immunities also works well for this situation.
Moreover, those who aren’t lucky enough to become targets of Blistering Twilight must retreat from the group in order to put fire puddles in safe spots. Also, it’s needed to clear space for others so that they can dodge fire tornadoes.
On top of that, all players must soak Convergent Eruption and dodge the spawning Orbs to avoid getting swiped.
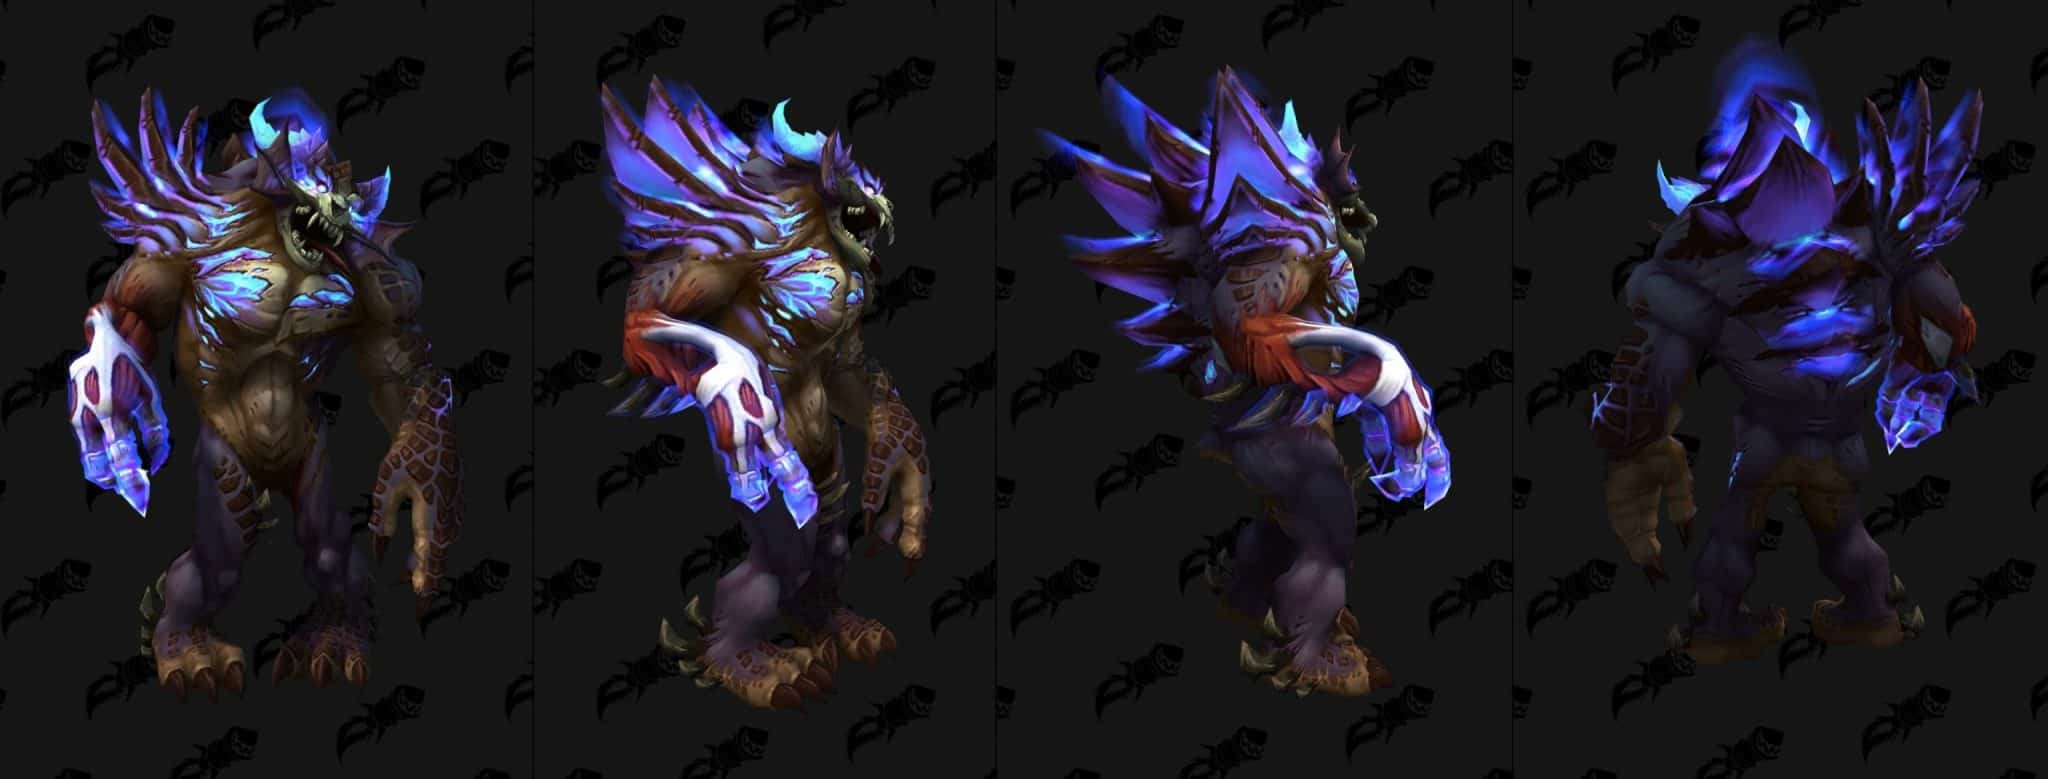
The Forgotten Experiments: Boss Guide
Three enemies mean three sets of abilities you’ll be dealing with; let’s see what they are.
Neldris
Rending Charge: Neldris charges between several players, inflicting 156,019 Physical damage to anyone in her path, knocking them back, and causing them to bleed for 15,602 Physical damage every 1 sec This effect stacks.
Massive Slam: Neldris unleashes a shockwave that inflicts 218,427 Physical damage to players in a frontal cone.
- Ruptured Earth: The slam sends reverberations through the ground, causing a pillar to erupt inflicting 40 Nature damage and knocking back all players 4 yds from the impact location.
Each pillar inflicts up to 40 Nature damage to all players every 4 sec. This damage is reduced the further away players are from the pillar.
Bellowing Roar: Neldris bellows out a great roar, inflicting 218,427 Arcane damage and pushing back all players for 1 second.
Infused Strikes: The experiment’s melee attacks inflict 12,482 Arcane damage every 1 sec. This effect stacks.
Touching another player afflicted by Infused Strikes removes all applications and causes an Infused Explosion.
- Infused Explosion: The energy from Infused Strikes explodes, inflicting 15,602 Arcane damage to all players and an additional 12,482 Arcane damage every 2 sec for 20 seconds. This effect stacks
Thadrion
Unstable Essence: Thadrion infuses multiple players with unstable energies, causing them to take 9,361 Arcane damage every 2 seconds. This damage increases over time.
Upon removal, the energy briefly coalesces and then explodes, inflicting 124,815 Arcane damage to players within 16 yards.
A lingering trace of energy then jumps to a nearby player and applies Unstable Essence. When it’s removed, an Erratic Remnant is formed.
- Chaotic Discharge: The Erratic Remnant periodically discharges energy out at players, inflicting 40 Arcane damage to all players standing within 4 yards of the impact location.
- Erratic Burst: The Erratic Remnant periodically erupts with energy, inflicting 46,806 Arcane damage to all players.
Volatile Spew: Thadrion spews forth arcane globules that inflict 218,427 Arcane damage to players within 7 yards of the impact location.
Violent Eruption: Thadrion erupts with energy, inflicting 46,806 Arcane damage to all players every 1 second for 8 seconds. Erratic Remnants inflict Arcane damage to all players every 1 second during Violent Eruption.
Infused Strikes: The experiment’s melee attacks inflict 12,482 Arcane damage every 1 second. This effect stacks.
Touching another player afflicted by Infused Strikes removes all applications and causes an Infused Explosion.
- Infused Explosion: The energy from Infused Strikes explodes, inflicting 15,602 Arcane damage to all players and an additional 12,482 Arcane damage every 2 seconds for 20 seconds. This effect stacks.
Rionthus
Deep Breath: Rionthus takes in a deep breath and flies across the laboratory, spewing molten cinders that inflict 124,815 Volcanic damage every 0.5 second for 1 second to players in his path.
Temporal Anomaly: Rionthus creates a vortex of temporal energy that begins to drift toward him. If the anomaly collides with Rionthus, he gains a shield that absorbs damage equal to 10% of his maximum health.
If a player collides with the anomaly, it inflicts 31,204 Arcane damage and is knocked away.
Disintegrate: Thadrion tears into players with blasts of blue magic, inflicting 24,963 Spellfrost damage every 1 second over 3 seconds. The magic lingers, slowing affected players by 30% and causing them to inflict 15,605 Spellfrost damage every 1 sec to players within 5 yards for 16 seconds.
Infused Strikes: Auto attacks cause the target to suffer 12,482 Arcane damage. This effect stacks. When two players with Infused Strikes touch, their energies react, clearing their stacks and causing an Infused Explosion.
- Infused Explosion: The energy from Infused Strikes explodes, inflicting 15,602 Arcane damage to all players and an additional 12,482 Arcane damage every 2 seconds for 20 seconds. This effect stacks
The Best Strategy for The Forgotten Experiments
Setup: 2 Tanks, 4-5 Healers, 13+ DPS
Your main strategy is to fight one boss at a time. First Neldris, then Thadrion, and then Rionthus until each of them hit 0% health. Since the room isn’t big, there’s no special positioning required, just make sure you all dodge the bosses’ abilities.
Tanks must keep Infused Strikes DoT as long as possible, while others should mark and stay away from tanks in order to avoid any overlaps. These are general tips every player should use during the encounter.
Neldris
Your primary goal is to avoid Rending Charge stacks that cause bleed damage. Moreover, when Bellowing Roar is active, make sure to dodge swirls and stay away from melee range, as staying near the boss can deal maximum damage.
Thadrion
Use Hero/Lust and all cooldowns available to quickly kill the boss and avoid any extra
Unstable Essence. Also, dodge the swirls because their hit might kill you instantly.
The players with Unstable Essence should hold it as long as possible to prevent the adds from spawning too often. It’s safe to dispel at roughly 6-8 stacks, but they must be at least 10 yards away from the boss. Once the circle is exploded, move Thadrion on the top of the add for extra cleave. All adds must be eliminated before Violent Eruption.
Rionthus
During this encounter, handle Unstable Essence the same way you did previously but with lesser focus. And to make the process easier, place a world maker and have everyone with debuff stack on it for mass dispel and additional cleave damage. When Temporal Anomaly spawns, make sure it doesn’t reach the boss by knocking it away and also avoid getting hit.
Try staying aside when Disintegrate is active, and also avoid Deep Breath at all costs because it’s capable of killing you.
In this WoW Dragonflight raid guide, we’ve covered the first three boss encounters; in the next part, we’re planning to tell you about others as well. So, make sure to check our blog soon! Meanwhile, you can visit LFCarry.com to get assistance with any of your in-game goals and have the best experience ever. We’re waiting for you!
Read also:
Polly Gruse is a seasoned gamer with extensive experience in the Call of Duty series, as well as deep expertise in Destiny 2 and World of Warcraft, allowing her to craft detailed guides and insightful analyses that help players refine their skills, master game mechanics, and stay ahead of the competition.