Destiny 2: The Whisper Exotic Mission Walkthrough

Welcome to the ultimate guide to “The Whisper,” an iconic Exotic mission revered among Guardians and now reintroduced in Destiny 2’s New Light update. This mission is not just a test of your combat skills but a journey through the dark, Taken-infested caves that demand strategy, precision, and resilience. Whether you are a seasoned veteran looking to revisit this challenging quest or a newcomer eager to earn the powerful Whisper of the Worm Exotic sniper rifle, this guide is designed for you.

In the following sections, you’ll find detailed steps to navigate the anomaly, tactical advice to effectively eliminate Taken forces, and strategic insights to conquer the formidable bosses. This guide will equip you with the necessary knowledge to tackle the mission on both Normal and Legend difficulties, ensuring that no Guardian goes unprepared into the depths of Io.

Prepare your gear as we embark on this adventurous quest to claim the legendary sniper rifle and perhaps uncover more than what meets the eye!

TABLE OF CONTENTS

Accessing The Whisper

Mission Embarking on the Whisper mission begins with a crucial encounter: speaking with Eris Morn. Located on the Moon, Eris holds the key to unlocking this adventurous quest.

Whispers of the Past quest
Eris Morn on The Moon

You’ll receive the “Whispers of the Past” quest upon meeting her.

destiny_2_the_whisper
Whispers of the Past quest

This quest serves as your gateway to the Whisper exotic mission, found in your Director’s “Into the Light” section. Once the quest is activated, you’re given the power to choose your challenge level. You can opt to face the mission on either Normal or Legend difficulty. This decision is crucial, as the challenges will adapt accordingly. So, gear up and get ready for the launch; the depths of Io are waiting for your conquest.

Maximizing Your Arsenal for Victory in The Whisper

Success in the Whisper mission hinges on your offensive strategy, mainly due to its timed challenges. Here’s a curated selection of weaponry designed to enhance your attacking prowess:

  • Riskrunner:
Riskrunner

When faced with Arc damage from enemies, this Exotic submachine gun’s chain lightning and damage resistance will turn the tides in your favor.

  • Osteo Striga
Osteo Striga

Swarm your adversaries with this Exotic submachine gun, which is ideal for rapidly dispatching groups of foes.

  • Falling Guillotine
Falling Guillotine

Wield this blade to cleave through the ranks of more formidable adversaries with its devastating spin attack.

  • Taipan 4FR
Taipan 4FR

Eliminate critical targets from a distance with precision and power using this Linear Fusion Rifle.

  • Gjallarhorn
Gjallarhorn

Unleash devastation upon your enemies, making this Exotic Rocket Launcher a legendary force against bosses.

Flexibility is the key to success; your loadout is not set in stone. Adapt your gear to the mission’s requirements, transitioning from a loadout that enhances mobility during platforming to one that maximizes damage output during combat. This versatility will keep you ahead in the treacherous depths of Io.

Understanding The Whisper Mission Modifiers

Whether you’re attempting The Whisper on Normal or Legend difficulty, it’s important to be aware of the unique challenges each setting poses. Below are the modifiers that will test your mettle as a Guardian:

Normal Difficulty:

  • Power Level Requirement: 1,810 (0 delta)
  • Primary Threat: Arc damage from enemies
  • Time Limit: Complete the mission within 40 minutes

Legend Difficulty:

  • Power Level Cap: Maximum effective Power Level is 1,815 (-15 delta)
  • Primary Threat: Arc damage from enemies
  • Time Limit: Complete the mission within 20 minutes
  • Overcharge Modifier: Sniper Rifles and artifact passives that grant Overcharge are in effect
  • Epitaph Modifier: Taken combatants release blight geysers upon defeat

Understanding these modifiers is key to planning your approach and selecting the appropriate gear and strategies for success.

Traversing the Anomaly

First Steps

Begin your adventure by advancing forward until you reach a ledge overlooking a dark chasm.

a ledge overlooking a dark chasm

Vex Box Interactions 

Notice the Vex box located here. Shooting it spawns platforms that facilitate your journey across the terrain, aiding in reaching and destroying the Taken blight.

Vex Box
Taken blight
Previous
Next

Navigating the Darkness 

After the blight, continue into the darkness. Your goal is simple: move forward and follow the path laid out before you, leaping from one point to the next. Beware of deceptive platforms that can launch you unexpectedly. Tools like the Eager’s Edge sword or the Grapple from the Strand subclass can be indispensable for these tricky jumps.

Darkness - 1
Path - 2
Deceptive platforms - 3
Previous
Next

Platform Spawning

As you proceed, you’ll find a second Vex box. One accurate shot will create a platform aiding in your navigation. From there, follow the ledge, and ascend a small elevator to find a hole in the wall to the left, leading to the next area.

Second Vex box - 1
Platform - 2
Elevator - 3
Previous
Next

Room of Many Holes

In the room filled with numerous holes, the correct one is located far back on the right. This leads to a stunning location within Destiny, offering a bit of tranquility amidst the mission’s intensity.

The correct one is located far back on the right

Through the Room of Echoing Solitude

In this vast room at in the mission, instead of scaling the long walls, turn right around as soon as you enter. Crouch and head into the hidden hole right behind the entrance. This shortcut skips the entire climbing challenge, quickly leading to the next section. Simply drop down slightly and follow the path to continue the mission swiftly and efficiently. This route is a great time-saver, perfect for bypassing the more intricate platforming challenge.

Path

Efficient Path in the Whisper Mission

After using the shortcut, drop down slightly and follow the path to quickly arrive at the next section. Stick to the ledge, jump down at an opening in the wall, and continue through the pathways. This leads directly to the mission’s first major combat area, streamlining your journey through the Whisper mission.

ledge

Navigating the First Combat Areas in the Whisper Mission

As you enter the first combat zone, you’ll be greeted by a room teeming with enemies and blights. To progress, defeat all enemies to unlock a sealed door at the room’s far end. This door features a blight that must be destroyed once all enemies are cleared.

Moving on, the next area introduces a few additional adversaries alongside another door. Quickly dispatch these foes to continue to a similar room, echoing the setup of the first with enemies and blights. Your goal in each room is to eliminate all hostiles, which allows you to unlock and advance through each successive door.


The last room in this sequence increases the challenge with Taken Scions and Hobgoblins. Enter the room, immediately turning around as Taken Phalanx spawns behind you. Eliminating these enemies clears the way to the boss room. This approach ensures you effectively manage threats while paving the way forward in the mission.

Boss Room Encounter in The Whisper Mission

When you arrive at the boss room, make sure not to slide into the abyss as you jump into the hole—it’s a fatal mistake.

Once you’re safely in the room, your first task is to eliminate the initial wave of enemies. Use your supers and heavy weapons freely here to clear the room quickly. After clearing, a rallying banner spot will appear, along with three Vex boxes.

For this fight, weapons like Leviathan’s Breath or Dragon’s Breath are highly recommended for their effectiveness. Depending on your comfort level, you can start the boss fight by destroying one of the Vex boxes, each releasing one of the three bosses trapped within a blight at the room’s back.

You can choose to activate all three boxes at once to challenge all the bosses simultaneously on normal difficulty, which is manageable. However, for Legend difficulty or if you are newer to the game, consider tackling the bosses one at a time to keep the situation under control.

After defeating these initial bosses, the final boss, an immune ogre, will appear. You will need to eliminate the Shield Weaver Wizards to remove the ogre’s immunity. This process must be repeated once the boss reaches 50% health. Once the ogre’s defenses are permanently down, you can finish it off. Upon defeating the ogre, a chest will appear, rewarding you with the Whisper of the Worm schematic.

Conclusion

You’ve ventured through the shadows of Io, deciphered the secrets of “The Whisper,” and now stand ready to claim the legendary Whisper of the Worm. This guide was crafted to equip you with the knowledge needed to overcome the challenges within one of Destiny 2’s most revered missions. Armed with this information, you’re well on your way to becoming a master Guardian.

But why stop here? Whether you’re looking to streamline your journey, conquer the most significant difficulties, or simply enjoy the thrill of victory without the struggle, LFCarry.com is your go-to resource. Imagine bypassing the grind while achieving the best in-game rewards and enhancing your skills alongside top-tier players.

At LFCarry.com, you can connect with seasoned professionals who are ready to boost your gameplay. From mastering complex raids to securing exclusive gear, their tailored services are designed to elevate your gaming experience. Let experts handle the grind, freeing you to fully immerse yourself in the epic narrative and dynamic combat of Destiny 2, without the burden of repetitive tasks.

Take your Guardian to stellar heights! Visit LFCarry.com today and turn your gaming aspirations into achievements. Why just play when you can dominate? Boost your Destiny 2 experience with LFCarry.com—where your ultimate gaming potential awaits!

Twitter
LinkedIn
Facebook

Read also:

Destiny 2 Pantheon

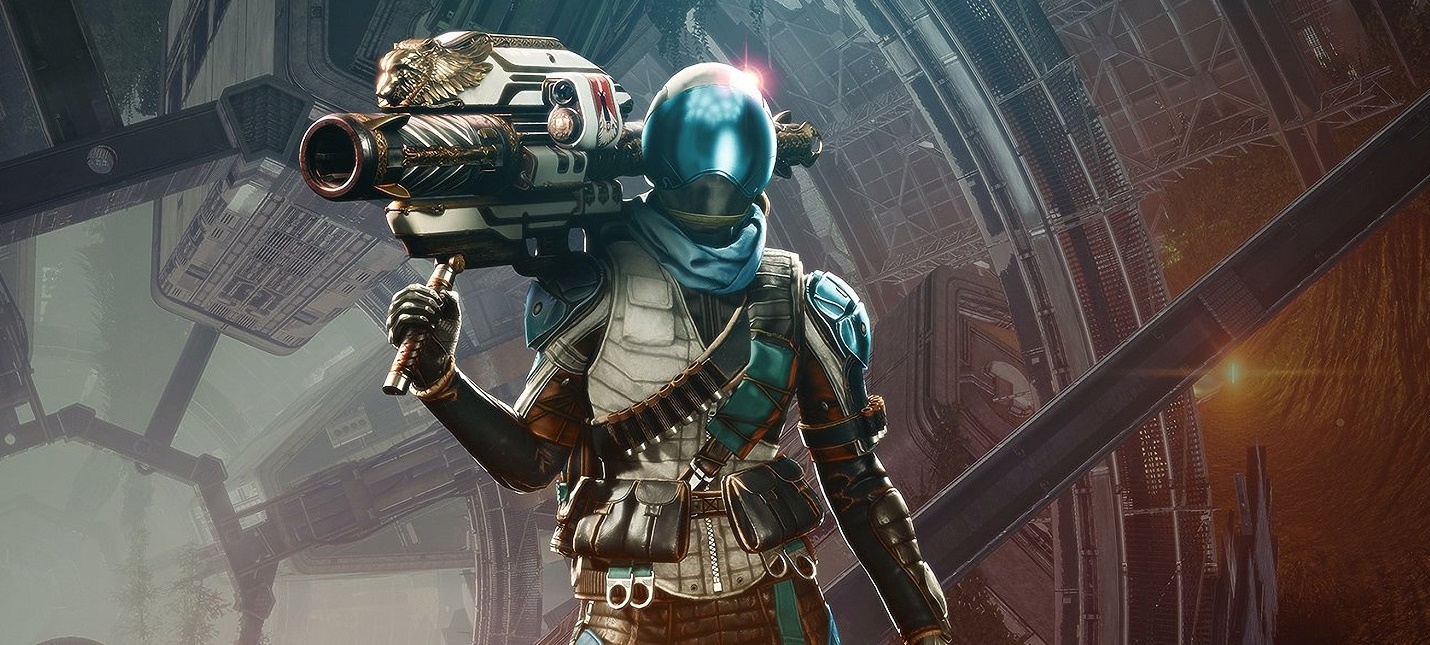
Destiny 2’s Pantheon Challenge: Weapons, Bosses, Schedule and More

Last Updated on April 29, 2024 by Blog Admin Guardians, prepare to face your greatest challenge yet! The Pantheon, a brand new activity in Destiny …

Read More
Dragonflight Season 4 Mythic+ Loot Table

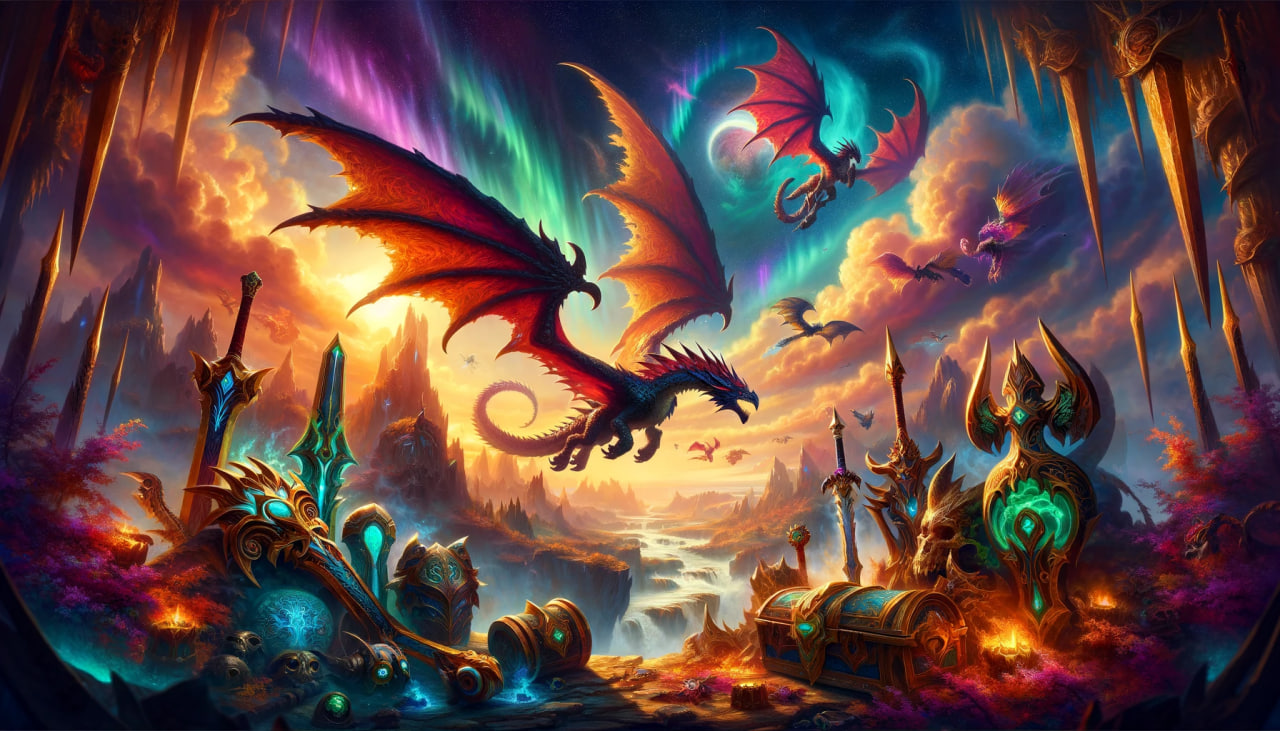
WoW Dragonflight Season 4 Mythic+ Loot Table

Last Updated on April 24, 2024 by Lana Shakh Attention all Azeroth champions! The epic finale of the expansion is upon us, bringing you Dragonflight …

Read More
Brave-Weapons-Featured-Destiny-2

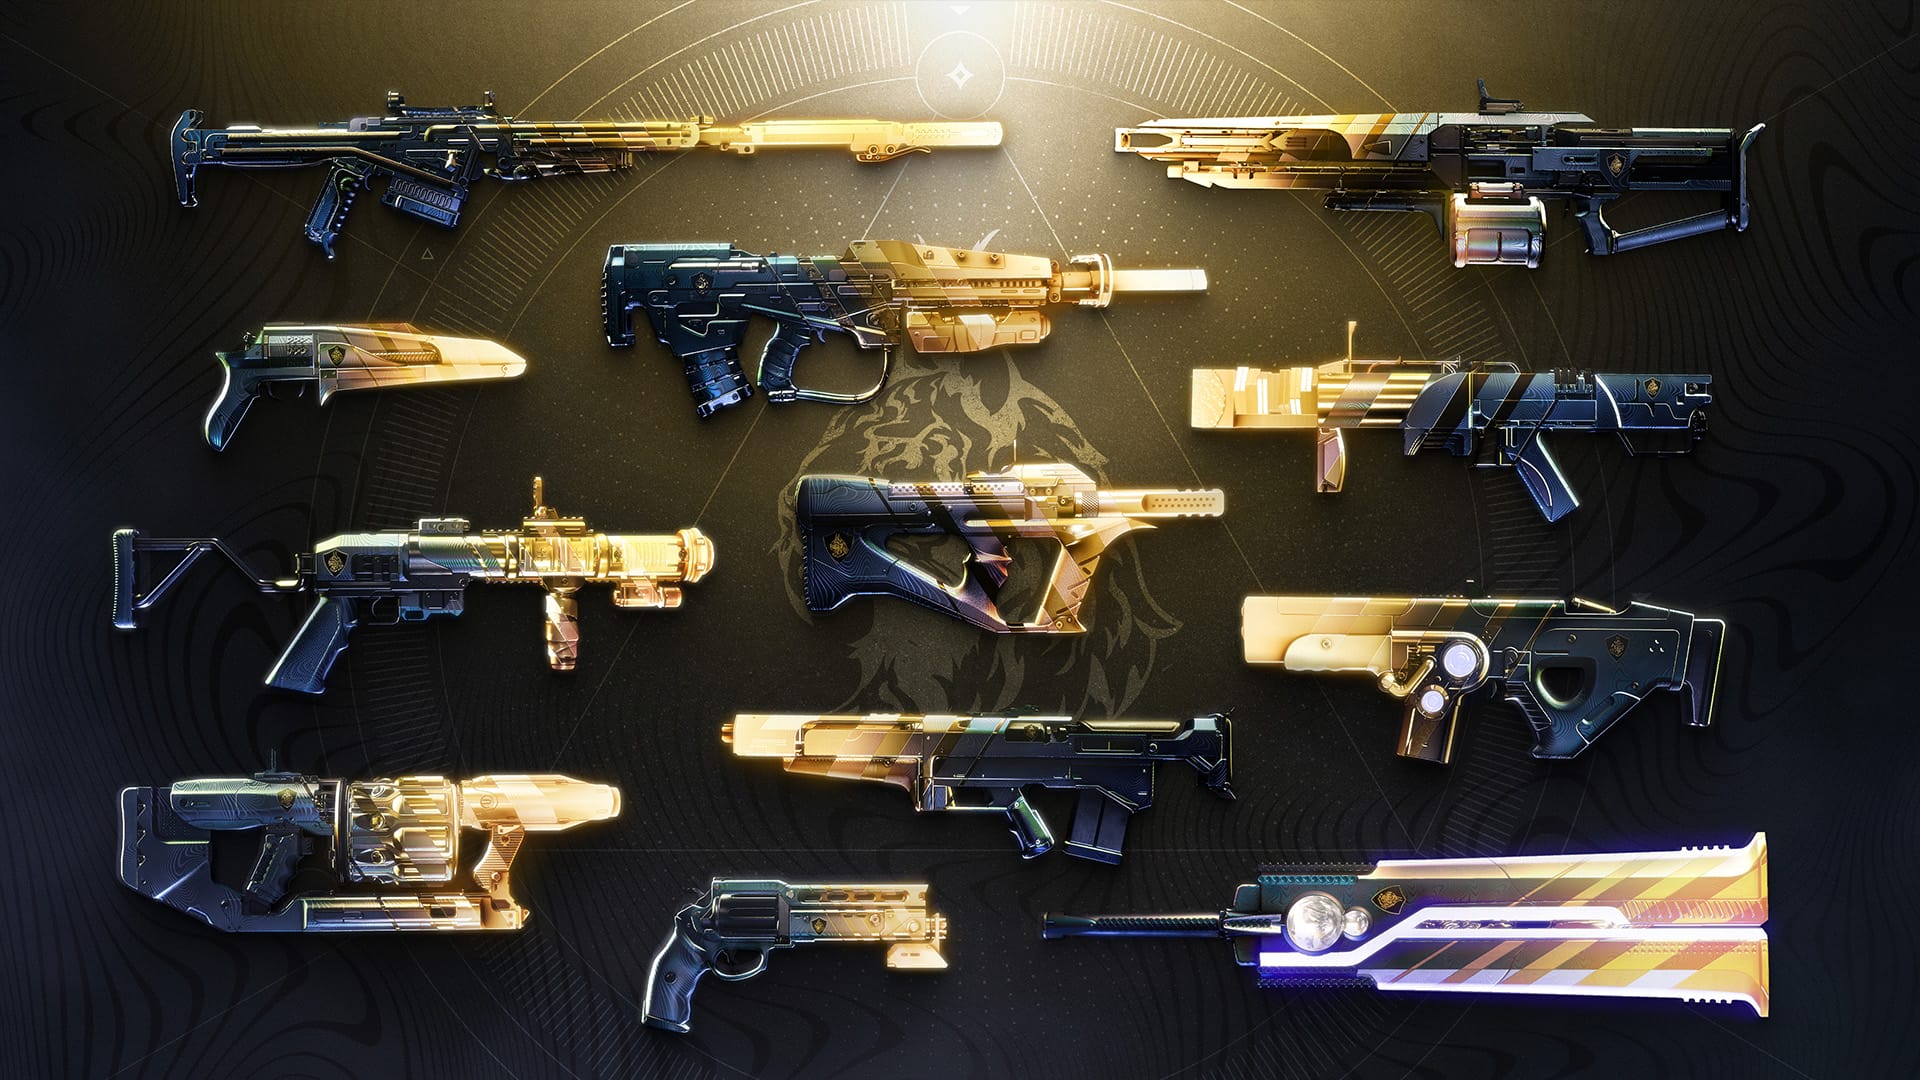
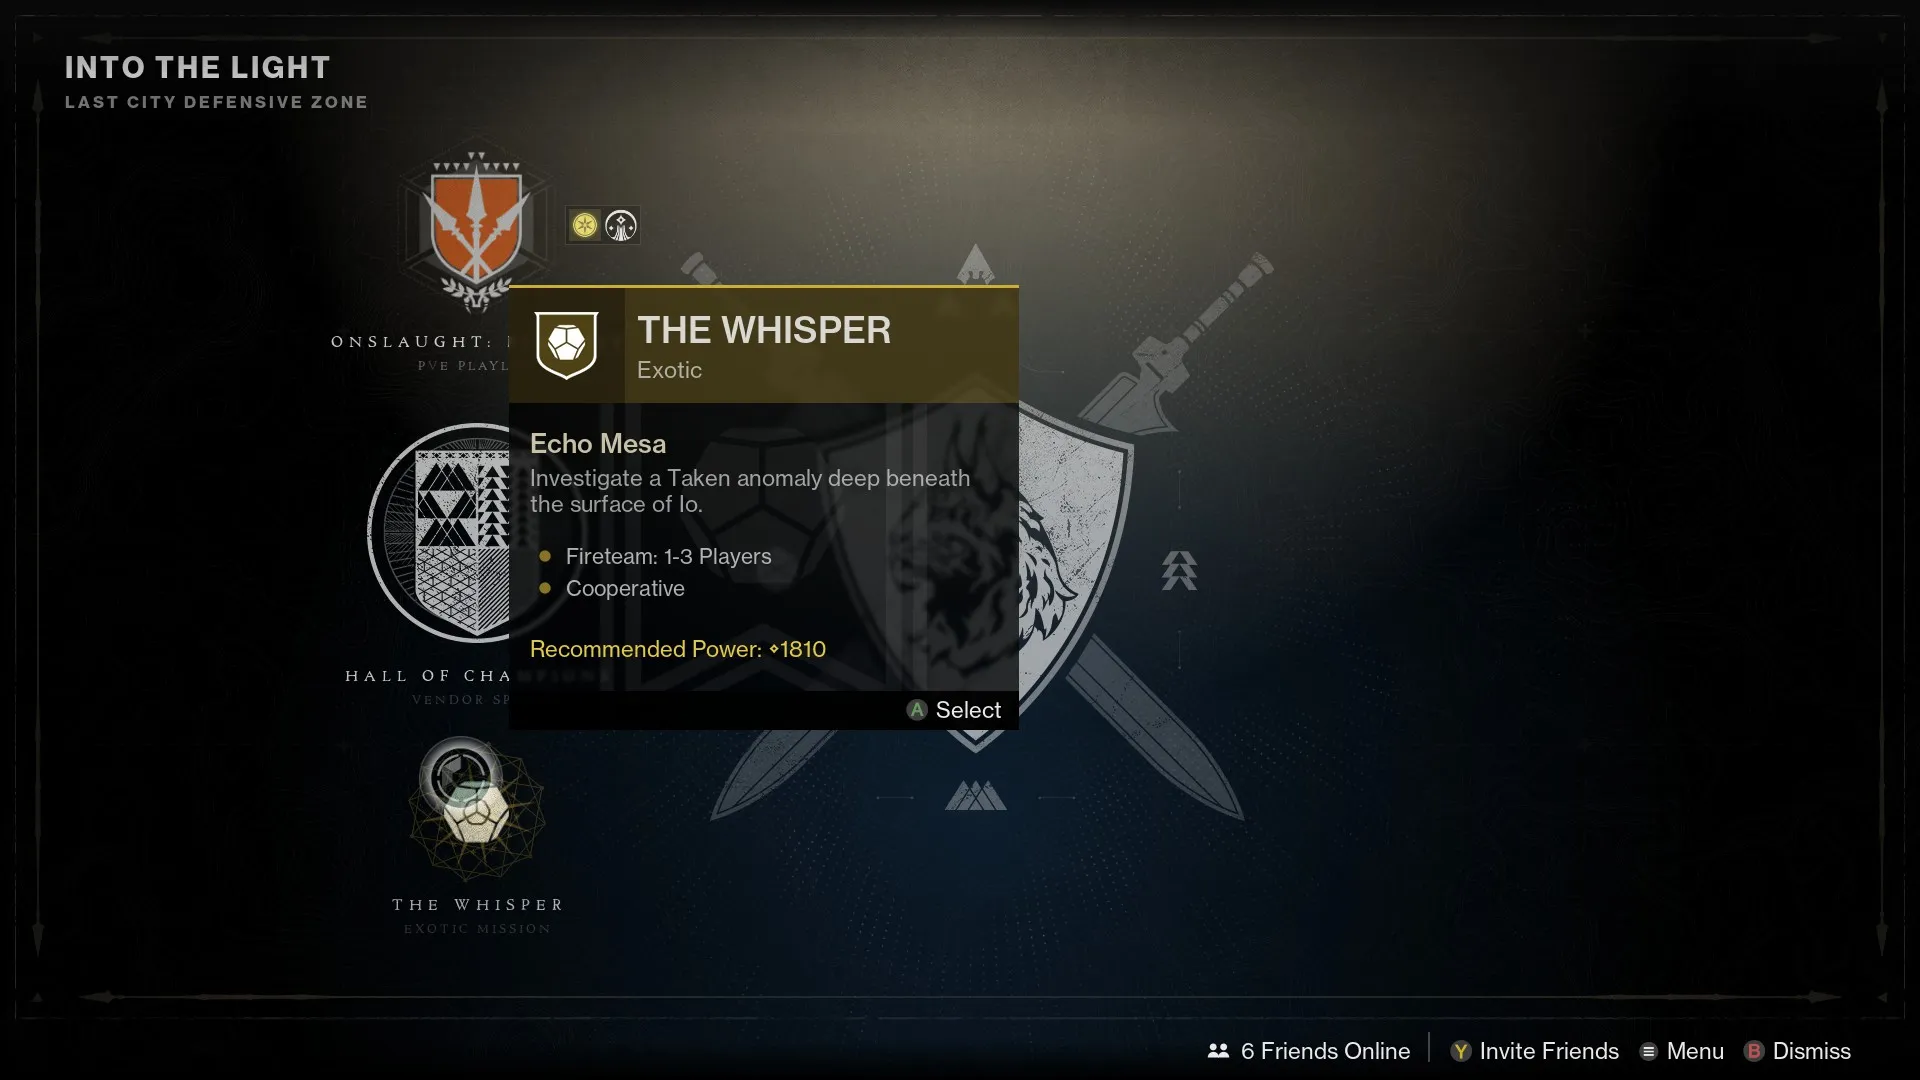
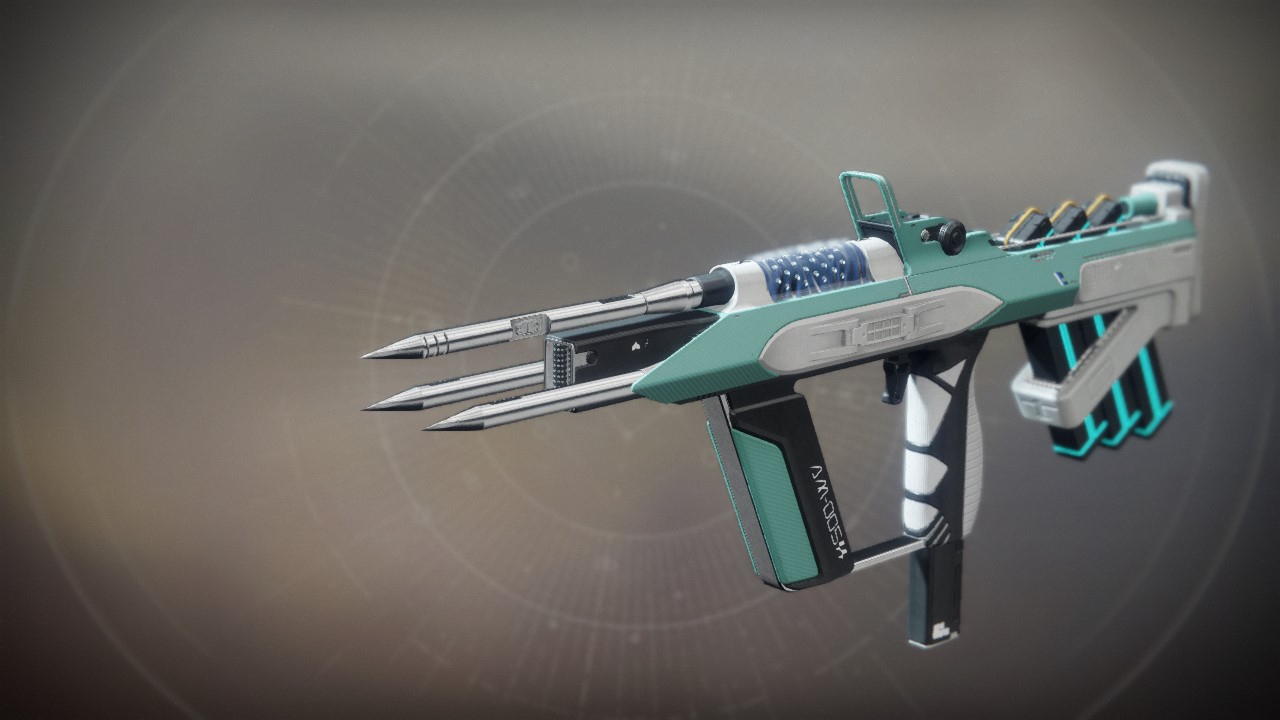
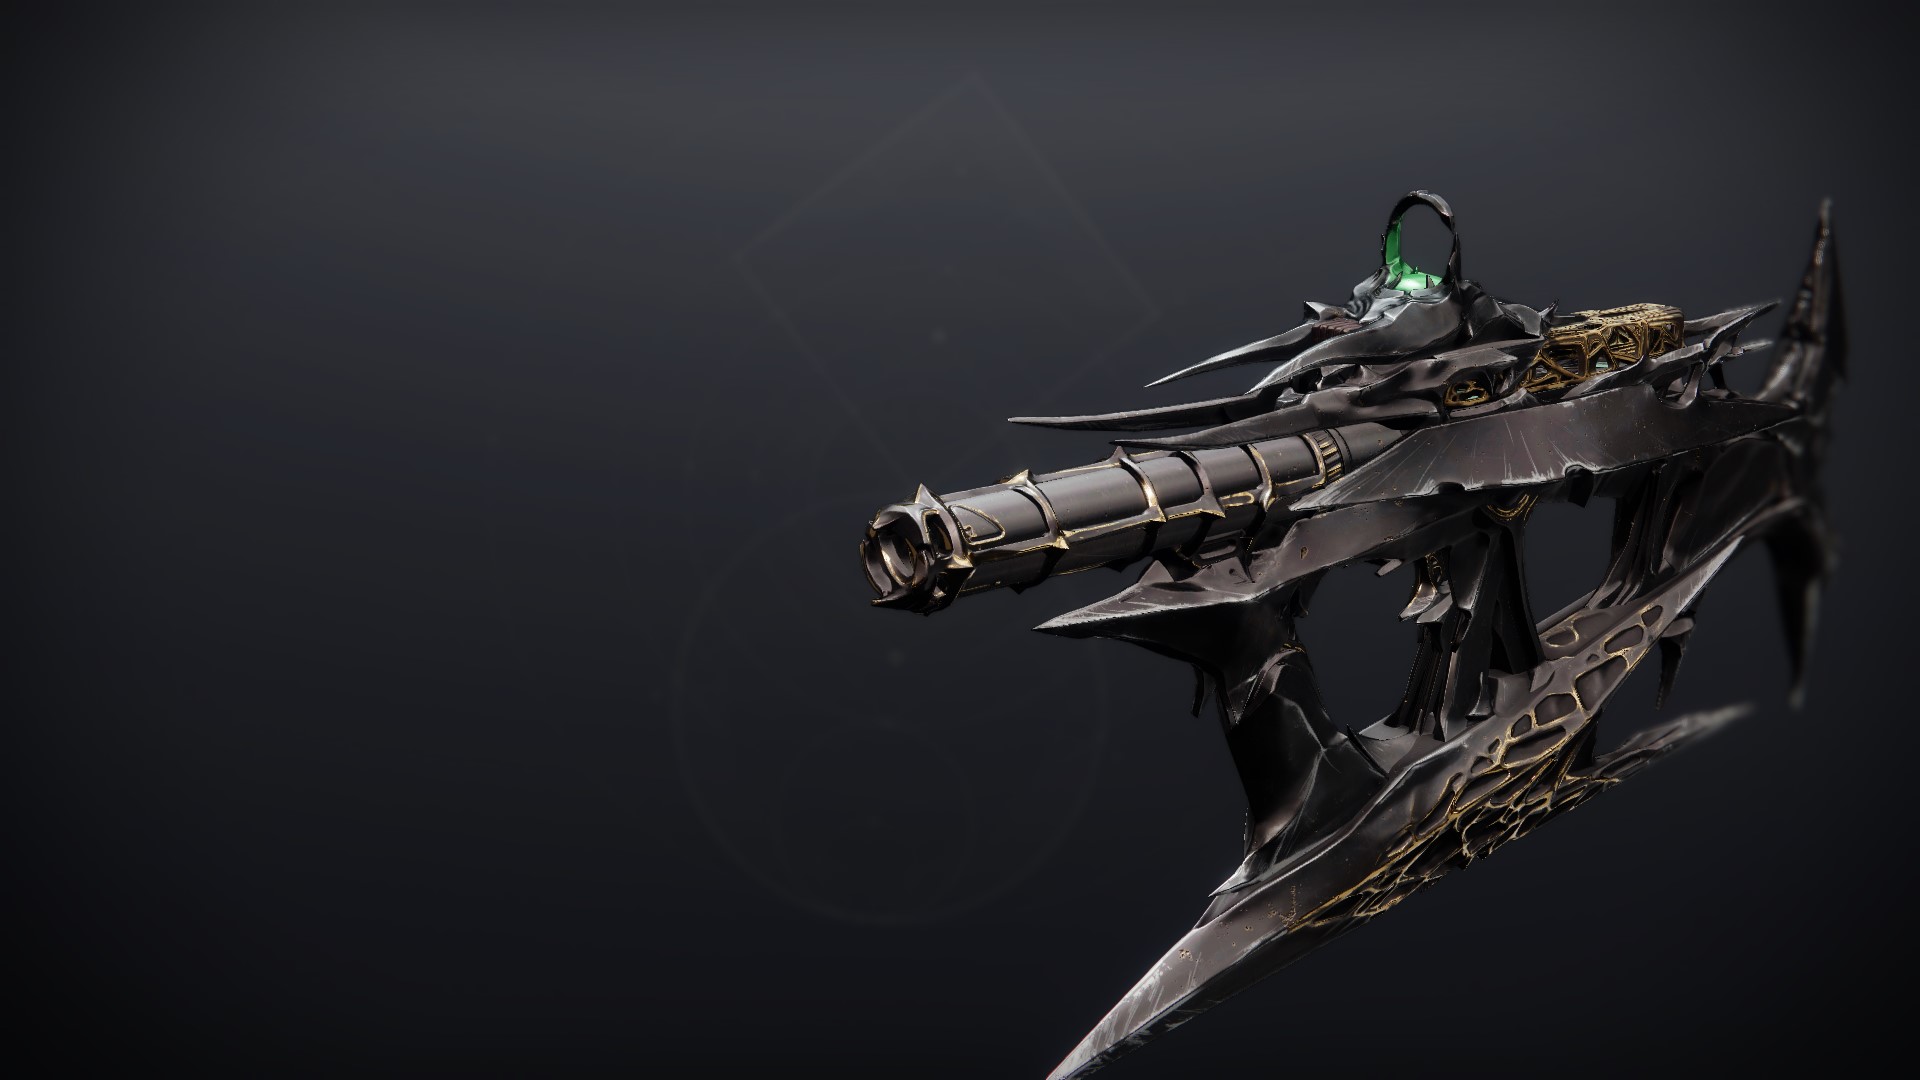
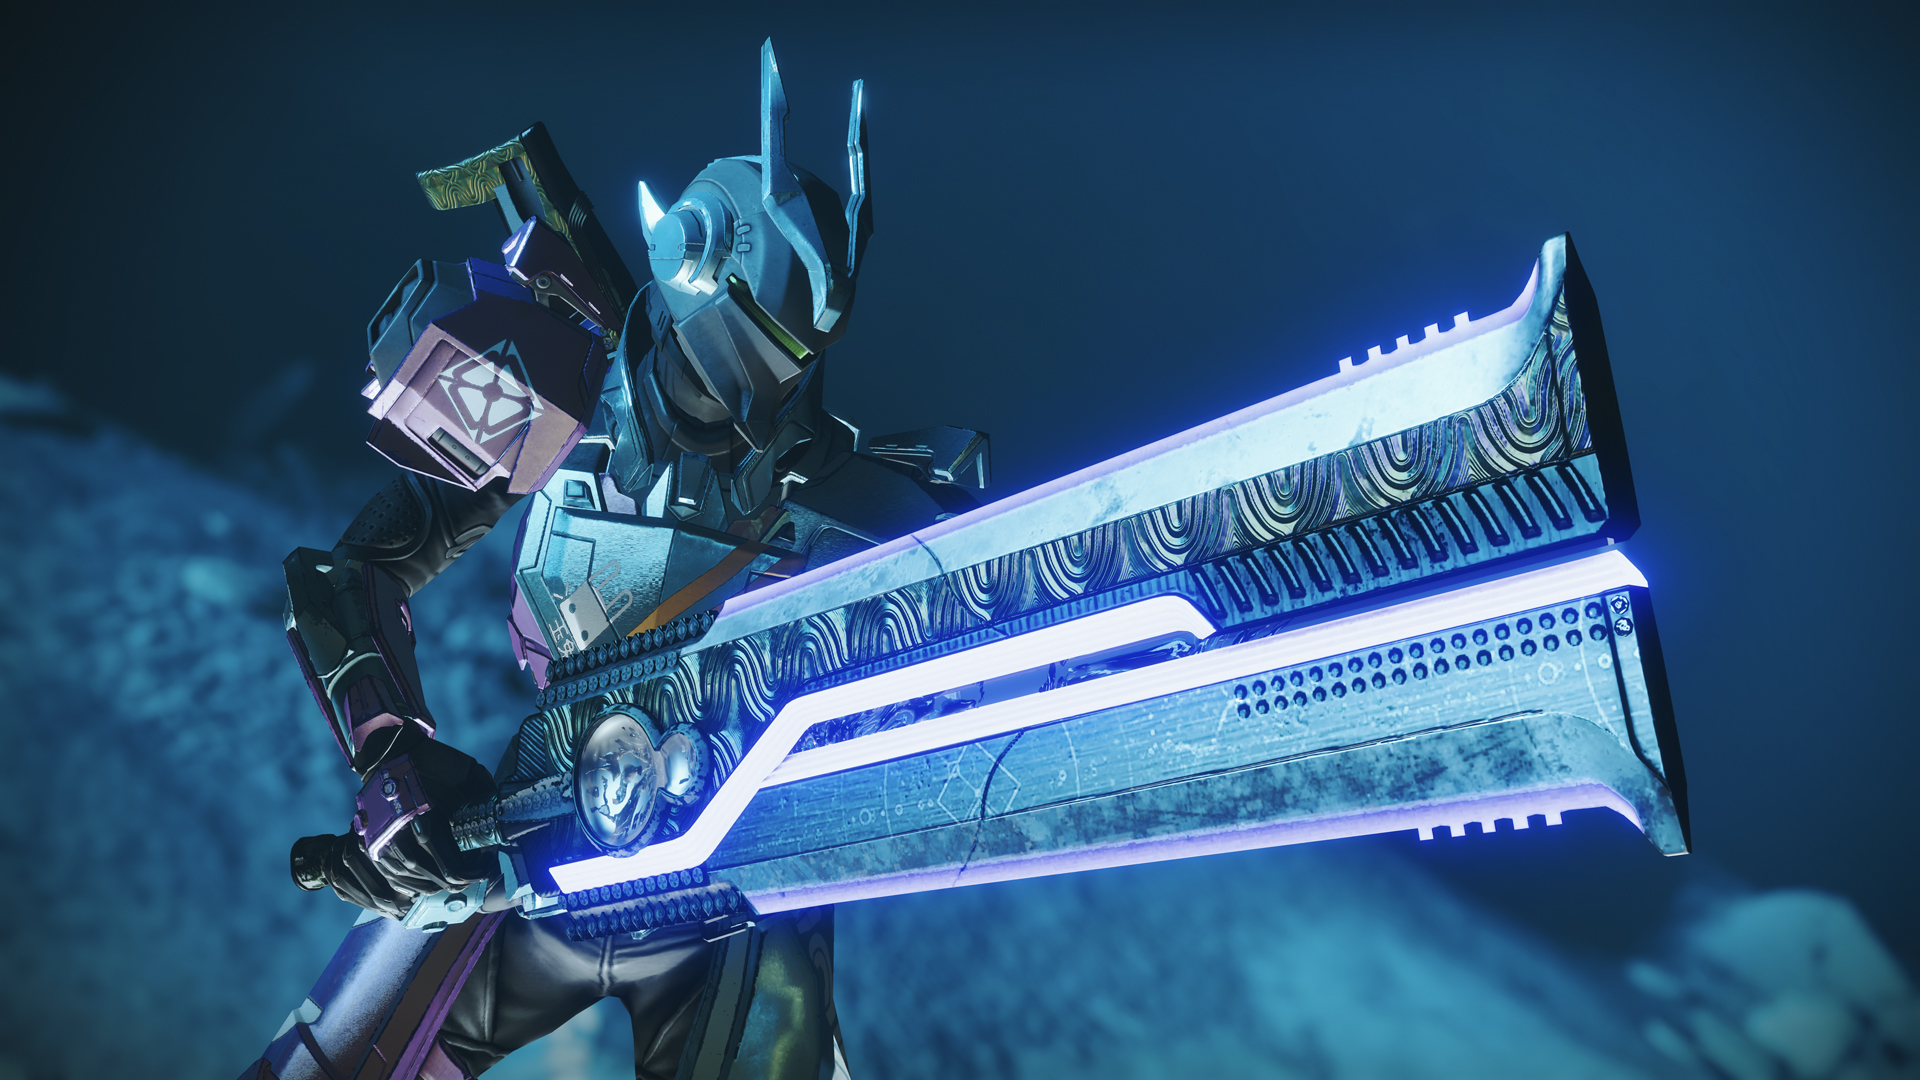
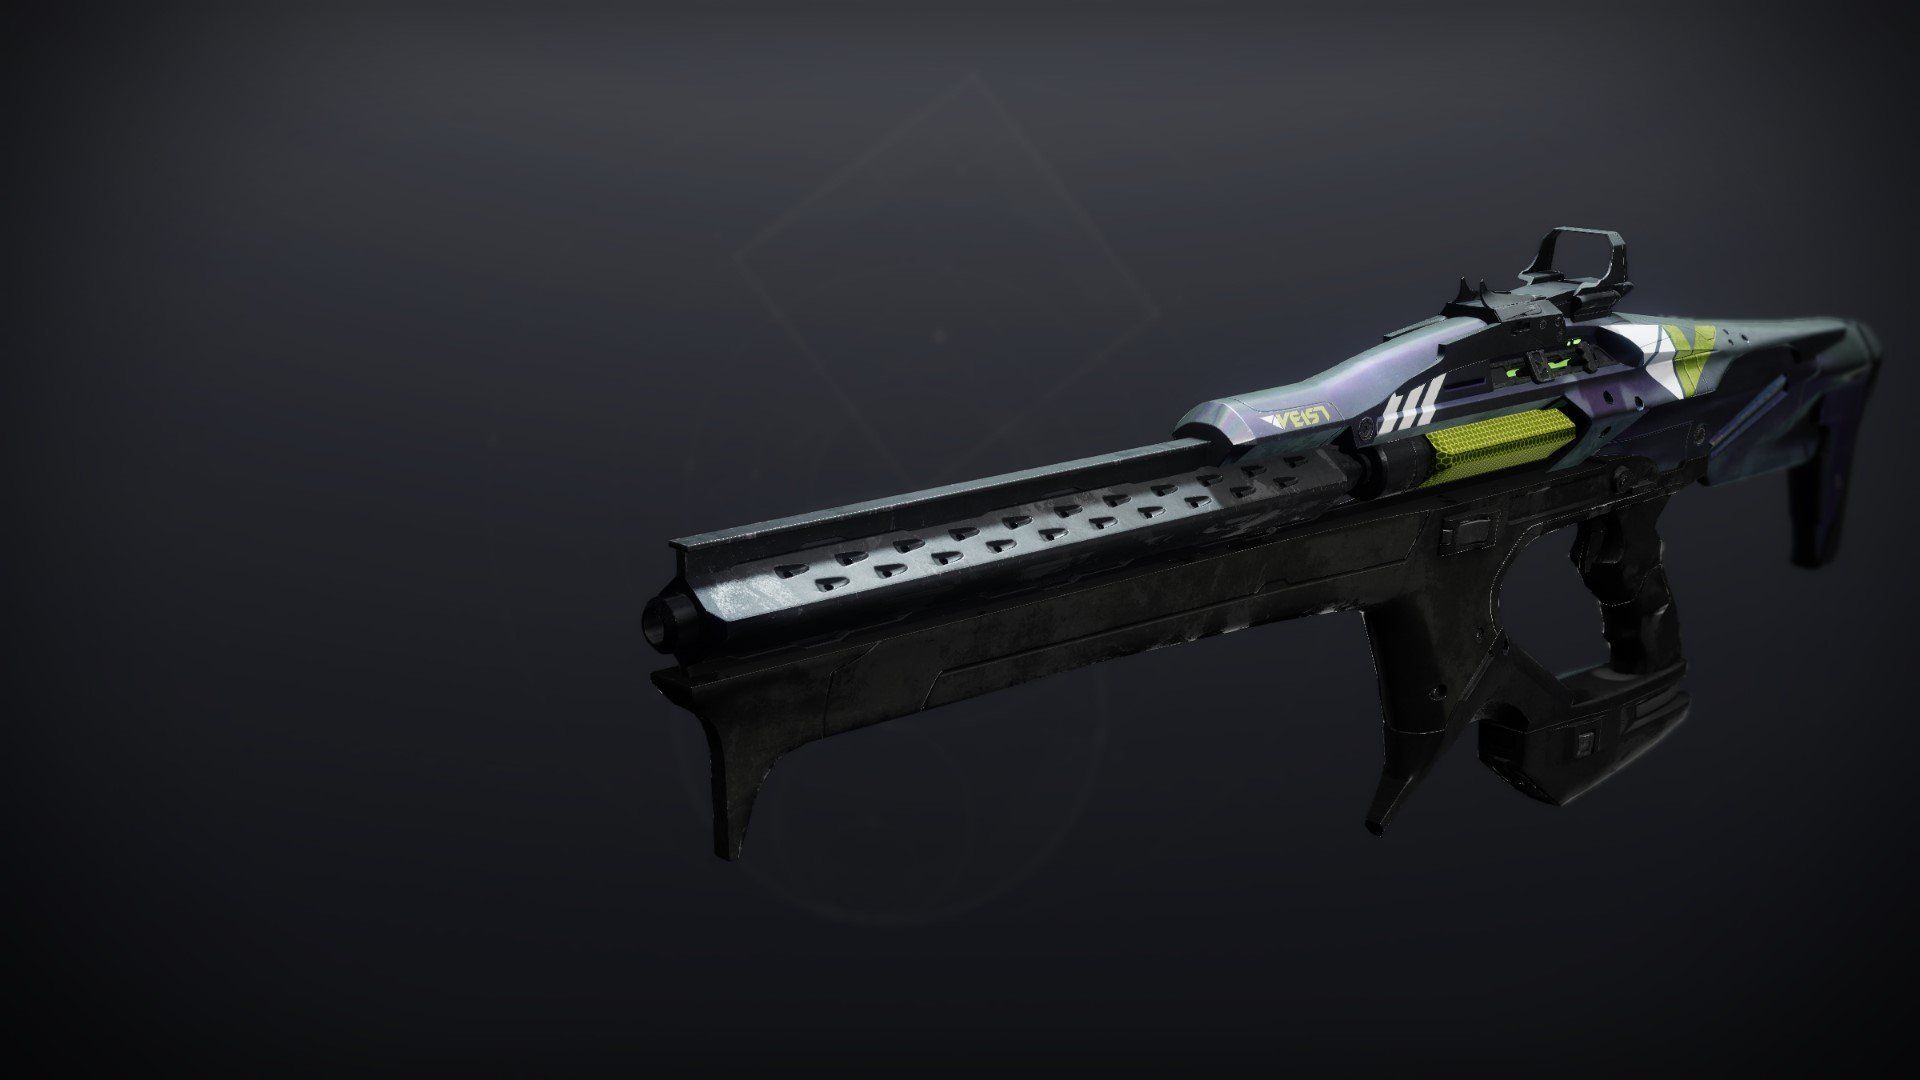
Brave Weapons 2024 in Destiny 2: When and How to Get Them

Last Updated on April 25, 2024 by Lana Shakh Guardians, brace yourselves for an epic loot chase like no other! Destiny 2’s latest content drop, …

Read More

Leave a Reply