

Darya Chavez is a gaming journalist passionate about delivering the latest news from the world of video games. With a sharp eye for industry trends and updates, she keeps players informed about upcoming releases, events, and major game changes.

Darya Chavez is a gaming journalist passionate about delivering the latest news from the world of video games. With a sharp eye for industry trends and updates, she keeps players informed about upcoming releases, events, and major game changes.
7 comments
baby bounce back body
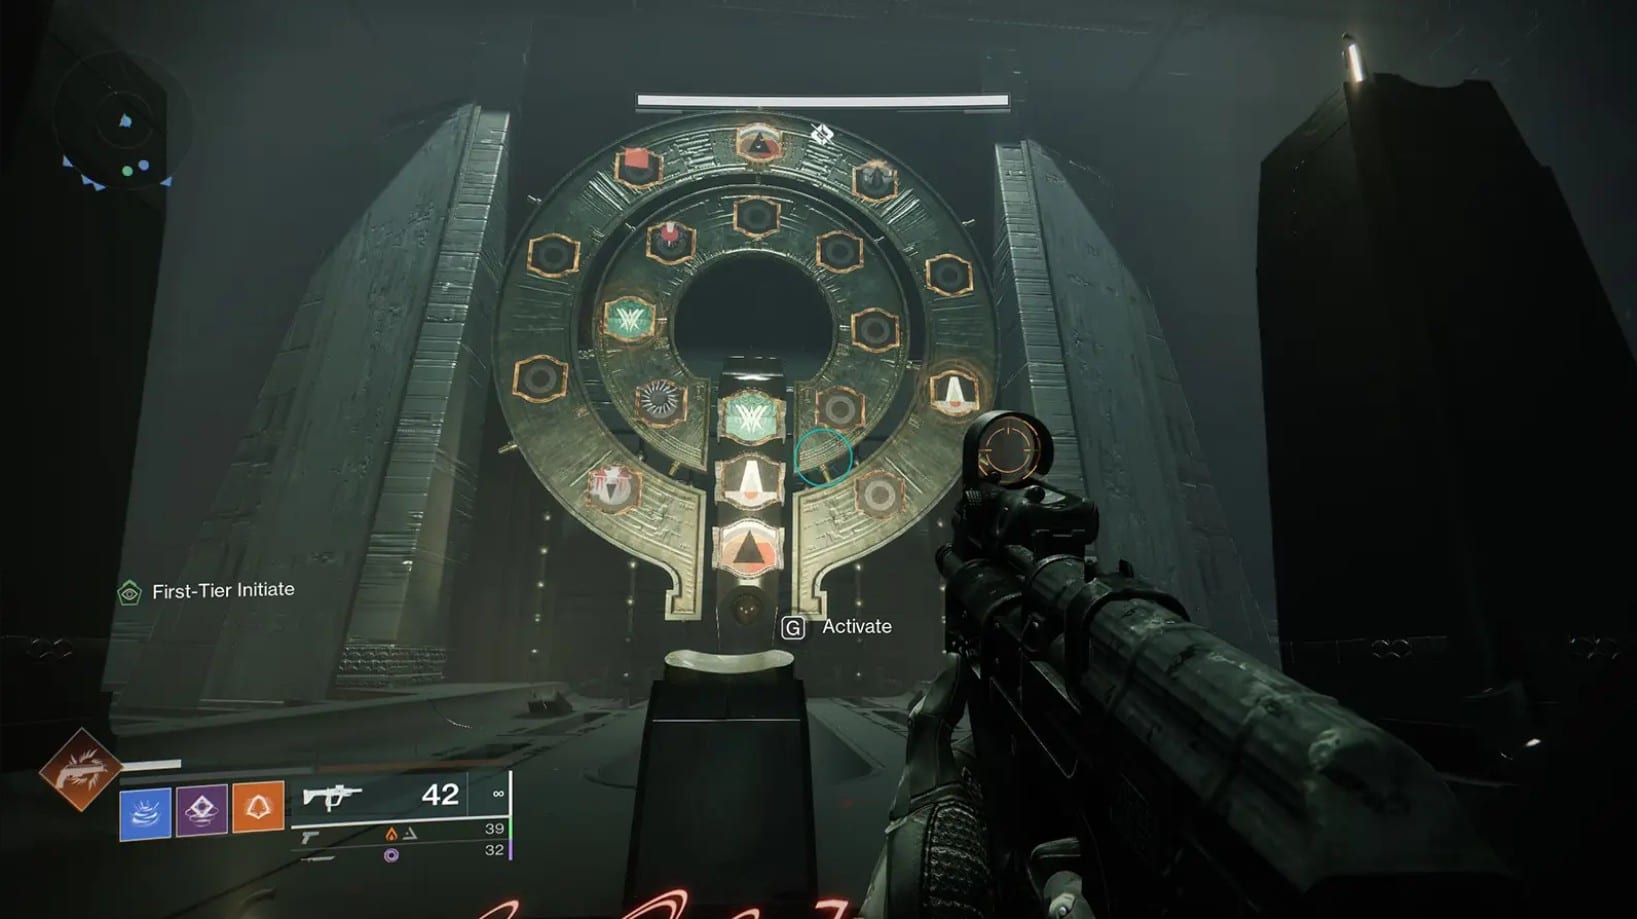
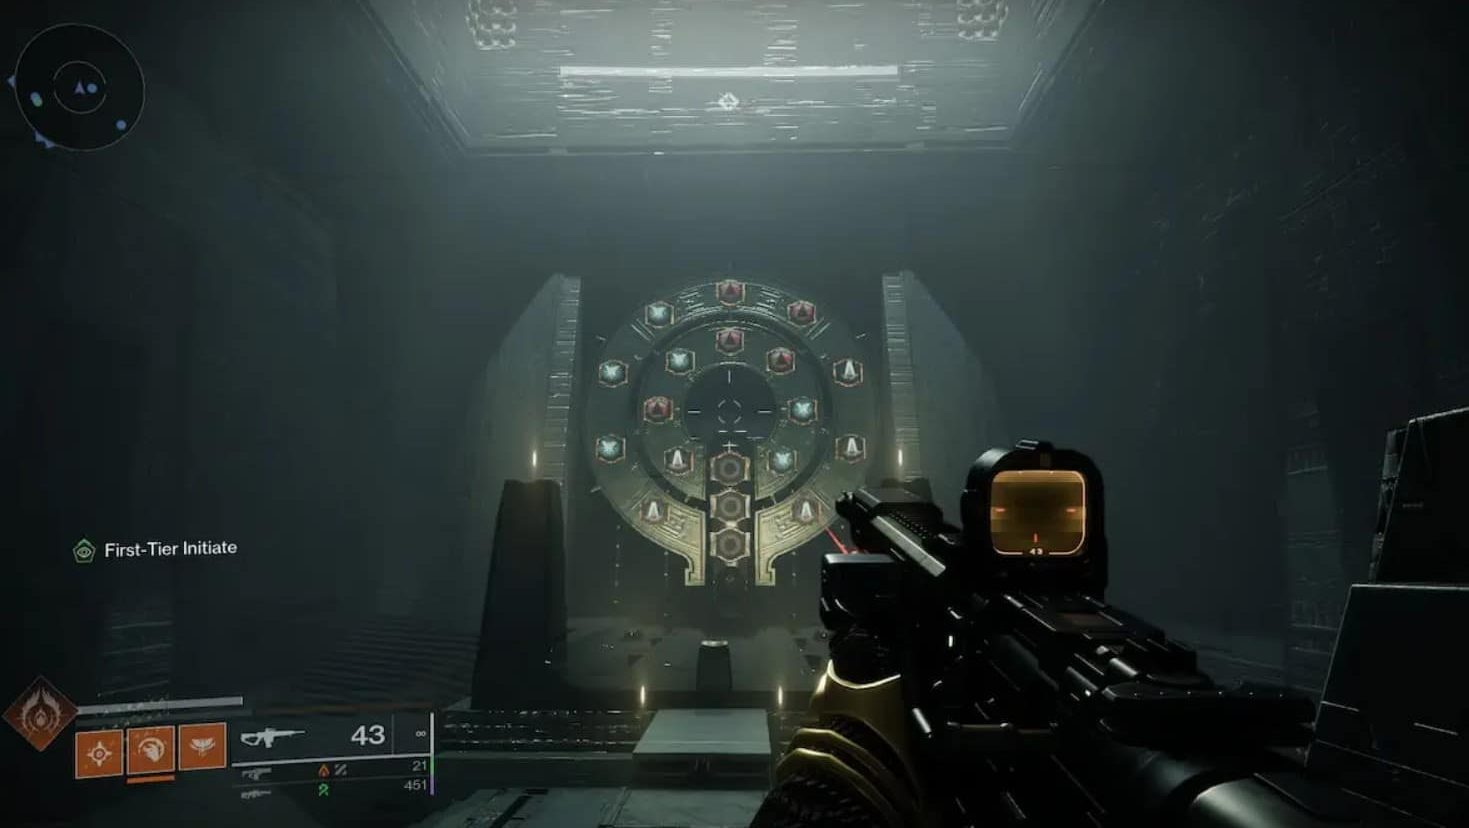
February 26, 2025 at 1:35 pmMan, Bungie really loves their glyph puzzles. Hope this one isn’t as frustrating as the Presage mission.
女の子の自慰行為ポルノ
February 26, 2025 at 1:35 pmWait, so this is inside the Sundered Doctrine dungeon? Do you HAVE to complete the dungeon first to unlock it?
saucepan
February 26, 2025 at 1:35 pmI swear, these secret quests always turn into a 2-hour YouTube deep dive before I even attempt them. 😂
laughter
February 26, 2025 at 1:36 pmWhat’s the reward for this quest? If it’s just an emblem, I’m gonna be mad. Give us a sick Exotic!
nepotist
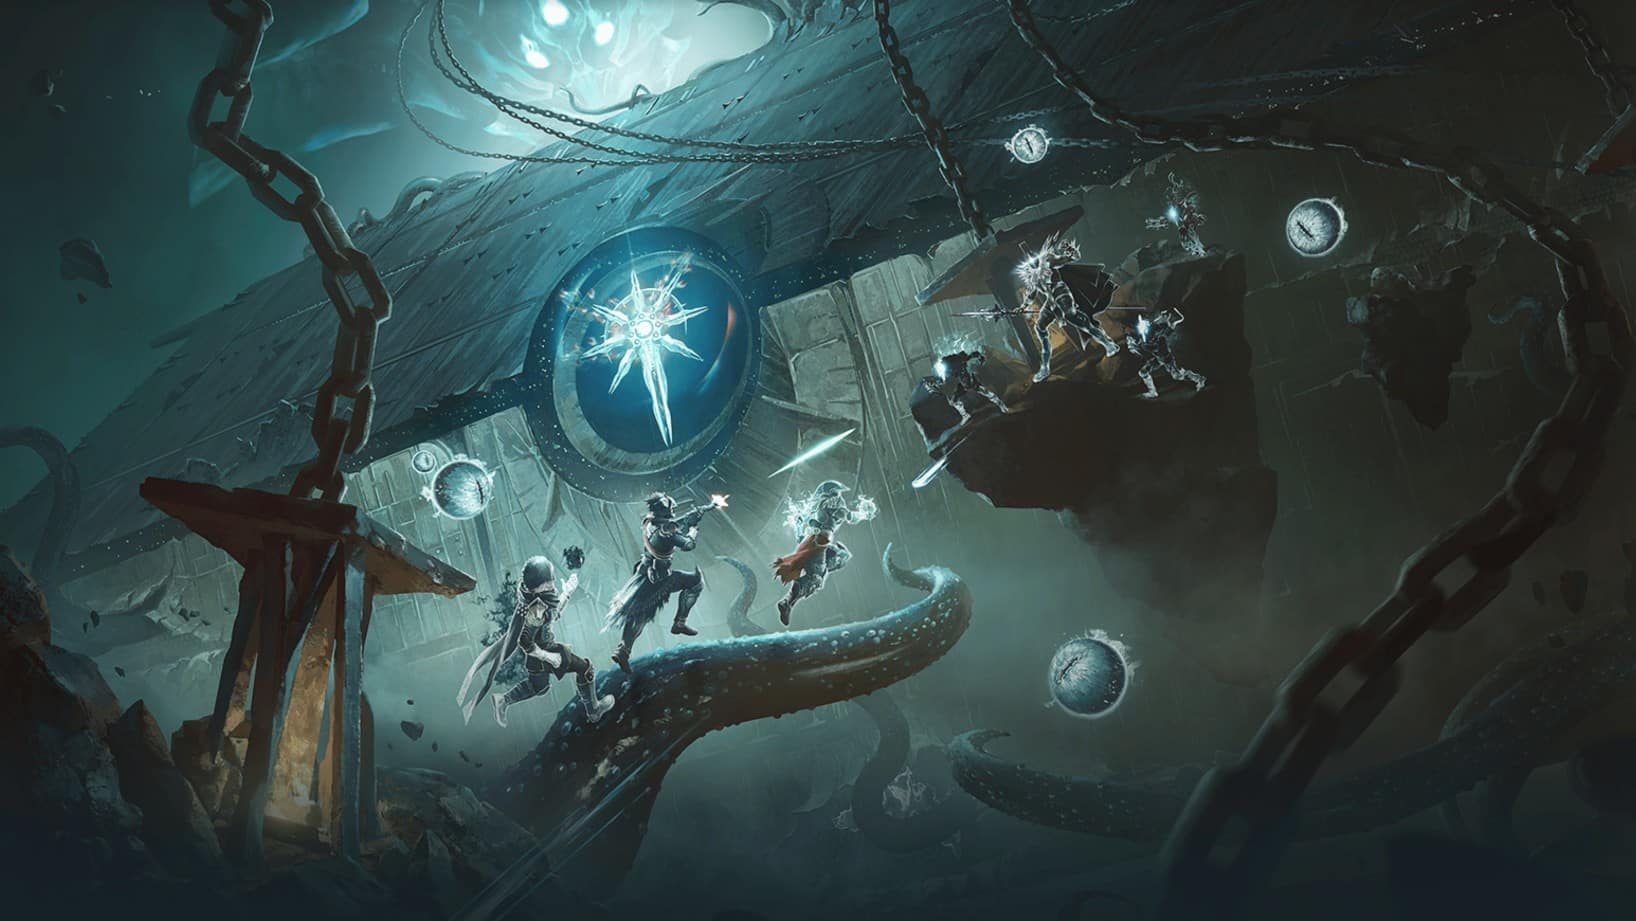
February 26, 2025 at 1:36 pmDoes the Labyrinth change every run, or is it a fixed layout? I don’t wanna spend hours lost in a maze.
mauris
February 26, 2025 at 1:36 pmAnyone else hoping this has some Hive-Worm related lore? The whole Dreadnaught vibes in Episode Heresy are amazing
dishiest
February 26, 2025 at 1:37 pmGlyph puzzles are cool and all, but please tell me there’s a respawn checkpoint and not instant wipe mechanics.