


Diablo 4 Guide: Farm Gold Fast
Gold is the leading currency in Diablo 4 players use to buy items, upgrade equipment, and more. But earning Gold isn’t always easy. This guide shows you the most efficient ways to farm Gold in Diablo 4.

Enhance Your Gear in Dragonflight Season 2: Spark of Shadowflame Explained
Last Updated on February 9, 2026 by Blog Admin The Spark of Shadowflame is a new essential reagent introduced in Patch 10.1 Dragonflight, allowing players

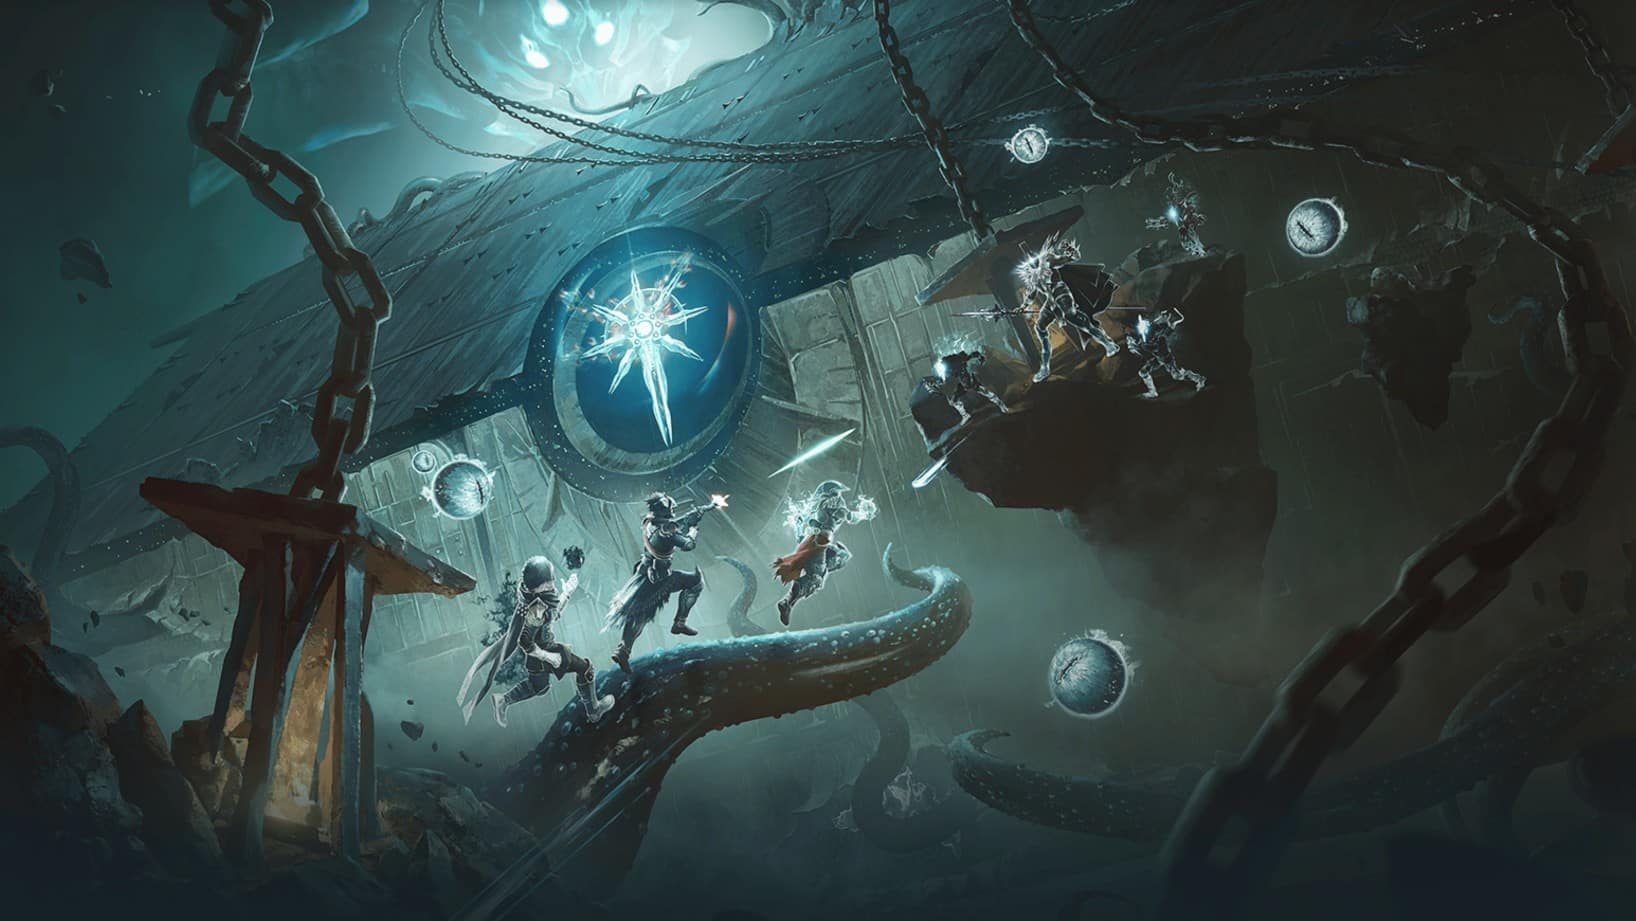
Tome of Want Guide: Fastest Sigil Shards and Scriptures Farm in 2025
Struggling to level up the new seasonal vendor in Destiny 2? Farming Sigil Shards and Scriptures efficiently is key to unlocking upgrades.

Can You Play Helldivers 2 Solo?
Thinking of going solo in Helldivers 2? Find out if it’s possible and get tips on how to succeed without a team.
Radiant Echoes Event!
The WoW community is buzzing with excitement as the new War Within pre-patch event, Radiant Echoes, is set to launch on July 30, 2024. It promises many rewards and engaging activities that will keep fans hooked until the official release of The War Within on August 26, 2024. In this blog post, we’ll dive deep into what the Radiant Echoes event entails, how to participate, and what you can earn. Let’s get started!

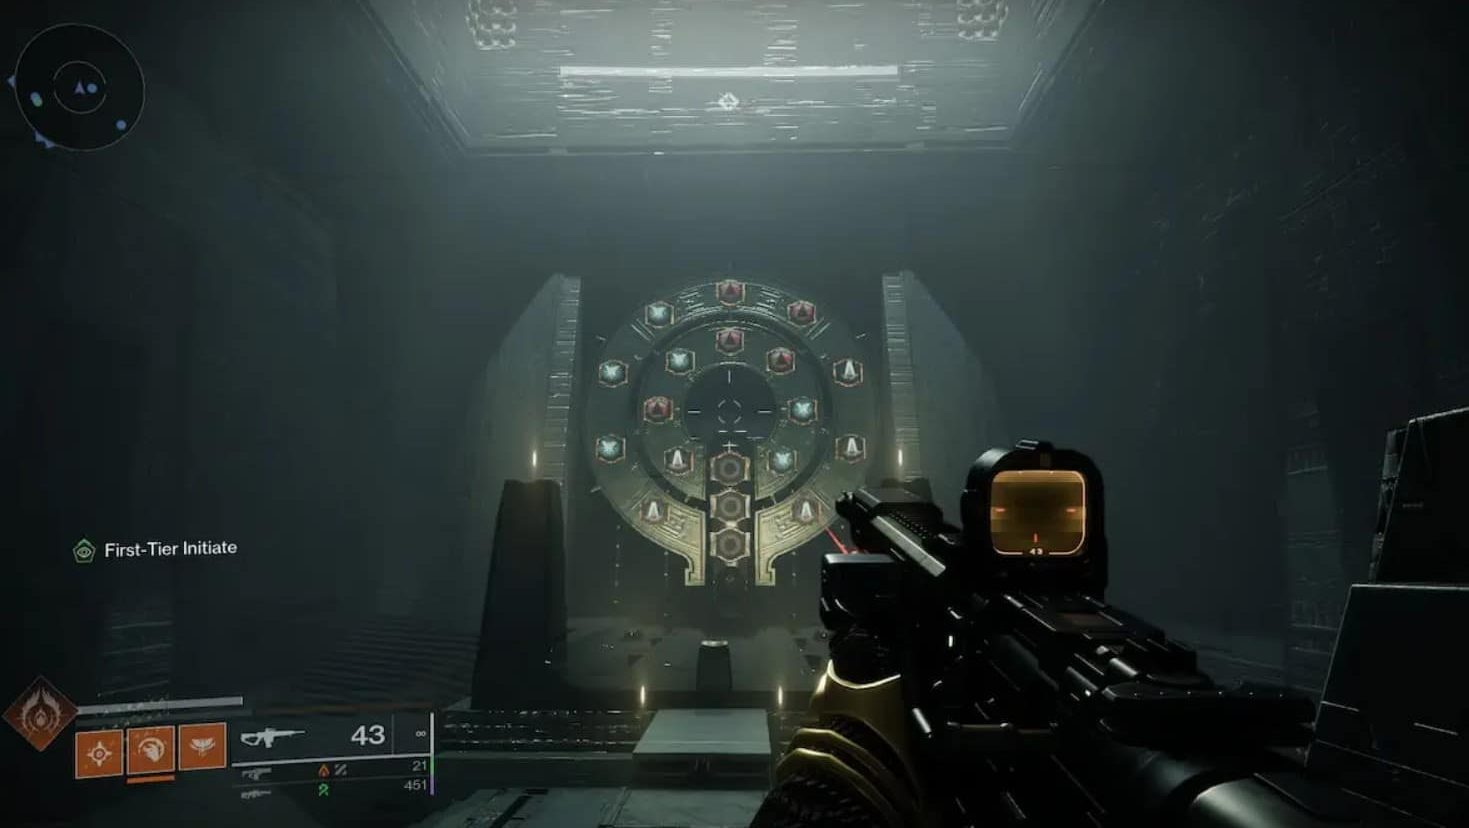
How to Get Speaker’s Sight in Destiny 2 – 2025 Guide
Learn how to get Speaker’s Sight in Destiny 2. Discover the best builds and how this exotic item compares to Mataidoxia in 2025!

Darya Chavez is a gaming journalist passionate about delivering the latest news from the world of video games. With a sharp eye for industry trends and updates, she keeps players informed about upcoming releases, events, and major game changes.
8 comments
baby bounce back body
February 26, 2025 at 1:35 pmMan, Bungie really loves their glyph puzzles. Hope this one isn’t as frustrating as the Presage mission.
女の子の自慰行為ポルノ
February 26, 2025 at 1:35 pmWait, so this is inside the Sundered Doctrine dungeon? Do you HAVE to complete the dungeon first to unlock it?
saucepan
February 26, 2025 at 1:35 pmI swear, these secret quests always turn into a 2-hour YouTube deep dive before I even attempt them. 😂
laughter
February 26, 2025 at 1:36 pmWhat’s the reward for this quest? If it’s just an emblem, I’m gonna be mad. Give us a sick Exotic!
nepotist
February 26, 2025 at 1:36 pmDoes the Labyrinth change every run, or is it a fixed layout? I don’t wanna spend hours lost in a maze.
mauris
February 26, 2025 at 1:36 pmAnyone else hoping this has some Hive-Worm related lore? The whole Dreadnaught vibes in Episode Heresy are amazing
dishiest
February 26, 2025 at 1:37 pmGlyph puzzles are cool and all, but please tell me there’s a respawn checkpoint and not instant wipe mechanics.
explodingbrands.de
August 26, 2025 at 11:41 pmFantastic read! 👏 I really appreciate how clearly you explained the topic—your writing not only shows expertise but also makes the subject approachable for a wide audience.