TABLE OF CONTENTS
The new Destiny 2 Season of the Deep mission is featured in the Deep Dive activity and requires some effort to be unlocked. Once you start the quest, you have to be ready to fight a few bosses for a limited time. If your fireteam succeeds, you will get Wicked Implement, a Stasis Exotic Scout Rifle. With that being said, let’s walk you through everything you need to do to secure this weapon.
How to Start the Wicked Implement Quest
Unlike many quests, this one isn’t displayed in the Quest tab. To begin your journey, you need to catch three Exotic fish and deposit them into the H.E.L.M.’s aquarium. Here’s where you can find the needed fish:
You’ll be granted a Broken Blade per fish upon completing this small objective. You can find it in the Tackle Box in the inventory. Once you have three of these blades, you can begin the mission. Please note that you only need three blades across your team, meaning that if one of the teammates has them, you don’t need to collect them.
How to Start the Mission
Now that you have blades, you need to enter the Deep Dive activity. The best thing you can do here is to play with your friends or someone you can rely on without turning to matchmaking. This mission is considered one of the most difficult ones in the game, so you need a well-coordinated team.
After you start the activity, your primary goal is to activate three Hive altars by offering the blades you obtained. These altars are hidden between the first two encounters, so you should be really careful not to miss them. The correct interaction with the altar will trigger dialogue from Xivu Arath, and once all are activated, you will open the secret mission’s entrance.
To help you with locating the altars, here’s how you can find them.
The First Altar (Before the First Encounter)
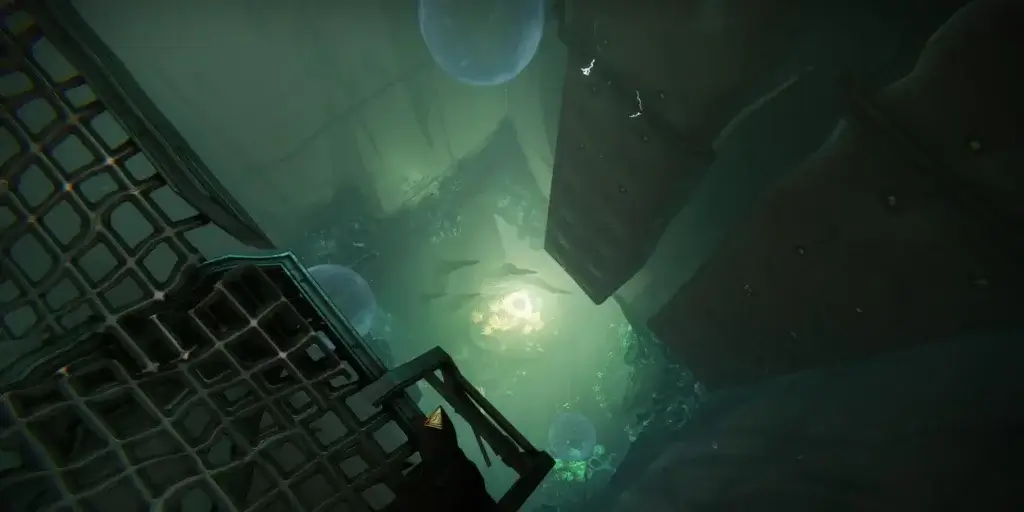
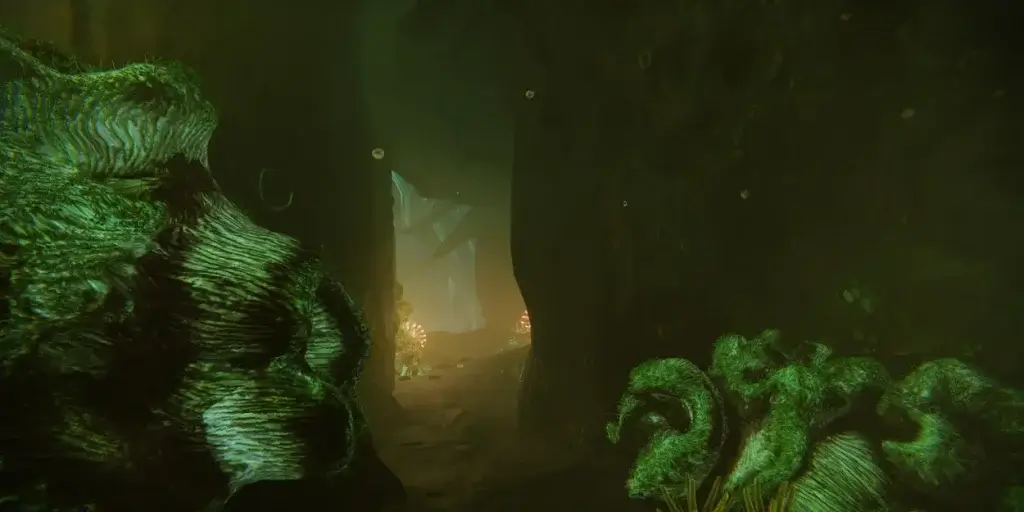
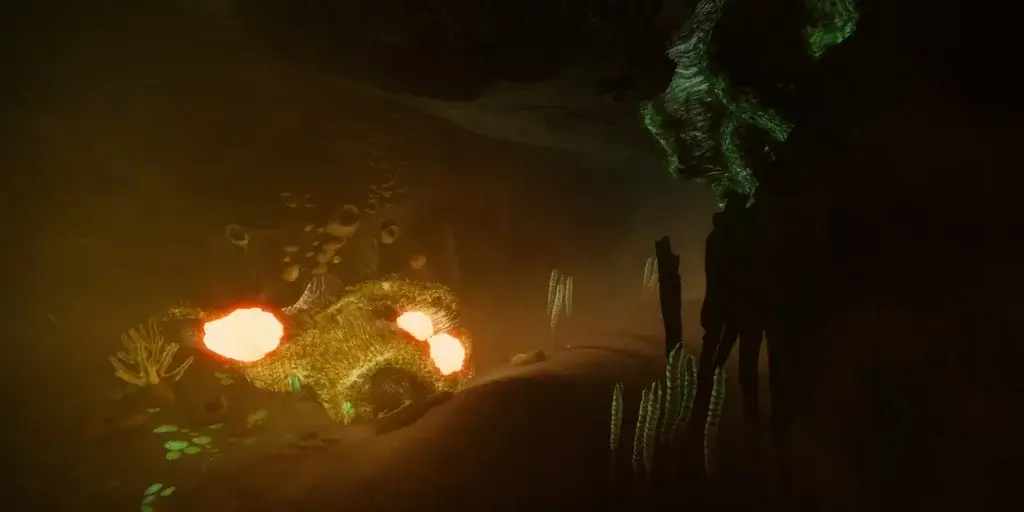


This one is located at the beginning of the activity. Once you lower the rig to the ocean floor, you’ll see a small pathway splitting in two. Take the right one and search for a gap in the ground. The altar is near a pressure bubble there.
The Second Altar (The Encounter Arena)
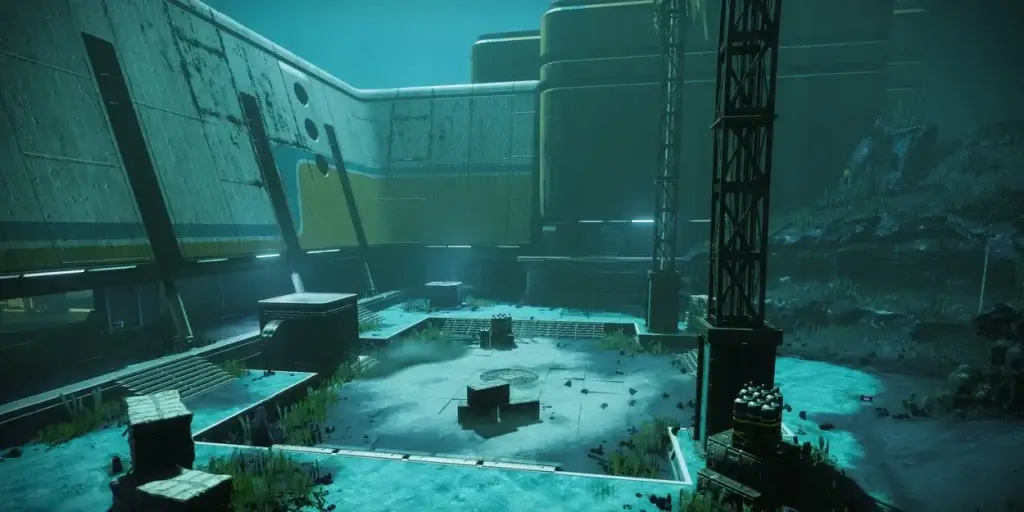
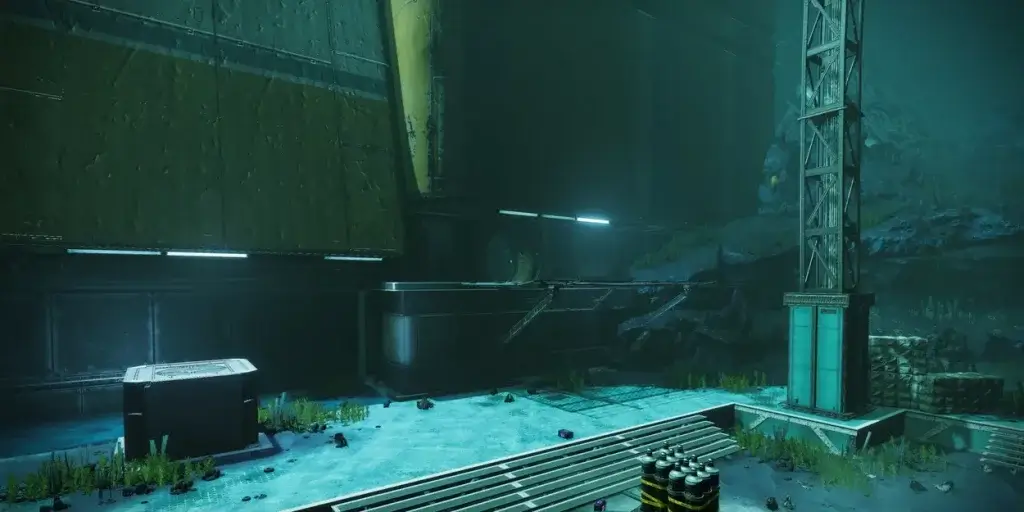
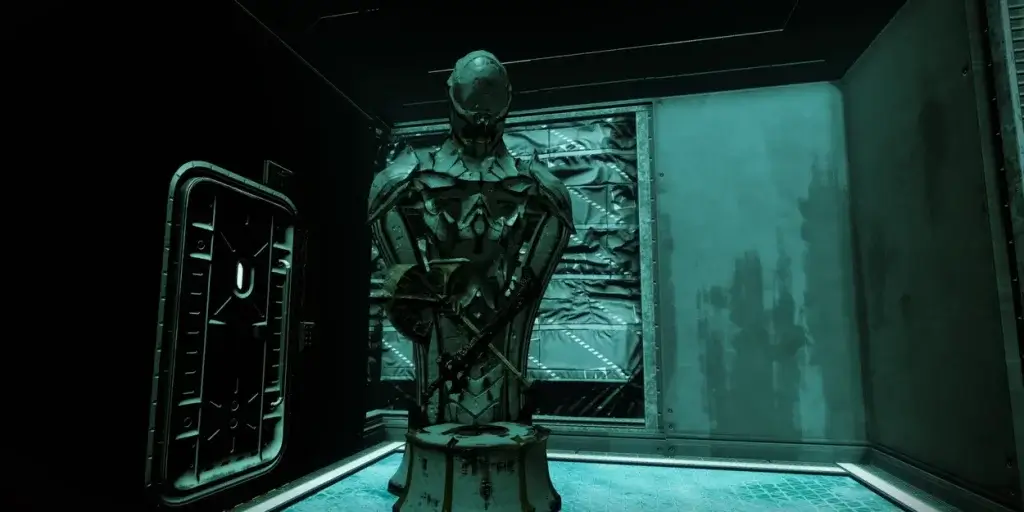
After you’re done with the encounter, head into the structure to the left of the way out. An altar awaits inside.
The Third Altar (Before the Second Encounter)
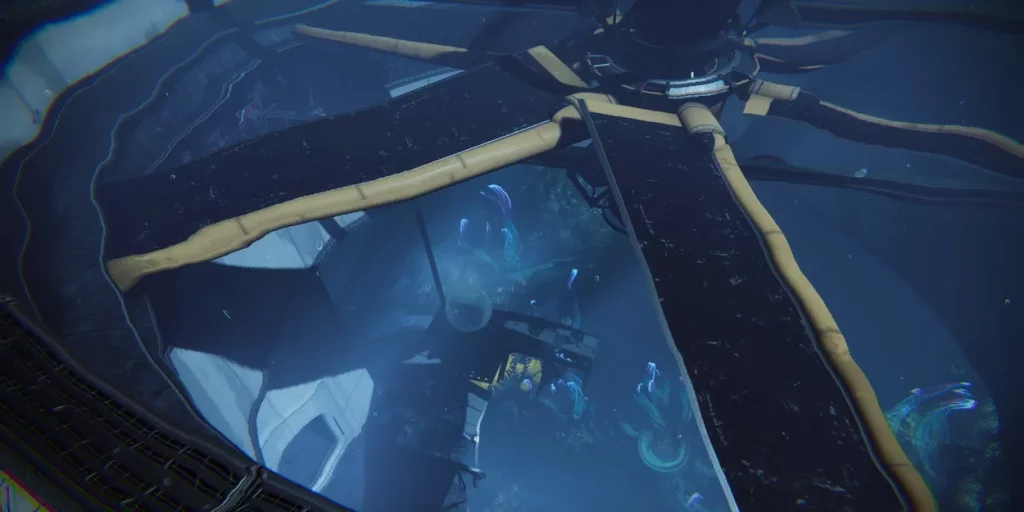





When you’re on your way down to the next encounter, stick to the usual path until you reach a slim ledge with a pressure bubble. This is the final drop before the exit. Rather than jumping down, move along the slim ledge on your left. The altar is at the ledge’s end.
Once all altars are activated, and you finish the second encounter, the mission’s entrance will appear. A waypoint on your HUD will show you the different exit, so you need to head there and interact with the altars inside. This action will remove the forcefield blocking the next section and allow you to start the secret mission.
How to Complete the Mission
The first thing you need to do here is to go through two underwater sections. After you leave the first one behind, you’ll need to fight a few Taken enemies, for which you can use your Primary weapon.
Then, once you go through the second section, you’ll find yourself in a pretty small room guarded by Khull, Executioner Knight, who’s protected from any incoming damage. To make the boss vulnerable, you need to kill Taken Minotaurs, as each of them grants a stack of Deathly Sharp. Three of those will remove Khull’s protection for 75 seconds, so you need to defeat three Minotaurs. When you take a little of its HP, the boss will retreat, revealing the nearby Pyramid entryway.
Now is a good time to adjust your loadout, as once the encounter starts, you will have only 10 minutes to complete the mission. If your team wipes or the time expires, you will be sent back to orbit. So, be extra careful and make sure to keep an eye on the timer.
Khull, Executioner Knight


Begin the encounter by sliding under the wall. Fight the Taken enemies that appear by a floating Darkness shard. Destroy the shard, kill the Taken, and move to the next room that’s now not blocked by forcefield. Clear this room and look for another Darkness shard under the stairs. Shoot the shard and walk up the stairs to the boss area.
The boss, Khull, will appear when you enter, and soon after, more Taken will arrive. You need to defeat three Taken Minotaurs to begin the DPS phase. Two of them you can find behind forcefields on opposite ends of the room. Shoot the floating Darkness shard in the arena’s center to remove these barriers. Remember, each Minotaur has other enemies around it. Use a special ability or add-clearing Exotic to handle them.
Before defeating all three Minotaurs, try to get rid of the other enemies. Hobgoblins in the arena’s corners are your priority. Eliminate them before dealing with the Acolytes. A powerful Primary or Machine Gun should do the job. Then, defeat the last Minotaur to gain maximum Deathly Sharp stacks and weaken the boss. You now have 75 seconds to defeat Khull. Use all your abilities, Super, and Heavy weapons to drain Khull’s health. After defeating it, clean up the remaining enemies before moving forward.
Omen, Blade of the Black Terrace
Before entering the next area, you can use a Rally Banner and swap weapons or subclass. Now that you’re all set, you can proceed further.
In the next section, you’ll find yourself in the dark maze protected by Omen, Blade of the Black Terrace. It’s a Tormentor that isn’t affected by crowd control effects, such as Suspend, Blind, Freeze, and Suppression. Moreover, just like Tormentors in the Lightfall campaign and Root of Nightmares raid, this one’s moveset has a deadly grab attack that can one-shot you. So, don’t let the boss grab you.
Once you enter the maze, Omen will appear before you, so the best strategy here is to find walls you can slide under to confuse the boss and give yourself some time to navigate the area. Just like with the previous boss, you need to locate and eliminate three Minotaurs to trigger the DPS phase. And you can find those at the maze’s corner where they usually spawn.
To efficiently handle the enemies, you’ll need to split your team up so that everyone can explore each side of the maze. If you’re playing alone, you can start with one corner and move clockwise. Also, here’s the tip if you’re completing the mission solo: battle the Tormentor at the maze entrance. Omen will stay near the maze center and will retreat if you slide under a nearby wall. Use a precise weapon to hit its chest, slide under the wall to make Omen fall back, then slide under again to attract it. Keep repeating this until the DPS phase ends.
Now back to the scenario where you’re playing with a team. Once you have three Deathly Edge, the Tormentor pulls back to the maze center, shielded by some Taken Psions and Phalanxes. Your team has 75 seconds to hurt the Tormentor as much as possible. Tormentors are less affected by abilities and body shots, but chest weak point hits cause a lot more damage. Use precise weapons. When your Deathly Edge stacks disappear, go back into the maze and kill three more Minotaurs to start another DPS phase. Keep repeating this until Omen is defeated, which will indicate that the mission is completed.
If you finish the mission on time, the new doorway will open, and you can head there to find a giant Darkness statue. Communing with it will give you Wicked Implement, the Destiny 2 Season 21 Exotic weapon.
About Wicked Implement
As was mentioned earlier, the new weapon is the Exotic 180 RPM Scout Rifle for the Kinetic slot. What makes it special is its two perks. The first, Creeping Attrition, loads this weapon with slow-inflicting rounds after you hit five accurate shots. These hits can be on different targets to activate this feature. When you accurately kill while Creeping Attrition is on, you’ll activate Tithing Harvest, making a Stasis Shard at the dead target’s location. Also, grabbing any Stasis Shards reloads the weapon. This makes Wicked Implement good for Stasis setups and the only option right now to make Stasis Shards.
As for the Wicked Implement’s Exotic Catalyst, it’s currently time-gated, so no one has obtained it yet at the time of writing.
Skip the Mission and Get the New Exotic Now
Now you know how you can obtain the Wicked Implement Scout Rifle and understand how difficult it might be. There’s a high chance that it might take a few attempts to complete the mission successfully, especially when you don’t have a reliable fireteam. But don’t let these make you stop from trying to get the weapon because you can always turn to LFCarry’s PROs for assistance.
They will be more than happy to help you finish this mission and obtain the coveted Exotic. All you need is just go to LFCarry.com and pick the corresponding offer. It’s easy as pie, so don’t wait and be among the first ones who get Wicked Implement!
Read also:
Polly Gruse is a seasoned gamer with extensive experience in the Call of Duty series, as well as deep expertise in Destiny 2 and World of Warcraft, allowing her to craft detailed guides and insightful analyses that help players refine their skills, master game mechanics, and stay ahead of the competition.

