Mastering Helldivers 2 requires more than just knowing the best weapons—it’s about understanding how to synergize your arsenal with your team for unparalleled efficiency and dominance. Whether you’re tackling hordes of Terminids or facing off against relentless Automatons, the right weapon combinations can make all the difference. Dive into our comprehensive weapon tier list, updated with the latest additions like the Truth Enforcers Warbond, and discover how to build the ultimate loadout for every mission.
Helldivers 2 Weapon Tier List: Optimize Your Loadouts
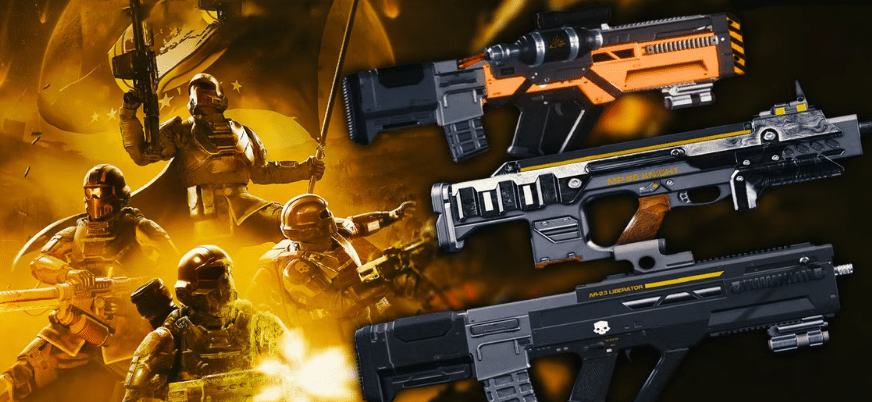
In Helldivers 2, choosing the right weapons is crucial, but understanding how they complement your teammates can elevate your gameplay to new heights. With recent patches introducing the Truth Enforcers Warbond and buffing previously weaker guns, nearly every weapon now has a place in various mission types. Our updated tier list not only ranks the best weapons but also explores how to create synergistic loadouts that enhance your team’s effectiveness in high-difficulty missions.
S-Tier Weapons: The Best of the Best
These weapons are indispensable for any high-level mission, offering unmatched damage, versatility, and strategic utility. When paired correctly, they form the backbone of a formidable team composition.
- Railgun (Stratagem)
Description: A single-shot powerhouse, particularly deadly in Unsafe Mode with precise headshots.
Synergy: Pair the Railgun with teammates using area-of-effect (AoE) weapons like the Flamethrower. While the Railgun eliminates high-priority targets, AoE weapons can handle swarms, ensuring no enemy gets left behind. - Quasar Cannon (Stratagem)
Description: Fires a powerful energy laser, perfect against high-armor targets, though it has a cooldown.
Synergy: Combine the Quasar Cannon with support Stratagems such as the Commando. While the Quasar handles armored foes, the Commando can provide additional firepower and crowd control, creating a balanced offense. - Sickle
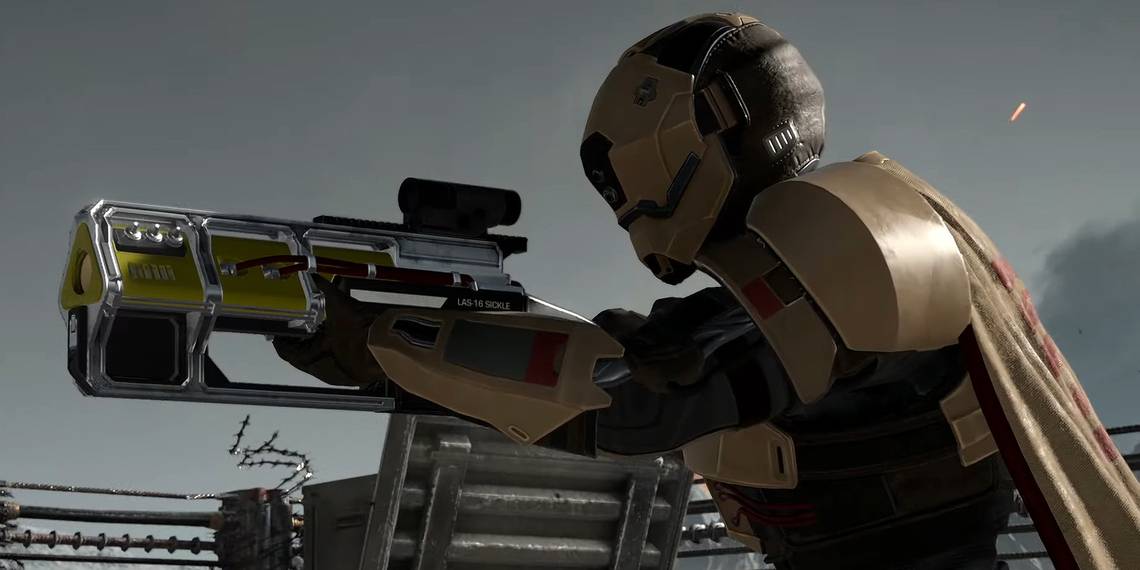
Description: An energy rifle that cuts down enemies swiftly and boasts excellent cooldown management.
Synergy: The Sickle works exceptionally well with defensive Stratagems like the Stun Grenade. While the Sickle deals consistent damage, the Stun Grenade can immobilize enemies, making them easier targets. - Flamethrower (Stratagem)
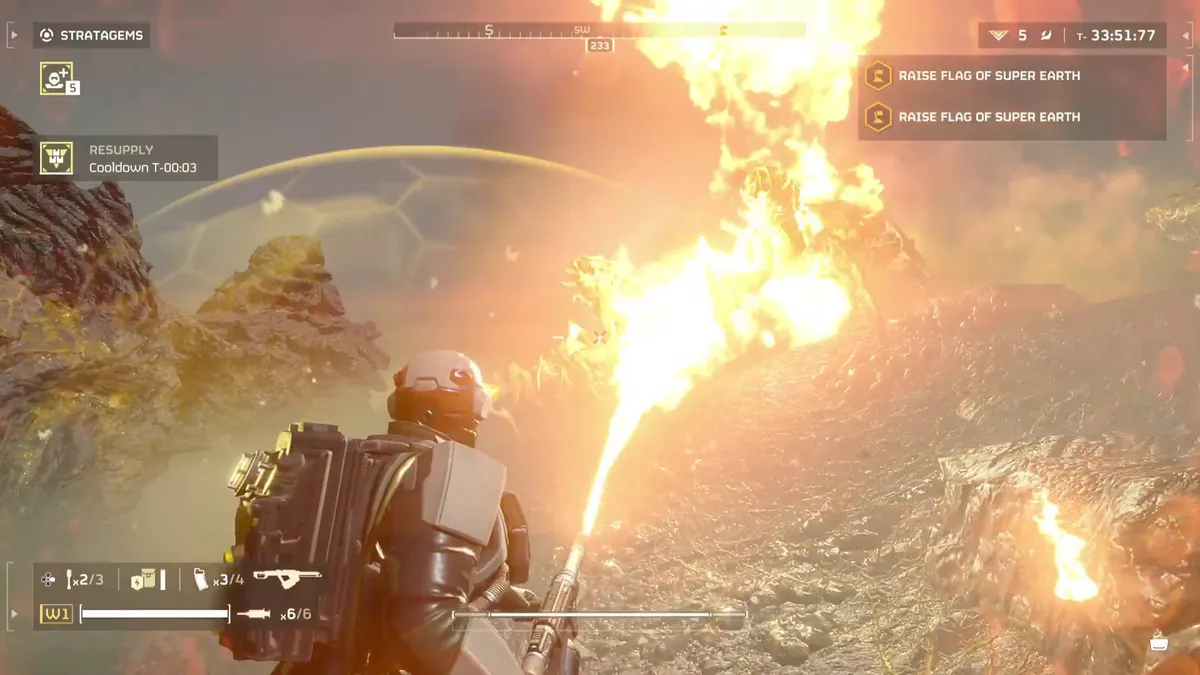
Description: Essential for bug extermination, the Flamethrower’s Enhanced Combustion upgrade amplifies its effectiveness against Terminids.
Synergy: Team members can focus on ranged precision weapons while the Flamethrower controls the battlefield, preventing enemies from overwhelming your squad.
A-Tier Weapons: Powerful Picks with Minor Drawbacks
These weapons offer substantial power with specific advantages, making them excellent choices in certain scenarios and team setups.
- Autocannon (Stratagem)
Description: A high-damage automatic cannon ideal for structure destruction and holding off armored foes, though it requires a backpack.
Synergy: Pair the Autocannon with heavy melee classes like the Warrior. While the Autocannon handles ranged threats, melee teammates can engage enemies up close, providing comprehensive coverage. - Eruptor
Description: From the Democratic Detonation warbond, this rifle’s exploding shells pack a punch but require precise handling to avoid self-damage.
Synergy: Use the Eruptor alongside healing Stratagems. The explosive damage can quickly thin enemy ranks, while healing ensures your team remains resilient against retaliations. - Anti-Materiel Rifle (Stratagem)
Description: A potent sniper that penetrates armor, great for distant damage against Automatons.
Synergy: Combine with stealth or mobility-focused teammates. The Anti-Materiel Rifle can pick off high-value targets from afar, while agile teammates can maneuver to control the flow of the battle. - Stalwart (Stratagem)
Description: A machine gun with a large magazine and strong mobility, effective for crowd control in Terminid-heavy areas.
Synergy: Coordinate with weapon specialists using AoE abilities. Stalwart handles multiple foes, while teammates can focus on single, high-damage targets.
B-Tier Weapons: Solid Options That Suit Certain Playstyles
B-tier weapons are reliable choices with unique utilities that shine under specific conditions or team compositions.
- Laser Cannon (Stratagem)
Description: Fires a continuous laser beam with infinite ammo, strong against Automatons but easy to overheat.
Synergy: Best paired with defensive setups. The Laser Cannon can maintain sustained pressure on enemies, while teammates use defensive Stratagems to protect and support. - Defender
Description: A fast-firing SMG that handles well at close range, particularly against lower-tier bugs or Terminid rushes.
Synergy: Works well with heavy support roles. While the Defender manages close encounters, support Stratagems can handle medium to long-range threats. - Arc Thrower (Stratagem)
Description: An infinite-ammo lightning gun with strong crowd-control capabilities but limited killing power on armored enemies.
Synergy: Combine with high-damage single-shot weapons. The Arc Thrower can stun and control the battlefield, allowing high-damage weapons to focus on eliminating targets. - Slugger
Description: A shotgun with an impressive damage output against medium-tier bots, especially after recent buffs.
Synergy: Ideal for teams with a balanced mix of melee and ranged combatants. While Slugger clears close threats, ranged teammates can handle enemies from a distance.
C-Tier Weapons: Average Choices for Limited Situations
These weapons are less effective in general but can be useful in specific scenarios or with the right team composition.
- Machine Gun (Stratagem)
Description: Its high capacity and rapid fire rate are useful, but the reload speed can be an issue during intense battles.
Synergy: Pair with support roles that can manage reloading or provide cover fire, allowing the Machine Gun user to maximize their fire rate without interruption. - Heavy Machine Gun (Stratagem)
Description: Powerful but difficult to control due to recoil, and best used in a stationary position.
Synergy: Use with defensive Stratagems that protect the Heavy Machine Gun user while they maintain a strong, focused line of fire. - Adjudicator
Description: A dependable assault rifle with decent armor penetration, though it requires frequent reloading.
Synergy: Coordinate with teammates who can provide ammunition resupply or use loadout stratagems to keep Adjudicators firing continuously.
D-Tier Weapons: Not Worth the Loadout Space
challenging missions and are best avoided.
- PLAS-101 Purifier
Description: Its slow charge and short range make it unwieldy against fast or distant enemies.
Synergy: Limited synergy potential; better weapons exist for handling both close and ranged threats. - K-2 Throwing Knife
Description: Lacks sufficient power or utility to justify its use over other grenade or secondary weapon options.
Synergy: Minimal; rarely complements any team strategy effectively.

Make Your MWZ Experience Easy with LFCarry
Automaton Enemies:
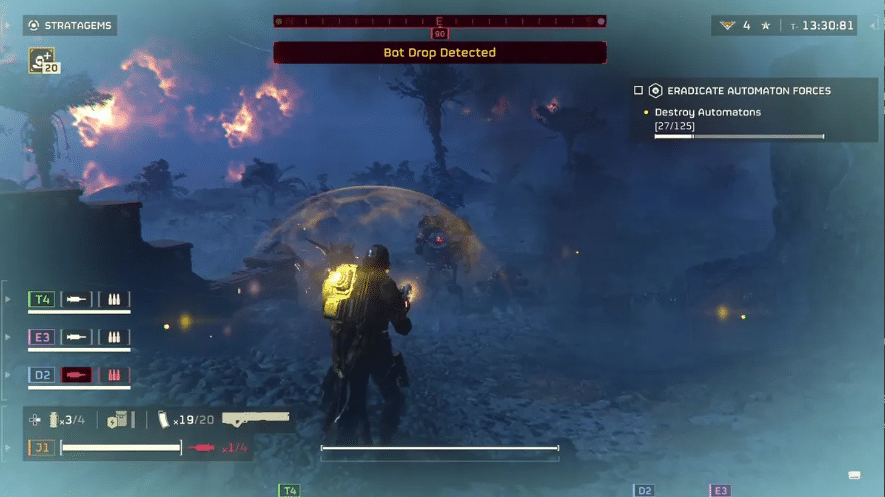
Automatons are heavily armored and often attack from range, making high-penetration and precise damage crucial.
- Railgun: Ideal for piercing armor and eliminating high-value targets.
- Sickle: Excellent for rapid, precise strikes against weak spots.
- Quasar Cannon: Effective against bulky units and aerial threats.
- Commando: Great for dealing with large, armored groups.
- Spear: Perfect for targeting stationary defenses and high-armored enemies.
Terminids (Bugs):
Terminids are less armored but come in swarms and excel in melee combat, requiring effective crowd control and sustained damage.
- Flamethrower: Essential for controlling hordes and dealing sustained damage.
- Sickle: Quick-fire weapon that can manage multiple enemies efficiently.
- Incendiary Breaker: High damage output with fire specialization, though ammo management is key.
- Stalwart: Rapid-fire machine gun that keeps Terminids at bay.
- G-13 Incendiary Impact Grenade: Perfect for area denial and continuous damage over time.
- SG-451 Cookout Shotgun: Devastates groups of bugs with concentrated firepower.
Team Composition Strategies: Synergize Your Arsenal
Creating a balanced team composition in Helldivers 2 involves more than just selecting top-tier weapons—it’s about ensuring that each member’s loadout complements the others, creating a cohesive and formidable force against any enemy.
- Balanced Loadouts: Ensure your team has a mix of high-damage, crowd-control, and support weapons. For instance, pairing a Railgun user with a Flamethrower wielder allows for both precise target elimination and effective crowd management.
- Role Specialization: Assign specific roles based on weapon strengths. Designate roles such as “Sniper” with the Railgun, “Crowd Control” with the Flamethrower, and “Support” with weapons like the Quasar Cannon or Commando. This specialization ensures that each aspect of the battlefield is covered effectively.
- Complementary Stratagems: Utilize Stratagems that enhance team synergy. For example, a Stun Grenade user can immobilize enemies, making them easier targets for high-damage weapons, while a Healing Stratagem can keep the team sustained during intense firefights.
- Adaptable Strategies: Be ready to switch weapons or roles based on mission requirements. Flexibility in loadouts allows your team to respond to changing enemy types and mission objectives seamlessly.
By thoughtfully combining weapons and roles, your team can handle diverse challenges more efficiently, ensuring success even in the most demanding missions.
Gear Up and Dominate with LFCarry
Ready to maximize your Helldivers 2 experience? Let LFCarry’s Boosting Service take your gameplay to the next level. Our expert boosters can help you acquire the best gear, optimize your loadouts, and conquer high-difficulty missions with ease. Don’t let grinding slow you down— Visit LFCarry.com now and gear up for victory!
Read also:

Darya Chavez is a gaming journalist passionate about delivering the latest news from the world of video games. With a sharp eye for industry trends and updates, she keeps players informed about upcoming releases, events, and major game changes.

1 comment
healxo
November 6, 2024 at 12:07 pmNice blog here Also your site loads up fast What host are you using Can I get your affiliate link to your host I wish my web site loaded up as quickly as yours lol