Step into the enigmatic world of Crota’s End, a raid that has left many Guardians puzzled and defeated. This guide is your key to unlocking the secrets of the Hive fortress. Every detail is covered, from the labyrinthine corridors of the Hellmouth to the final showdown with Crota. Learn how to harness the Enlightened buff, locate secret chests, and coordinate your team like a pro. If you’re tired of hitting a wall and ready to claim the spoils that have eluded you, this guide is your roadmap to victory.
TABLE OF CONTENTS
Preparing for the Crota's End Raid: The Loadout and Team Guide
Crota’s End is a raid that leaves little room for error, featuring multiple sections where combat is unavoidable. Before you dive in, it’s crucial to note that your team’s Power Level should be at least 1790 for Normal difficulty and 1820 for Master Difficulty. Unlike the Vault of Glass, this raid offers loot, but no XP, and the Master version is significantly more challenging. Your choice of build, weapons, and team composition can significantly impact your raid experience. This guide aims to provide you with the most effective strategies for tackling this challenging raid.
Note on Flexibility
While this guide offers what are generally considered to be the most effective strategies, it’s important to remember that Destiny 2 is a game that allows for flexibility. You can complete the raid with various weapons, classes, and perks that suit your playstyle. The recommendations here are designed to make your raid experience smoother but are by no means the only viable options.
Essential Team Composition
Regarding team composition, the goal is to balance survivability, crowd control, and damage output. Here’s what you should consider:
- Titans: Opt for Ward of Dawn for added protection and damage buffs.
- Nightstalker Hunter: Utilize Shadowshot to tether enemies and debuff them, making them easier to kill.
- Warlock: Well of Radiance is indispensable for healing and damage boosts.
Must-Have Weapons
The arsenal you bring into Crota’s End can make or break your raid experience. Here are the weapons you shouldn’t go without:
- Divinity: Essential for debuffing enemies and creating critical hit points.
- Gjallarhorn: A classic choice for massive damage, especially useful for boss fights.
- Tractor Cannon: Ideal for debuffing enemies and works well in tandem with other heavy weapons.
- Outbreak Perfected: Excellent for sustained damage and clearing adds.
Specialized Weapons for Specific Encounters
Certain encounters in the raid require specialized weaponry:
- Shotguns for Hive Knights: Opt for high-damage shotguns with slug rounds. Recommended options include Heritage, Nessa’s Oblation, One-Two Punch variants like Wastelander M5, and Trench Barrel options like Basso Ostinato.
- Sniper Rifles for Long-Range: When you need to clear the Bridge or take down Wizards, Sniper Rifles like The Supremacy or Succession are your best bet.
Add-Clearing Weapons
For clearing out large groups of enemies, consider the following:
- Forbearance: Currently one of the best Grenade Launchers in the game.
- Thunderlord: Excellent for shredding through groups of enemies.
- Tessellation: Effective for quickly eliminating swarms of foes.
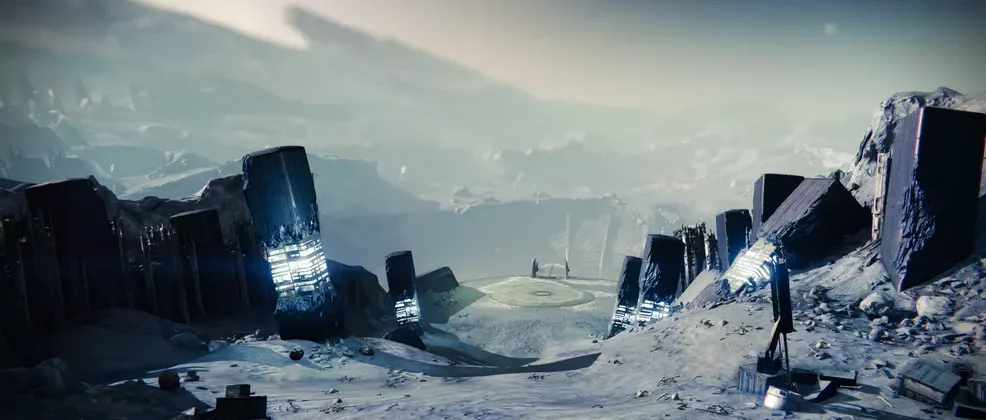
Entering the Hellmouth: How to Access Crota's End Raid
To kick off the raid, your team needs to construct a bridge leading into the Moon’s Hellmouth. Here’s a step-by-step guide:
- Pick up the Chalice of Light.
- Hold it until the charge bar fills.
- Interact with the plate to add more charge.
- Another team member should then take the. Chalice and continue the charging process.
- Complete these steps until the bridge is fully constructed.
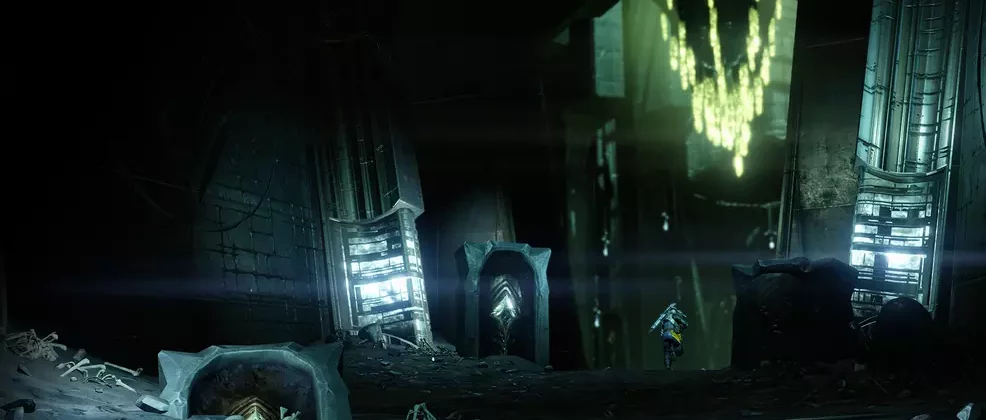
The Abyss: Your First Challenge
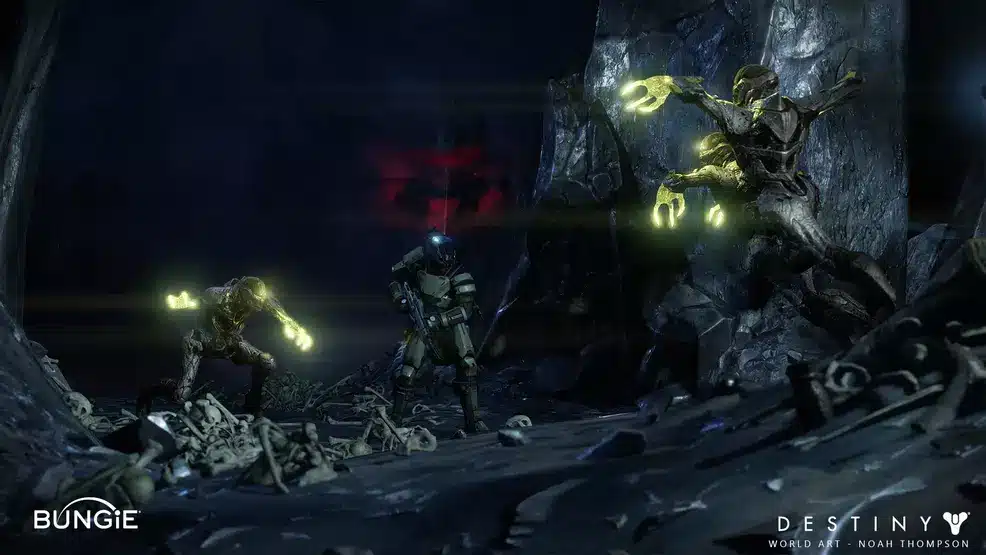
Bonus Chest Location: Hellmouth’s Abyss
After landing in Hellmouth’s Abyss, don’t rush towards the first lamp. Instead, veer left at the nearest column and proceed straight until you encounter a door. Let the Thralls eliminate you a few times to boost the likelihood of the chest materializing behind this door. Repeating this action should eventually reveal the chest.
Key Mechanics and Effects
Understanding the mechanics is crucial for survival. Here are the key elements:
- Chalice of Light: Charges slowly to four bars, enabling you to become Enlightened.
- Enlightened: Allows activation of a lantern.
- Drained of Light: Post-activation, you can’t pick up the Chalice again.
- Weight of Darkness: Slows your movement as it fills up to x10.
- Engulfed in Darkness: A 60-second countdown that leads to death if not reset.
The mechanics here are not just obstacles but also tools. Use them wisely to navigate through the Abyss effectively.
Strategy and Execution
- Pick up the Chalice and move toward the first lantern.
- Wait for the Chalice to charge and pass it to a teammate.
- Deposit it in the preservation node beside the lantern.
- An Enlightened player should activate the lantern to remove the. Weight of Darkness and reset the Engulfed in Darkness counter.
- Another player retrieves the Chalice from the preservation node.
- Repeat this process, moving from one lantern to the next. Preservation nodes are located beside every 4-5 lanterns.
Coordination is key. Make sure to communicate effectively with your team to pass the Chalice and activate the lanterns in a timely manner.
Challenge: Conservation of Energy
Only activate a lantern if you’ve first preserved the Chalice of Light beside it. Failure to do so will result in a failed challenge.
Pro Tip
Watch for the lantern’s color change from white to orange; this indicates an imminent explosion, giving you a chance to move away.
Final Task
At the end of the Abyss, locate a Hive plate. Your team must defend this plate from enemies for 60 seconds. Success will form a bridge, leading to the next encounter.
The Bridge Encounter
The Bridge is a multi-layered challenge that tests your team’s coordination and timing. This encounter is all about building and crossing a bridge while dealing with a variety of mechanics, including the Enlightened buff and Annihilator Totems. The key is to manage these elements effectively while ensuring that all team members make it across safely.
Key Mechanics and Effects
- Challenge: Precarious Balance: Players must cross the bridge as it deforms.
- Chalice of Light: Charges over time; grants the Enlightened buff when taken.
- Enlightened Buff: Allows you to charge the bridge or pick up a sword.
- Annihilator Totems: Activate when the bridge starts forming.
Always have at least one player standing on the middle plate to keep the bridge forming.
Strategy and Execution
- Initial Phase: Stand on the Hive plate to start forming the bridge. The more Enlightened buffs your team has, the faster the bridge will form.
- Crossing the Bridge: Players can only cross if they hold a sword or the Chalice of Light. To pick up a sword, you must be Enlightened.
- After Crossing: Defeat the Gatekeeper and deposit the sword in a preservation node. Use long-range weapons to assist teammates still on the starting side.
- Final Phase: Once all players have crossed, defeat the spawning Wizards and Ogres. Then, defeat the Gatekeepers using the swords collected.
Bonus Chest Location: Post-Bridge Encounter
Once you’ve successfully crossed the bridge and are on your way to face Ir Yut, pause when you reach the hallway. Eliminate the Shriekers to clear the path for one team member to access the door at the end of the corridor. Once this door is reached, the entire team can enter to claim the chest.
The Thrallway Encounter
The Thrallway serves as a transitional phase leading you to the next major encounter. It may seem straightforward, but it’s a race against time filled with barriers and Shriekers. The objective is simple: make it to the end. However, you’ll need to manage the Enlightened buff effectively to pass through the barriers and proceed.
Key Mechanics and Effects
- Chalice of Light: Required for the Enlightened buff to pass through barriers.
- Shriekers: Must be defeated to remove barriers.
The Enlightened buff is essential for passing through barriers. Make sure to hold the Chalice of Light.
Strategy and Execution
- Initial Phase: Move uphill, defeating Thrall and Shriekers. Hold the Chalice of Light to gain the Enlightened buff and pass through barriers.
- Barrier Removal: Once a Shrieker is defeated, its corresponding barrier will be removed.
- Final Phase: Deposit the Chalice of Light and jump into the hole that appears in the ground to proceed to the next encounter.
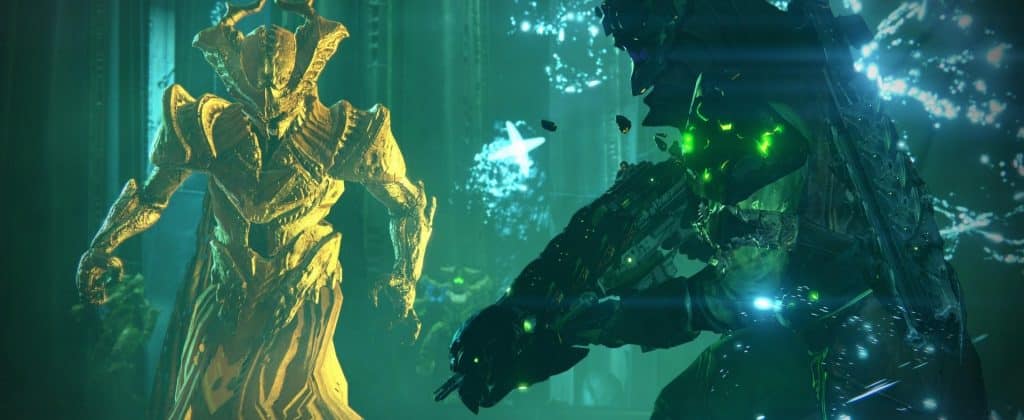
Ir Yut, the Deathsinger Encounter
This encounter is a race against time, as you must defeat Ir Yut before she completes her Liturgy of Ruin. The clock is ticking, and you have just 3 minutes to complete the task. The challenge here involves managing the Chalice of Light, eliminating Wizards, and finally, taking down Ir Yut herself.
Key Mechanics and Effects
- Challenge: Equal Vessels: Keep rotating the Chalice of Light among players in a set sequence, even during the damage phase.
- Chalice of Light: Similar to previous encounters, holding it grants you the Enlightened buff. However, once Enlightened, you can’t pick up the Chalice again for 45 seconds after losing the buff.
- Enlightened: This status allows you to bypass the green barriers in the room.
- Wizards and Shriekers: Your initial targets must be defeated to lower the barriers and access Ir Yut.
- Liturgy of Ruin: Ir Yut’s fatal song that will wipe the team if not interrupted within 3 minutes.
Strategy and Execution
- Team Division: Split your team into two trios, one for each side of the arena.
- Initial Targets: Quickly eliminate the Hallowed Wizards and Shriekers to gain access to the central crystal room where the Chalice of Light is located.
- Chalice Dynamics: Charge the Chalice so that three players earn the Enlightened status. During this time, designate a scout to identify the Wizards’ locations. They can appear in various rooms, including the towers and above the central crystal.
- Wizard Elimination: Coordinate to defeat all three Wizards simultaneously, if possible, to optimize the damage phase.
- Damage Phase: Once the Wizards are down, all focus shifts to Ir Yut. An Enlightened player can extend this phase by interacting with her, known as an Expunge, which temporarily removes her shield.
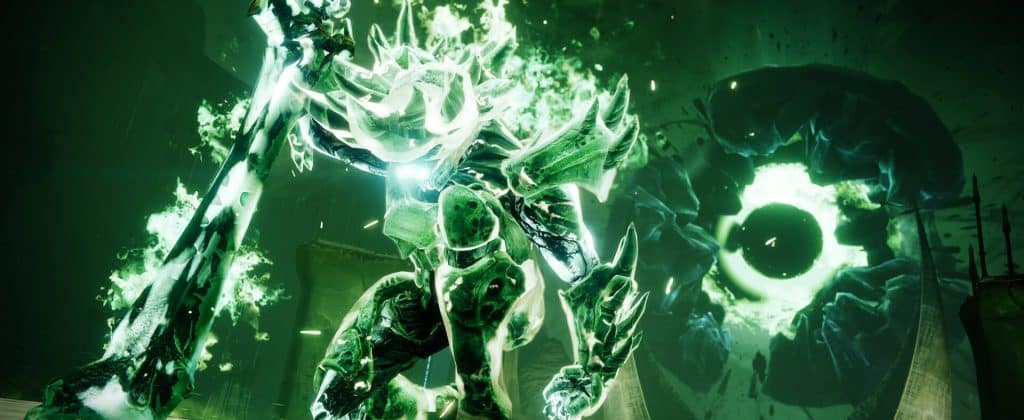
Crota, Son of Oryx Encounter in Destiny 2's Crota's End Raid
This is the grand finale of the Crota’s End Raid, where Guardians face off against the formidable Crota himself. The primary objective is strategically bringing down Crota’s shield and defeating him using specialized swords. This intricate challenge involves multiple mechanics and specific roles for each team member, making it a pinnacle Destiny 2 Raid experience.
Key Mechanics and Effects in Crota’s End Raid
- Challenge: All For One: To successfully bring down Crota’s shield, it’s crucial that three swords are used simultaneously.
- Chalice of Light: Functions similarly to previous encounters but comes with a unique twist—you can only swap it when standing in a beam of Light.
- Enlightened Buff: This is acquired by holding onto the Chalice until it’s fully charged. It enables you to pick up a sword, neutralize the Oversoul, or perform an Expunge on Crota.
- Presence of Crota Debuff: This restricts the swapping of the Chalice unless you’re positioned in a beam of Light.
- Swordbearer: This enemy spawns after you’ve defeated the Hive Knights situated in the towers and drops a sword upon its demise.
- Expunge: An Enlightened player has the ability to perform this action on Crota, dealing significant damage.
- Oversoul: This team-wiping mechanic must be promptly destroyed by an Enlightened player within a 30-second window.
Strategy and Execution for Crota’s End Raid
- Initial Phase: Your first task is defeating the Hive Knight Boomers in the towers to summon both the Swordbearer and Ogres.
- Sword Mechanics: Only a player with the Enlightened buff can pick up the sword dropped by the Swordbearer. Utilize it to dismantle Crota’s shield, requiring 2-3 swords.
- Damage Strategy: Guardians have the option to either use one sword at a time or accumulate three swords and coordinate an attack on Crota. If opting for a single sword, it’s advisable to have a player equipped with Healing Grenades to assist the sword-wielder.
- Damage Buffs: Maximize your damage output by employing a combination of Surge mods, Monochromatic Maestro, Lumina, and other potent buffs. If you’re using the one-sword-at-a-time strategy, deploy a Well of Radiance during the third sword phase and unleash The Lament for maximum damage.
- Oversoul Management: Be aware that Crota will summon an Oversoul during each damage phase. An Enlightened player must obliterate it within 30 seconds; however, doing so will terminate the damage phase. Timing is of the essence here.
- Team Composition: Assign specific roles to your team members, such as clearing enemies, finishing off the Swordbearer, and managing the Oversoul. It’s imperative to have multiple players achieve the Enlightened status to manage these tasks efficiently.
2. Consider employing a Burning Maul Titan Super to effectively stunlock Crota. At least one Hunter should activate Gathering Storm for a massive damage boost.
3. For the final stand against Crota, aim to get his health as close as possible to the threshold during the second damage phase. Conserve your Heavy ammo and Supers for this decisive moment.
Your Next Step in Conquering Crota's End
We understand that tackling Destiny 2 raids like Crota’s End is monumental. The mechanics are complex, the bosses relentless, and the clock unforgiving. You’ve got the ambition, but perhaps you’re missing that final element to turn your raid into a triumph. That’s where this guide comes in, providing you with specific strategies and insights tailored to Destiny 2 players’ challenges.
But what if you could do more than just read about tactics? What if you could secure those coveted raid rewards without the grind? Enter LFCarry.com, your go-to for specialized boosting services designed to elevate your Destiny 2 gameplay. Whether you’re hunting for that elusive exotic or aiming for a flawless raid, we’ve got you covered.
So, you’re at a crossroads: continue the grind and leave it to chance, or seize control of your Destiny 2 journey. This guide has armed you with the knowledge our Crota’s End Raid Boosts can provide the execution. The treasures of Crota’s End are no longer out of reach. The choice is yours.
Read also:

Lana Shakh is a dedicated gaming expert specializing in Destiny 2 and other popular online titles, creating in-depth guides that break down complex mechanics, optimize gameplay strategies, and help players of all skill levels achieve their in-game goals.

