TABLE OF CONTENTS
Many veterans will instantly recognize the new MWII map, Showdown, but in case you don’t know anything about it, it’s a map first introduced in the Call of Duty 4: Modern Warfare, released in 2007, and also one of the POIs featured in Warzone 2. In the multiplayer, this map is located in Al Mazrah’s Akhdar Village and contains two spawn points and five main sections where the action will take place. So, with that being said, let’s start our exploration!
Spawn Points
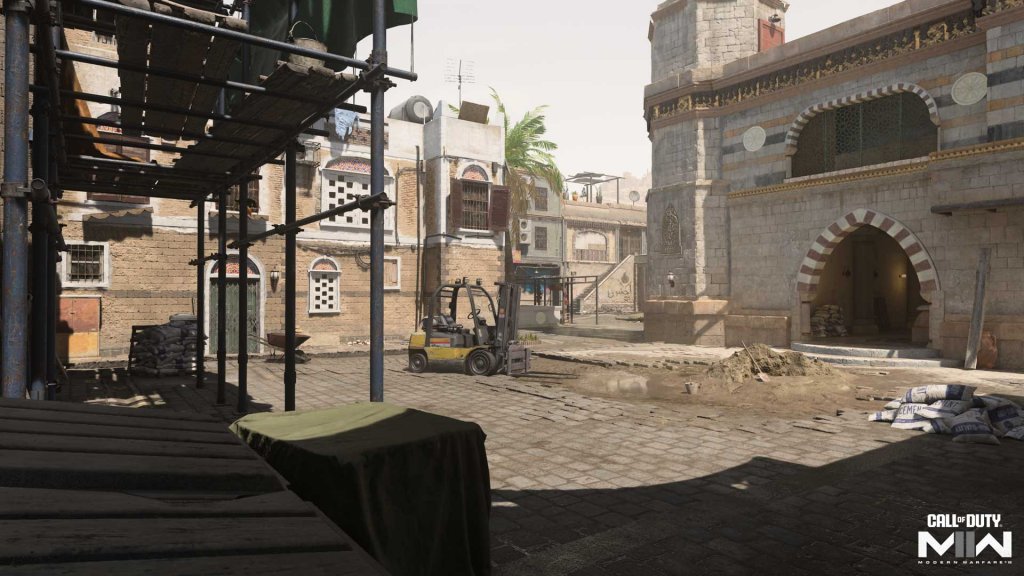
KorTac Spawn Zone (West): Construction
This faction spawns here, in the place that is currently undergoing renovations and that also offers a direct path through West Tunnel toward the courtyard. From here, you can also get to Chicken Coop in the south and to Food Stalls located in the north.
The direct path to the central Statue is quite dangerous, though the cover options like wooden pallets in the West Tunnel can aid you greatly when you need to hide from the opponents. Besides this route, you can try to use Food Stalls, which is a safer option due to the stairs that offer a way up and over a closed metal gate. Moreover, there’s Chicken Coop that can lead you to the Statue through the side entrance, which can become a great flank route against adversaries, though this path is more dangerous than Food Stalls.
SpecGru Spawn Zone (East): Main Entrance
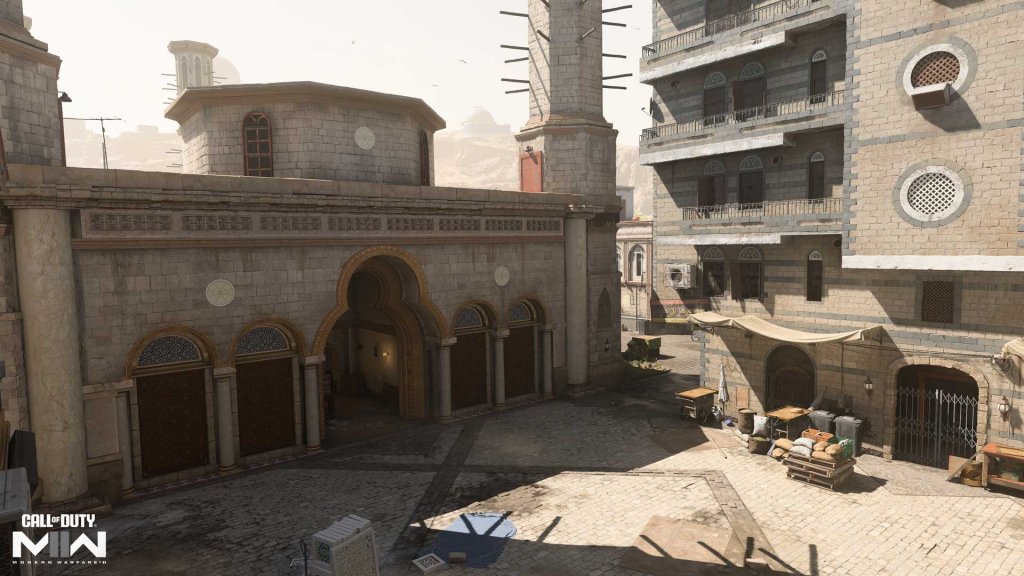
SpecGru uses the Main Entrance to spawn, which, too, offers a direct path to the courtyard as well as other options. Just like the West Tunnel, the East one has many covers you can use for defensive positioning.
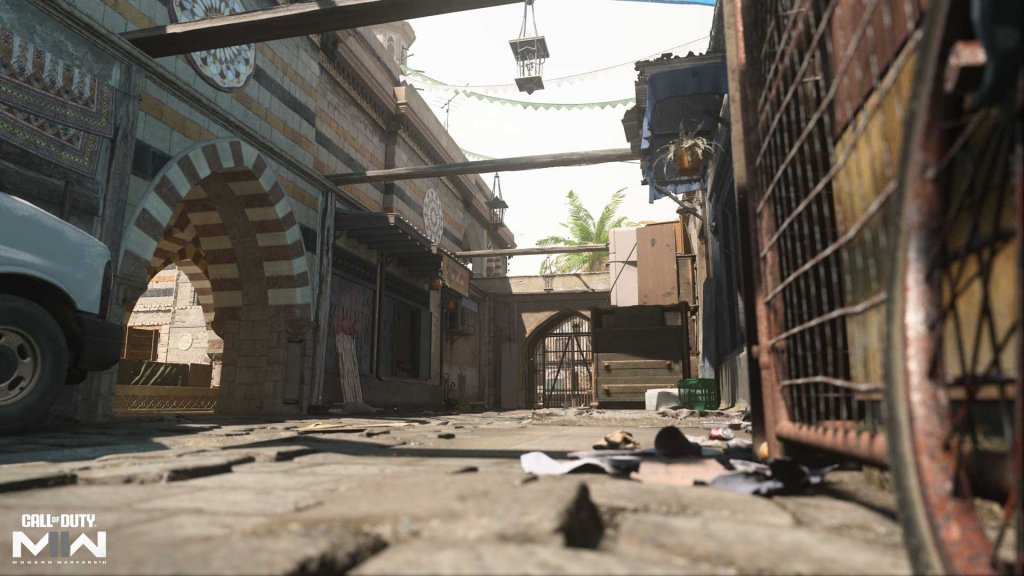
Moreover, there’s a Van route in the north that has clear lines of sight past the metal gate, and you can also climb atop the vehicle or to the overhead ledge to get a better view of the enemies on the other side. On top of that, you can use the entrance to the covered walkway that goes around the courtyard. The Glass shop in the south offers a less exposed path to the gate, and the stairs nearby can quickly take you to the second story of the courtyard.
Planning Routes in Showdown Sections
As was mentioned earlier, there are five of them where you can maneuver during the match: Construction, North Path, Main Entrance, South Path, and Courtyard. Here’s a closer look at how to navigate each of them.
Construction
This place is quite wide open, with only a few covering options, like a dumpster, forklift, and cement bags. Due to such exposure, you can be easily attacked from several directions: Chicken Coop, Food Stalls, and West Tunnel. Yes, you can use the cover, but it can only save you from one or two of the pathways, and also it prevents you from having full awareness of your surroundings.
Ask for support when you hold the area so that you can have right and left flanks covered. And if one of them is under attack, reinforcements should be brought up for better defense concentration.
North Path
This path includes Food Stalls, Van, and Blue Tarp. Van is pretty open and features some cover options. Moreover, you can use the vehicle to get onto the ledge overhead, run across the hanging boards to get to the other side or use the upper path to reach the Food Stalls or upper levels of the courtyard. From there, you can also use the ground-floor entrance into the courtyard, but be aware that you’ll be open to attacks from enemies if you go that way.
The corner staircase and low wall in front of the cafe in Food Stalls are great options for defense during the area coverage. If you cover the path through the gate, you can use a white planter box, from behind which you can shoot enemies using long-ranged weapons. And if you like an aggressive playstyle, you can use the staircase to deal with adversaries from above, or you can sneak into the top of the courtyard.
Main Entrance
Like Construction, this area is quite open and contains a few cover options, thus offering the same tactics. Make sure to request support when defending the place, as it helps you have control over three ways in, and be ready to run for the East Tunnel if aerial streaks come down on your position.
South Path
This one features Chicken Coop, Glass Shop, and Slide and provides different ways of crossing the map. Be ready that there are few options for cover, though a long planter box in the Glass Shop can serve as a great defensive position. Furthermore, you can use scaffolding to have a height advantage, but you’ll be exposed to enemies. And the wooden platform under the Courtyard presents a great opportunity to ambush enemies.
If you’re looking for a direct way to Slide, use the stone staircase. From there, you can get to the ground level or to the lower Courtyard. You may also maintain verticality t by jumping on the wooden awnings along the bottom edge of the map. The Slide is a great place to look out over Chicken Coop.
Courtyard
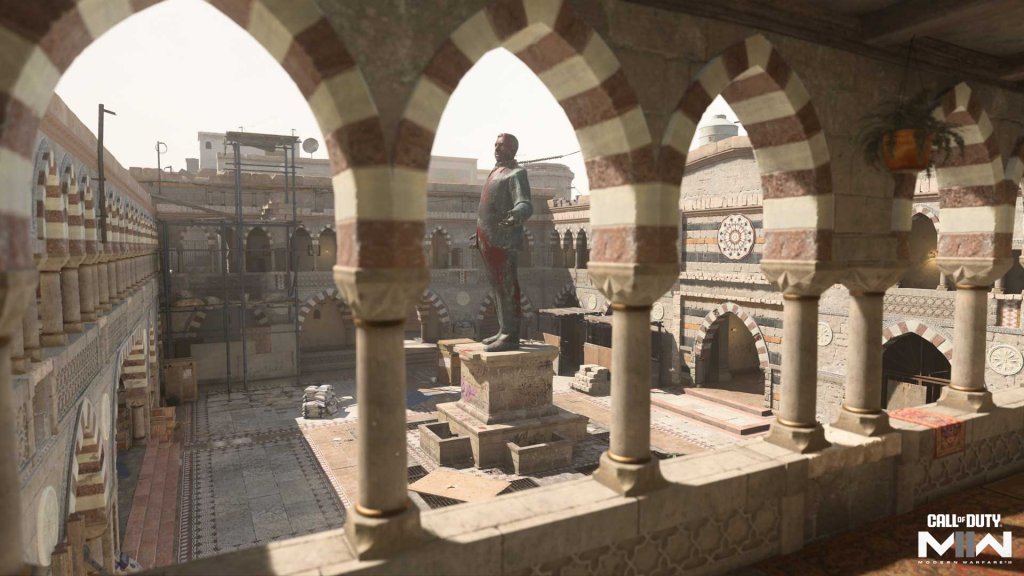
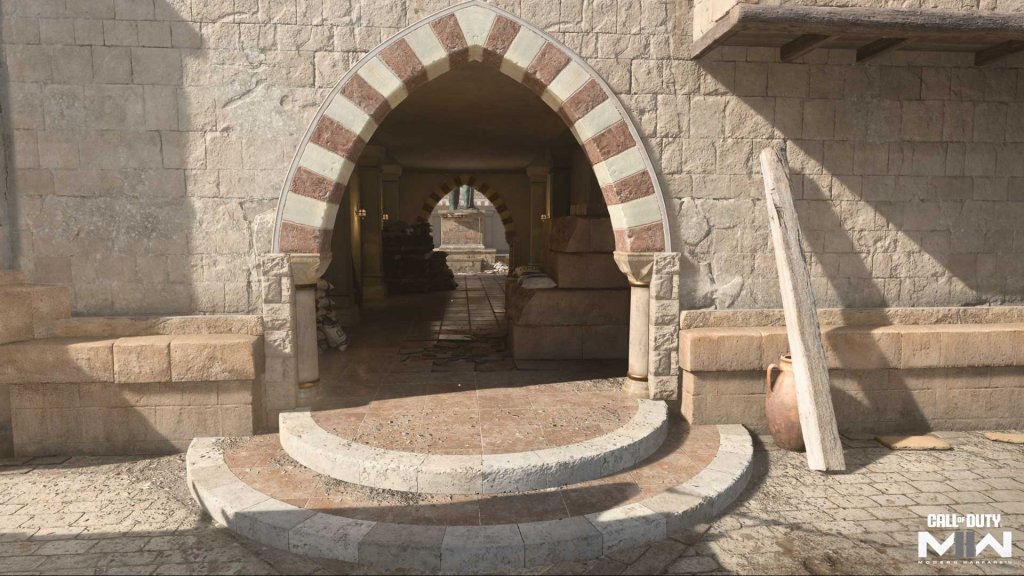
This area is where the most intense fights might take place, with danger waiting for you in every corner. Moreover, it serves as the fastest way across the map, which is why many will definitely be willing to take the risk. Using both communication and UAV assistance to gather information, along with smart use of existing cover, can help you survive here. However, perfect timing is crucial.
In terms of the surrounding walkways, get ready to defend your spot on the highly desired upper level. Having a view over the Statue and the North and South Paths makes this a valuable area. But remember, there are four entrances leading up here, so you need to be constantly alert, ready to confront any enemies who try to take your spot.
Modes Intel
Domination
In the beginning, there will be some severe action on the South Path, East, and West Tunnels, as players will clear their way to the B flag. To have an advantage and a powerful position, use the stairs to get to the upper walkways.
Given that the map is small, you can send two Operators to the other side, where the A and C flags are, while other members of the team are busy with the B flag near the Statue. This helps take the heat off the Courtyard as the enemy moves back to get their lost flag back. Once that happens, it will be easier to take the B flag.
Search and Destroy
Both bomb spots are on the upper walkway to the north and south. Considering that you only have one life per round, it’s better to know the four access points to the upper floor, which are the staircases in the southwest and northeast corners, and the two walkways over the metal gates leading directly to the top.
If you’re on the attacking team, consider pushing forward strongly while assigning a bomb carrier and potentially a protector to go upstairs and plant the bomb. The defending team must have at least one Operator go upstairs to gather information if they wish to counter this approach. Regardless of the strategy, a medium-range weapon with a 3.0-5.5x magnification scope can help eliminate the bomb carrier, no matter which bomb site they aim for.
Hardpoint
There are six Hardpoints outside of the Courtyard. However, expect a lot of players fighting here as everyone will be trying to take the shortcut to the next objective. The upper pathway is where you can find two Headpoints locations as well as the other two by the metal gates, making this place quite a valuable spot. Plus, the area protects from aerial streaks and enemies below, so it’s better to secure this area. However, when it comes to taking Construction and Main Entrance Hardpoints, make sure to go back down and eliminate the enemies.
Tips and Tricks for Showdown
Scout the Perimeter
Knowledge is power, so don’t hesitate to take some time to explore the fight perimeter. And once you’re comfortable with the layout, move into the central walkways.
Be Aware Of Aerial Streaks
The courtyard’s structure provides robust overhead protection against aerial streaks. Be mindful of your timing to make effective hits.
Don’t Forget to Switch
Showdown’s layout demands quick shifts between close and long-range encounters. Remember that switching to your pistol is quicker than reloading for these sudden engagements.
Do Ledge Hang
The overhead boards along the northern Blue Tarp can be used for a ledge hang, taking opponents by surprise. But remember, you’re exposed, so use it wisely.
Don’t Hesitate to Throw Grenades
If you can’t engage in a firefight with someone on the upper walkway, try throwing a grenade or using a Drill Charge for a quick attack.
Choose the Right Weapon
When guarding the upper walkway, versatility is key. For instance, the new Tempus Razorback Assault Rifle is an excellent choice for various ranges.
Divide and Conquer
Split your team when approaching an objective in the Main Entrance and Courtyard to attack from different directions, dividing the focus of your enemies.
Hide Your Movements
Smoke Grenades and the Field Upgrade can help you hide your movements, especially in Courtyard. But beware of Thermal Sights or predictable patterns that could reveal your position.
Use the Updated Movement Mechanics
This version of Shodown is very faithful to the original design; however, it now has enhanced graphics and movement mechanics. Therefore, use mantling to quickly get above enemies and slide for cover during fire exchanges.
Switch to Warzone
Once you’ve mastered Showdown, try your skills in Warzone at the Ahkdar Village POI in Al Mazrah. Use your multiplayer skills to dominate the area and be the last squad standing.
Dominate Showdown Map Now
Now you know how to navigate the new map and what the best routes to victory are. However, sometimes knowing the area isn’t enough for winning matches, as you need to have a set of powerful weapons all leveled up with you to fight opponents efficiently. We know how hard unlocking and upgrading those might be. It takes time to do all that, and time is a precious resource you don’t want to waste.
So, if you don’t want to waste hours grinding and leveling up, LFCarry is here to do all the hard work for you, helping you dive into action fully prepared for a challenge. Just go to LFCarry.com, pick the offer that suits your needs best, and get ready to have the best gaming experience!
Read also:
Polly Gruse is a seasoned gamer with extensive experience in the Call of Duty series, as well as deep expertise in Destiny 2 and World of Warcraft, allowing her to craft detailed guides and insightful analyses that help players refine their skills, master game mechanics, and stay ahead of the competition.

