
In this part, we’ll dive into the last three boss encounters of the upcoming raid in WoW Dragonflight Patch 10.1. These are Magmorax, Echo of Neltharion, and Scalecommander Sarkareth, two of which have already been tested on PTR. What are their abilities, and how to defeat them? Let’s find out!

TABLE OF CONTENTS
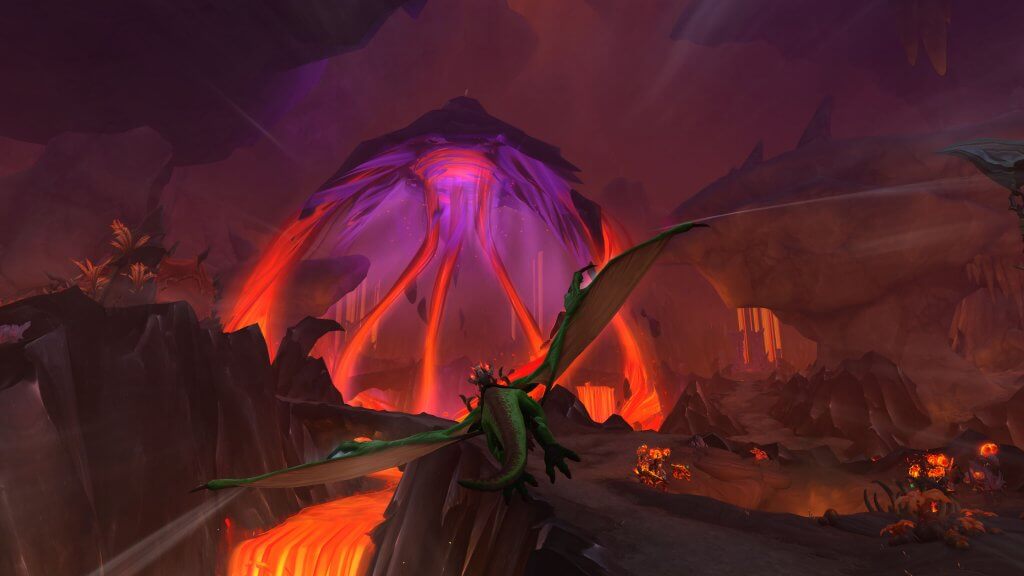
Magmorax: Heroic Boss Guide
The testing is in full swing, with now 7 out of 9 bosses tested on Heroic difficulty. If you’d like to learn all about the first six encounters and what strategy to use to kill them, make sure to check the first and the second parts of our guide.
Now, let’s talk about the three-headed guardian of the passage into the deepest chambers of the laboratory, Magmorax, who players had a chance to face on March 24.
Magmorax’s Abilities
Catastrophic Eruption: When the boss reaches 100 energy, he gets covered in flames, increasing Physical damage, while the explosion inflicts 93611 Fire damage to all players every 2 seconds. The effect stacks.
Molten Spittle: Magmorax deals Fire damage every 1.5 seconds for 6 seconds to marked players. When removed, it causes the player to explode and inflict 93,611 Fire damage to nearby allies, creating Magma Puddle. Those who stand in the puddle ignite with Searing Heat, which may make them Overheated. Plus, if the boss stands in the pool, the Blazing Tantrum will be applied.
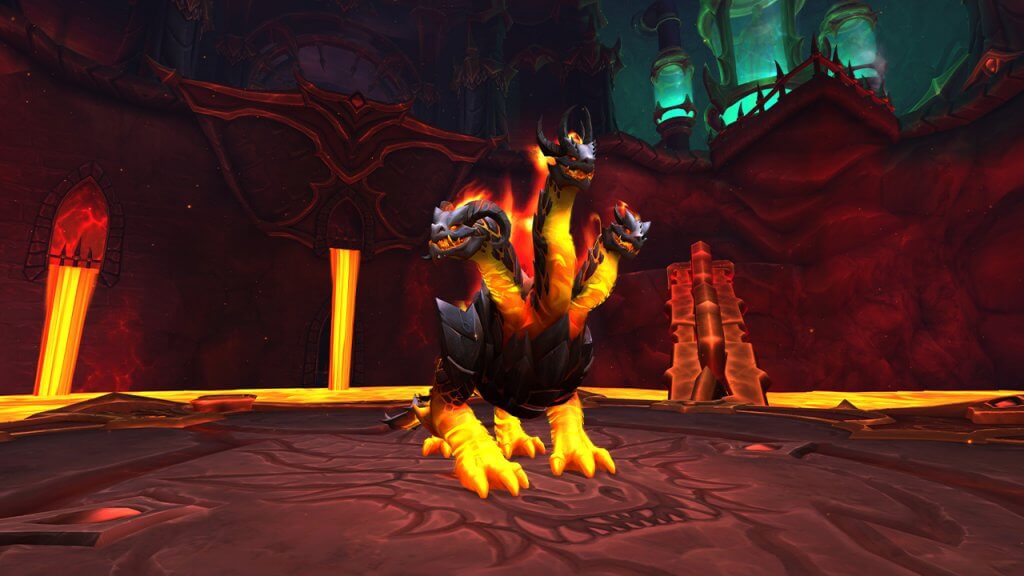
Igniting Roar: A stacking effect that deals Fire damage to all players, setting them ablaze, which inflicts additional damage every 1 second and also creates more Magma Puddles.
Overpowering Stomp: Inflicts 124,815 Physical damage to the raid.
Blazing Breath: Magmorax’s breath deals 249,630 Fire damage to everyone caught in it.
Incinerating Maws: Boss’s head targets a player and bites them, inflicting 218,427 Physical damage each time and extra Fire damage every 1.5 seconds.
The Best Strategy for Magmorax
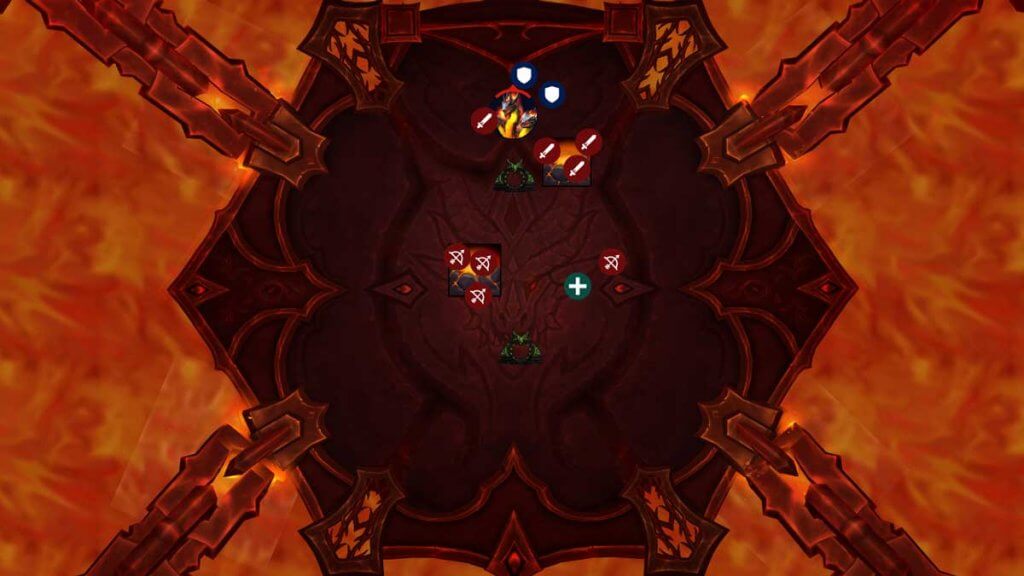
Setup: 2 Tanks, 4-5 Healers, 13+ DPS
Tanks can maximize the effectiveness of knock-backs by positioning the boss so that players positioned behind him are pushed back toward the room’s back and away from the lava. To avoid having the boss gain energy and dealing damage to the raid, you must move him away from any Magma Puddles. Tanks should also swap every 1-2 stack Incinerating Maws.
At the early stage of a fight, Melee players must place their puddles next to Magmorax in order for the group to soak it. The same goes for range ones who should keep their puddles close by.
It’s important to have three players soak a single puddle because it ensures that the puddle will be completely absorbed and that no one will end up with an excessive number of stacks.
If you get a Magma Puddle circle when you’re not near the group, drop the puddle to the side. Your main focus should be clearing the space around Magmorax and the center of the room. When the boss’s health is below 30%, drop puddles to the side and soak only the puddles that are approaching him.
Moreover, avoid high stacks of Magma Puddle before Igniting Roar activates to survive the initial hit.
You should be within range of the Warlock Gateway when the boss is about to use Overpowering Stomp. If you use the Gateway in the last 0.5 seconds before the spell finishes, you’ll be able to travel during the knock-back, completely avoiding its effects. It’s crucial to do so because when Magmorax’s energy is above 80, the room will be filled with Magma Puddles, and the damage from Igniting Roar stacks will be high, potentially making the knock-back fatal.
When the call is made to move puddles to the side and avoid soaking unless puddles are approaching, everyone in the group should stack behind the boss for maximum healing. At this point in the battle, the raid’s passive damage will be quite high, so stacking will be of great assistance.
Your top priorities should be keeping Magmorax out of Magma Puddles and not running out of room. Additionally, every player must help with soaking puddles to prevent someone from having higher stacks.
Echo of Neltharion: Heroic Boss Guide
The eighth boss is Neltharion, the Earth Warder, who also participated in testing on March 24 and showed quite a vast set of abilities – see for yourself.
Now let’s take a closer look at the boss’s attacks to know what he has at his disposal.
Neltharion’s Abilities
Twisted Earth: Neltharion rips walls of rock from the ground to divide the space, hitting players at these locations with a Volcanic Blast.
Echoing Fissure: Neltharion causes quakes that deal Volcanic damage to all players, with the damage being more severe to those who stand near them, and also triggers Collapsed Earth and Seeping Lava.
Rushing Shadows: Boss inflicts Shadow damage and extra damage to players who stand between him and targets, silencing them for 3 seconds. On top of that, colliding with a piece of Twisted Earth causes it to Shatter, which fills the room with Shattered Rock.
Calamitous Strike: Neltharion strikes his target, dealing 374,445 Physical damage and increasing it for 25 seconds.
Surrender to Corruption: Surrounding to the Voice From Beyond, Neltharion deals Shadow damage to all players every 1 second for 9 seconds and forces a class to succumb to Corruption.
Voice From Beyond: Causes Empower Shadows and Hidden in Void, which also triggers Ruptured Veil.

Corruption: Neltharion twists players with shadowy magic, corrupting their abilities but allowing them to see beyond the veil of shadows. Thus, he begins using the following abilities:
- Wild Bladestorm (Warrior)
- Zealous Execution (Paladin)
- Corrupted Beasts (Hunter)
- Wild Treachery (Rogue)
- Desperate Scream (Priest)
- Wild Grip (Death Knight)
- Shadow Elemental Totem (Shaman)
- Wild Magic (Mage)
- Wild Summoning (Warlock)
- Spirit, Water, and Decay (Monk)
- Wildshift (Druid)
- Chaos Dance (Demon Hunter)
- Wild Breath (Evoker)
Annihilating Shadows: Neltharion starts to annihilate players, inflicting 78,009 Shadow damage to everyone.
Sweeping Shadows: Boss hurls shadowy power, dealing Shadow damage and additional 62,408 Shadow damage every 1.5 seconds for 12 seconds.
Sunder Shadow: Neltharion separates the player’s shadow from their body, dealing 561668 Physical damage, and attacks the latter with Shadow Strike.
Shattered Reality: Neltharion tears open portals to the void realm, causing Shadow damage to players nearby and summoning Twisted Aberrations that get stronger from Unstable Mutation. Standing within a portal disconnects players from reality, resulting in reduced damage output and damage taken from Ebon Destruction.
Ebon Destruction: Neltharion blasts all players with Volcanic damage and additional Fire damage every 1.5 seconds for 15 seconds.
The Best Strategy for Echo of Neltharion
We don’t have one to share with you at the moment of writing, but once we do, we’ll add it to this guide.
Scalecommander Sarkareth: Heroic Boss Guide
This is the final boss of the raid, who is determined to claim the power found within the Shadowed Crucible. He is the only boss who isn’t featured in testing, so players will be able to face him only when the raid arrives on May 9. However, we know all about his abilities, which we share below. Take notes, as this info will come in handy when the time comes to fight the one and only Scalecommander Sarkareth.
Scalecommander Sarkareth’s Abilities
Oblivion: Most Void abilities cause Oblivion, which inflicts Shadow damage every 1 second. After 10 applications, the player becomes lost in the Emptiness Between Stars, where they can absorb Astral Flare.
Oppressing Howl: Sarkareth’s howl pushes players back and increases the effects of Mass Disintegrate, Searing Breath, and Glittering Surge. Any of these spells remove Oppressing Howl.
- Echoing Howl – After Oppressing Howl is removed, echoing darkness inflicts 21,843 Shadow damage to all players.
Glittering Surge: Sarkareth deals Arcane damage to all players for 8 seconds. Dazzled is applied to anyone hit by Glittering Surge while affected by Oppressing Howl.
Scorching Bomb: Boss places several bombs near players, each dealing 96,732 Fire damage to those who stand nearby every 1 second. After 12 seconds, bombs explode Scorching Detonation, and create Burning Ground.
Mass Disintegrate: After 6 seconds, Sarkareth deals 140,417 Arcane damage in a line toward marked players. Disintegrated is applied to anyone hit while affected by Oppressing Howl.
Searing Breath: Sarkareth unleashes a cone of flames, dealing 74,889 Fire damage and then 21,843 Fire damage per second for 12 seconds, repeating three times and stacking.
Drifting Embers: Flames rain down from above, dealing Fire damage and pushing players within 4.5 yards of the impact.
Burning Claws: Boss slashes their target, dealing Physical damage and Fire damage per 1 second for 27 seconds, stacking up to 3 times. When it expires, a Blazing Blast is released.
Void Bomb: Sarkareth places bombs, each inflicting 74,889 Shadow damage every 1 second to near-standing players. After 20 seconds, they explode with Void Surge, and if a player steps into a bomb, Void Fracture is applied.
Abyssal Breath: Sarkareth draws a deep inhale, then flies to the target area, dealing 118,574 Shadow damage along the way and knocking back any nearby enemies. Moreover, the ability triggers Null Glimmer, Rescind, and Blasting Scream.
Desolate Blossom: Sarkareth grows bulbs of void energy at player locations that emit waves to all nearby players every 0.5 seconds, soaking up to 156,019 health for 1 minute and disabling Rescind.
Infinite Duress: Causes Shadow damage to the targeted player every 3 seconds for 30 seconds and triggers Dread when removed.
Ebon Might: boss makes his allies stronger by increasing their damage done and speed by 15%.
Void Claws: Sarkareth slashes his current target, inflicting Physical damage with an extra Shadow damage every 3 seconds and reducing healing received for 18 seconds. The stacking effect releases Void Blast upon expiration.
Cosmic Ascension: Sarkareth flies up and crashes down, dealing heavy Shadow damage and knocking back nearby players.
- Astral Formation – boss summons asteroids to crash down, dealing Shadow damage over time to nearby players.
Hurtling Barrage: Sarkareth tears open portals and creates void images of himself that rush through a player, dealing high Shadow damage to targets struck.
Scouring Eternity: Enemy causes a massive supernova that deals 780,095 Shadow damage and knocks back all players not behind an Astral Formation.
Embrace of Nothingness: Sarkareth focuses space’s crushing weight on a player, creating a black hole after 8 seconds that deals Shadow damage evenly to all players struck.
Motes of Oblivion: Oblivion motes rain down, dealing Shadow damage to players in addition to Oblivion applications within a small radius.
As you can see, it’s a pretty big set of abilities the final boss can attack with, so you have to work really hard to defeat him. But with the right strategy, you have a higher chance of succeeding.
The Best Strategy for Scalecommander Sarkareth
Since this particular boss hasn’t been or will be tested, there’s no strategy that we can share right now. But we’ll update this guide once the raid is out and we have everything regarding this encounter.
Conclusion
Now you know everything there’s to know about each boss fight that is waiting for you in the Aberrus, The Shadowed Crucible raid. Each has a lot in store for you, and you better be ready for the challenges they have in store for you. One of the keys to success is having the best gear and being at the max lvl, and LFCarry is here to help you get it all. Feel free to go to our website and let us know what you want in the live chat. We’ll do our best to ensure you have the best gaming experience!
Good luck, and we’ll see you in the next guide!
Read also:
Polly Gruse is a seasoned gamer with extensive experience in the Call of Duty series, as well as deep expertise in Destiny 2 and World of Warcraft, allowing her to craft detailed guides and insightful analyses that help players refine their skills, master game mechanics, and stay ahead of the competition.
1 comment
Lisette
June 21, 2023 at 7:44 pmHi there to every one, the contents existing at thіs website are truly awesome for people
knowledge, well, кeep uρ the good work fellows.