
The new season introduced Ghost Of The Deep dungeon with epic boss encounters and awesome rewards. So if you’re ready to put your skill to the test and obtain powerful weapons and armor, this guide is for you. Here, we cover every encounter and challenge you face, how to complete them, and where you can find the hidden chests. Let’s go, Guardians!

TABLE OF CONTENTS
What Loadouts to Bring?
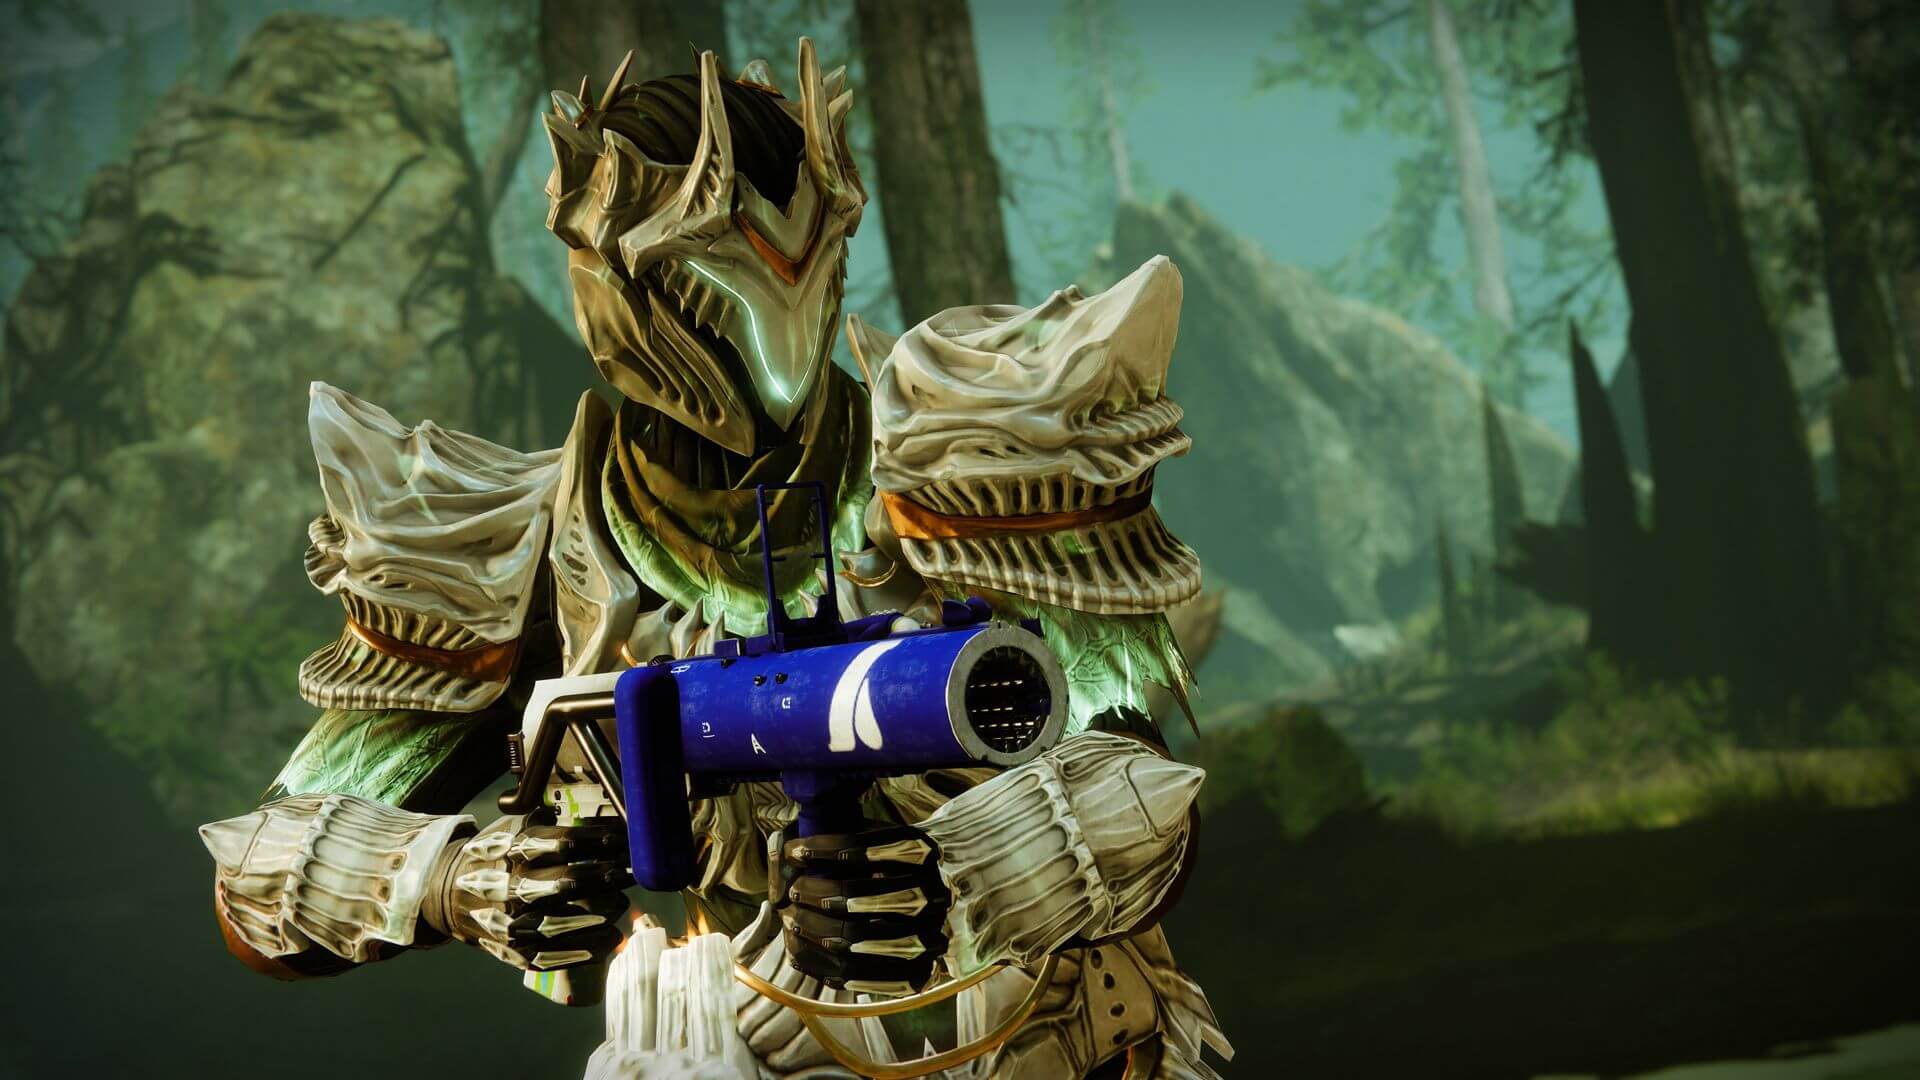
The dungeon is located on Titan’s Arcology, where Guardians need to inspect the ocean’s depth to find a long-defeated enemy’s remains. There, you will face multiple foes, three encounters, and two jumping sections, so it’s better to be prepared with the right loadout and build.
Since each boss (Ecthar and Simmumah ur-Nokru) will offer different types of encounters, where you need to be ready for close and long-range battles, it’s better to have a set of weapons for both DPS strategies. Thus, here’s what you can take with you to increase your chance of succeeding:
- Add Clear: Trinity Ghoul, Osteo Striga, Machine Guns, Wave-Frame Grenade Launchers, Riskrunner (for solo completion)
- Ecthar: Legend of Acrius/Lament
- Simmumah: Linear Fusion Rifles/Leviathan’s Breath (with Catalyst)
Also, builds have a crucial part in the successful completion of a dungeon too, so here’s what we recommend to equip:
- Warlock: For DPS, Dawnblade with Well of Radiance is superb, while Starfire Protocol or Sunbracers would be excellent for dealing with adds.
- Hunter: Nightwalker paired with Gyrfalcon’s Hauberk and any Void weapon is what you need for great add clear, and equipping Taipan, or Leviathan’s Breath will help you during the fight against Simmumah.
- Titan: Sunbreaker with Sol Invictus and Throwing Hammer will help you avoid damage as much as possible and also stand against Ecthar.
To increase your survivability, choose 100 Resilience and Damage Resistance chest mods. And now, let’s dive into the action.
Hive Ritual
This is the first encounter with a large number of Lucent Moths, so you should take Machine Guns and exotic Submachine Guns with you. Once you enter the dungeon, follow the road on your Sparrow until you see the Hive ritual, which you need to disrupt. Deploy a Rally Banner and begin the fight by dealing with two Hive Knights near the entryway. Then you need to defeat many Hive and Soulfire Binder Ogre, which will reveal green energy on one of the roads you need to follow.
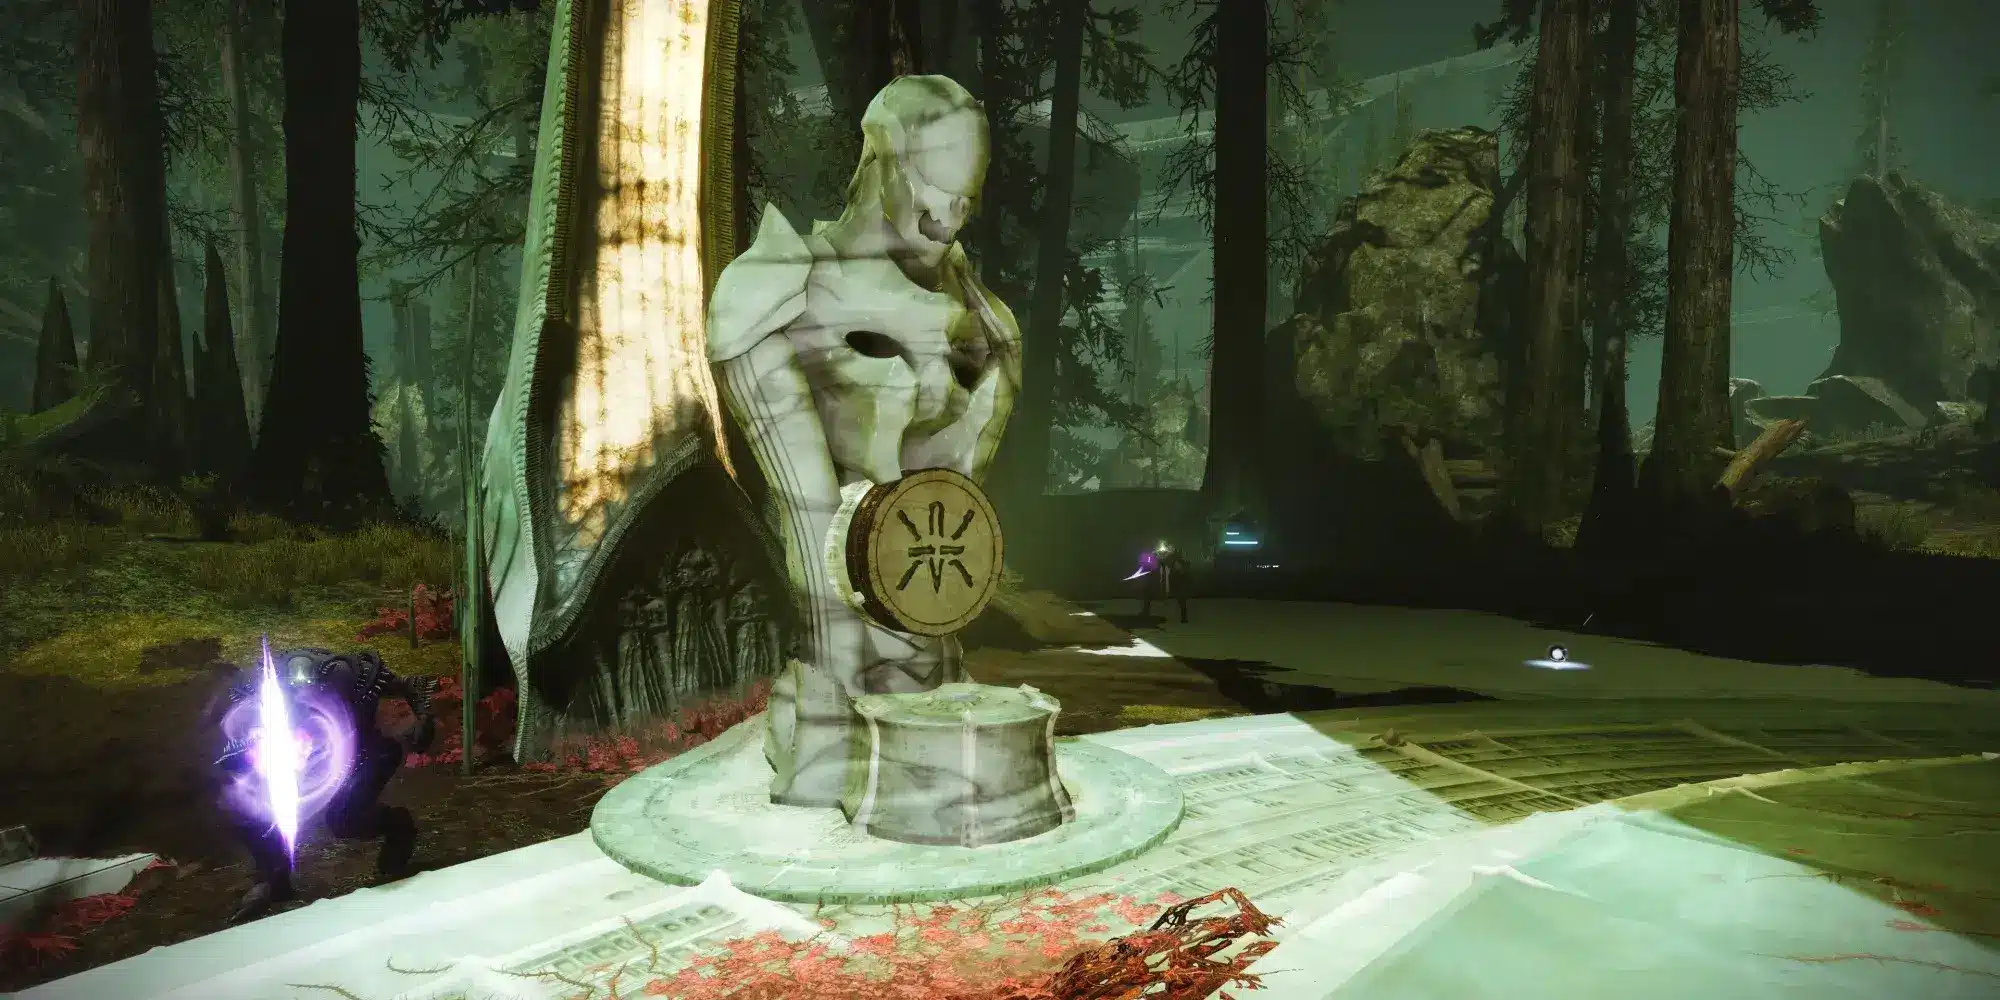
You need to find a Hive rune that looks like the floating symbol shown below.
Remember it and fly under it. There, you’ll face a few Lucent Moths and units of Hive that you need to kill to make the green energy appear again. Once you do it three times, a Lucent Lightbearer will spawn. Killing it will apply the Vestige of Light buff for 90 seconds. Be careful because if it reaches zero, you will die.
Return to the place where the encounter began and kill the Wizard waiting for you there to use the Deepsight orb. This action will reveal several Hive statues you need to activate by matching them with the runes you remembered. When you’re done, the Vestige of Light buff will go away, and the shrine will appear. The encounter will end when you activate four shrines.
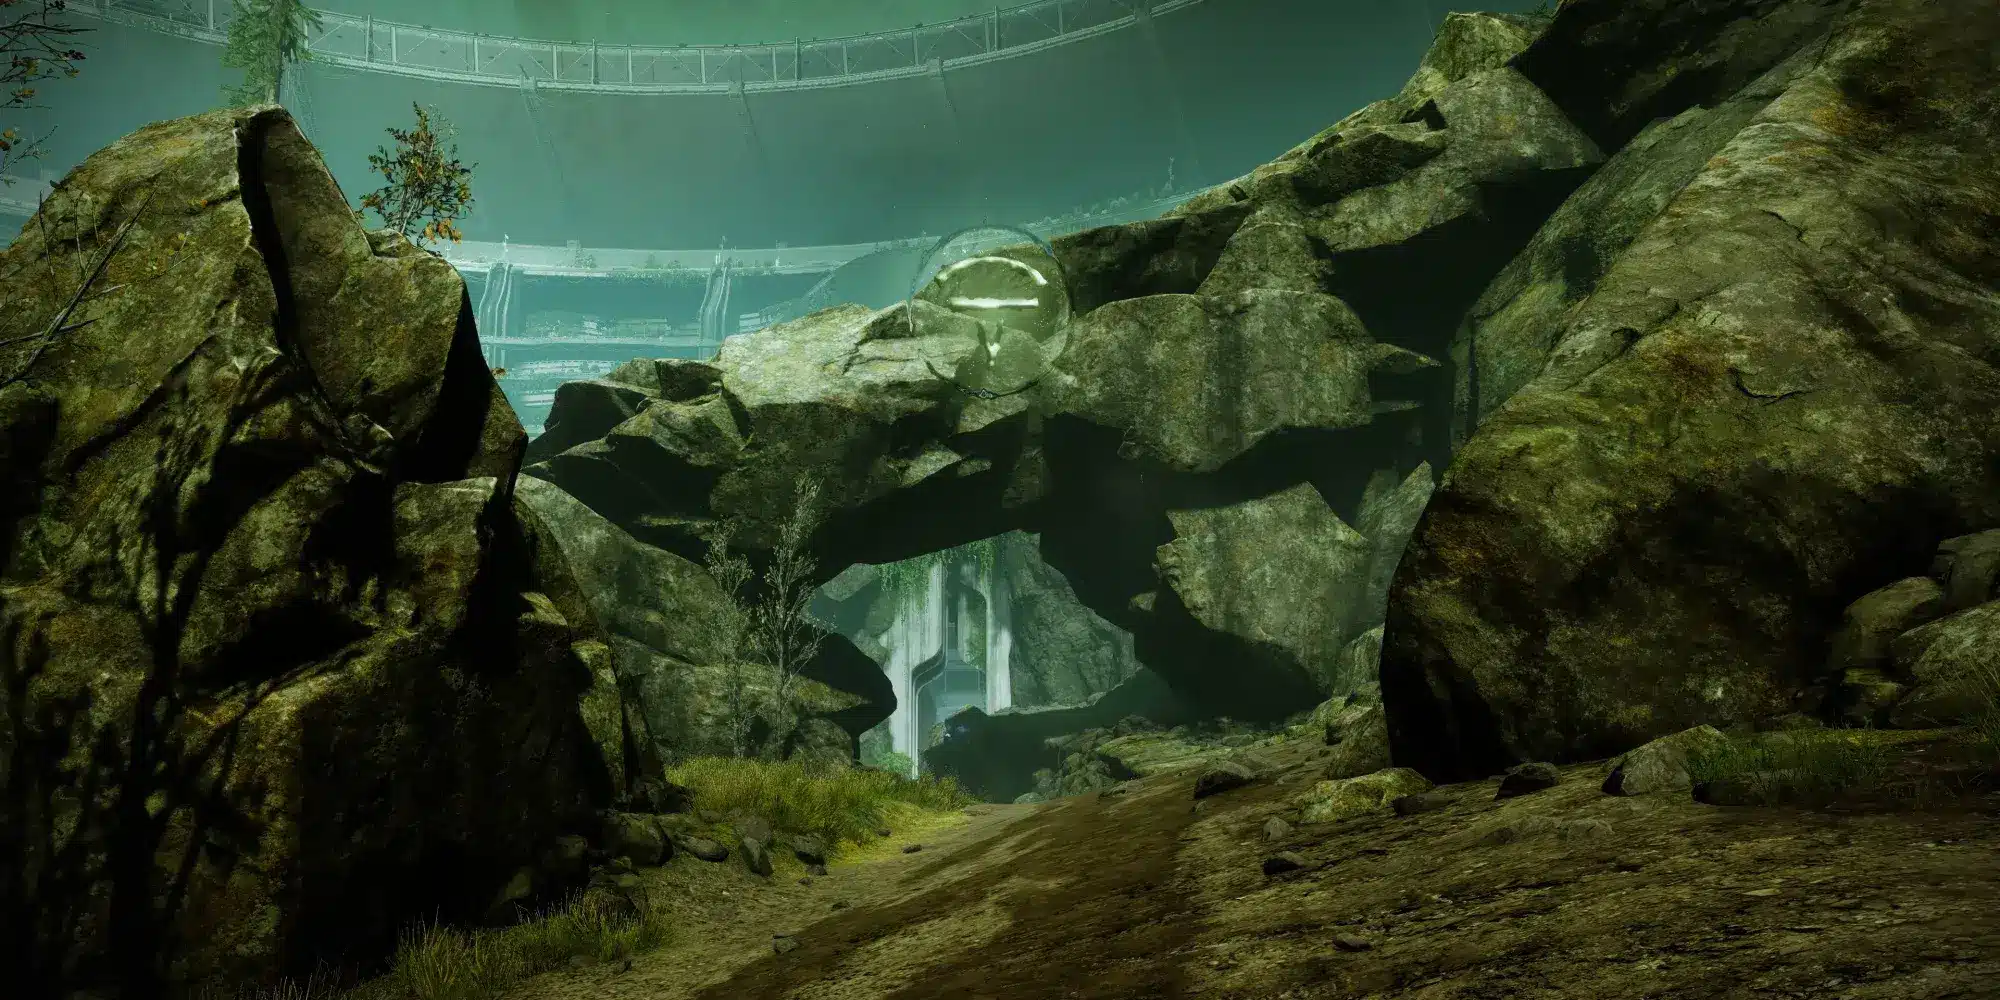
Explore the Dreadnaught
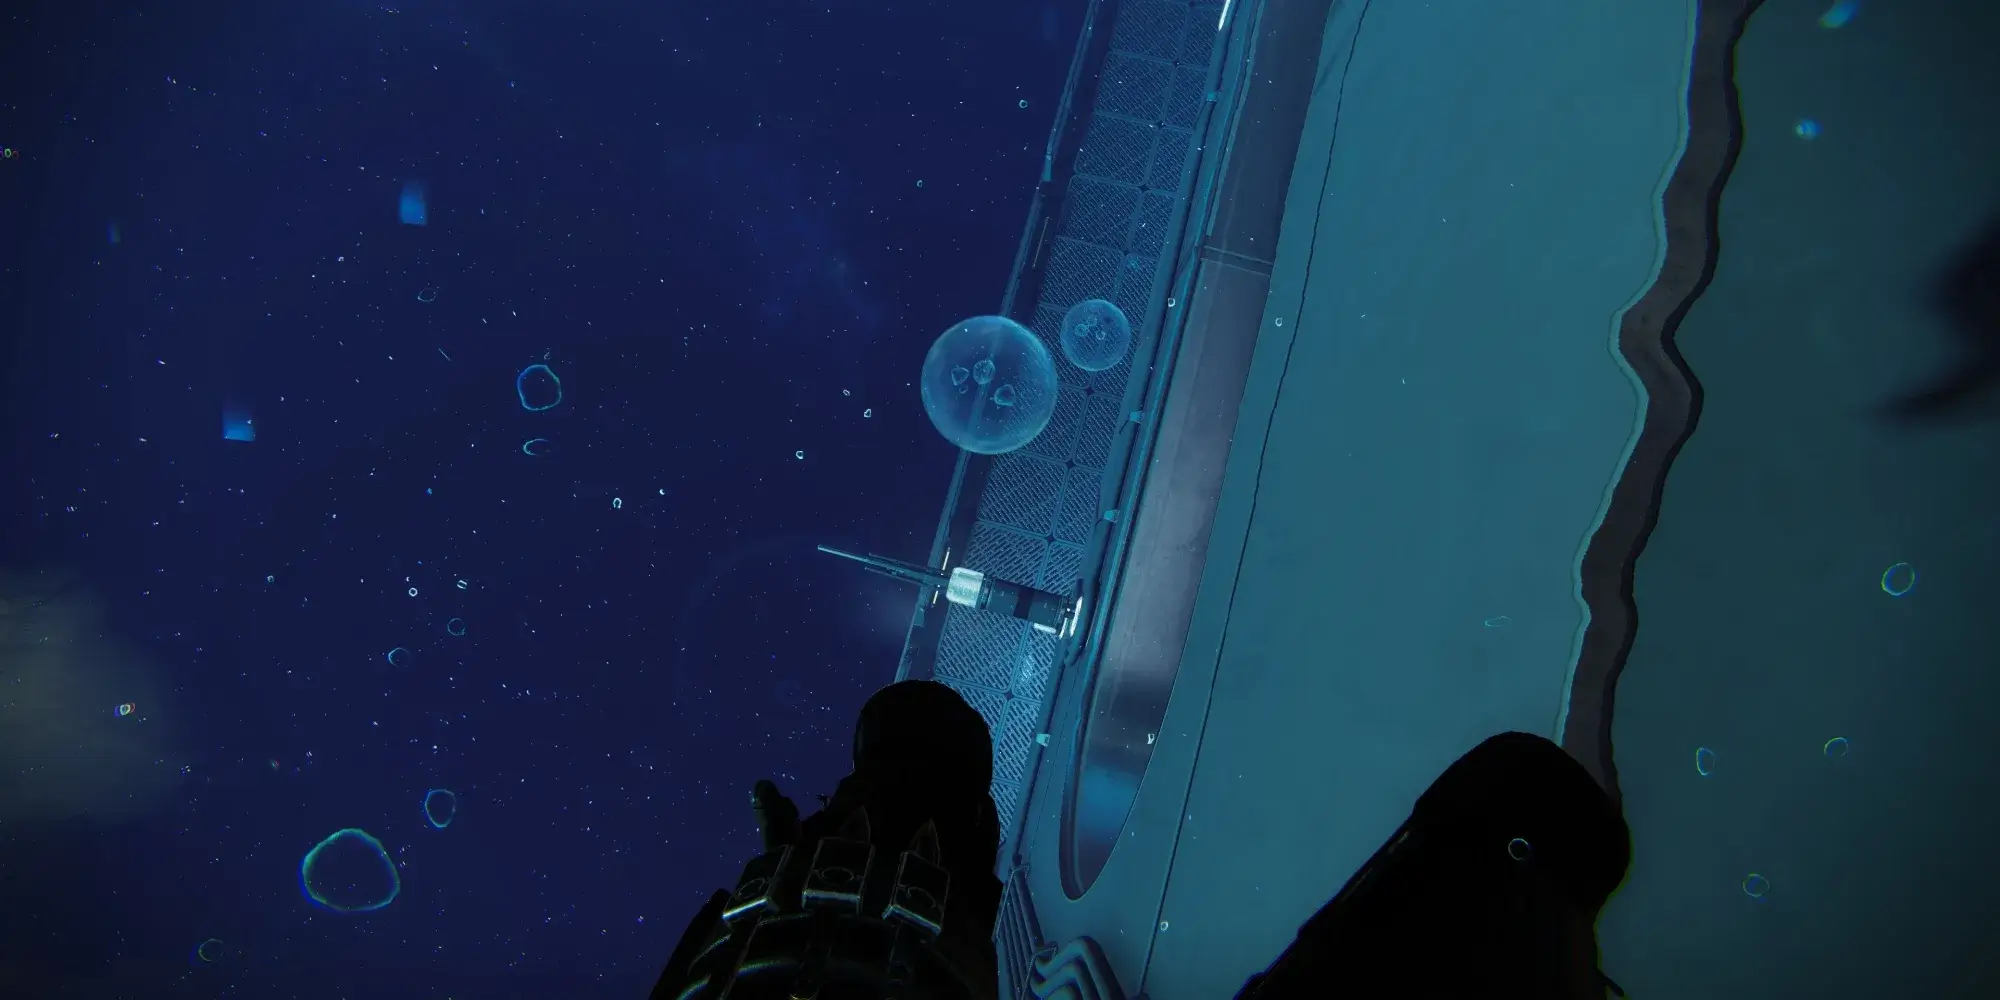
To do that, you need to descend into the ocean’s depth, and your starting point is Arcology. Seek out a turbine-like structure and descend to its base. There, discover an enclosed space with openings towards its upper region and jump in.
There, turn to the right and leap into the wall pipe. At its exit, you’ll be faced with a vast abyss, segmented by layers of platforms, and you need to descend deeper until you find yourself in a lobby area. Follow the path further to arrive at a drilling site.
There, several Hive will be waiting for you. Kill them and proceed with descending. Search the area until you find a hole in the ground where you need to lower a large glass column. Once you’re there, make sure to use your pressurized suit, as you need to leap into a pool.
You can repressurize your diving suit by walking into an air bubble, allowing you to dive deeper into the ocean. Cooperation between teammates during bubble grabs is essential for team survival.
After some time, you’ll find yourself at the structure’s base with no apparent exit. Seek out the submerged walkways over the structure’s edge and leap down. Locate a fan and use it as a launch pad, propelling you back into the Arcology and repressurizing your suit. This platform sequence will recur until you arrive at the ocean floor.
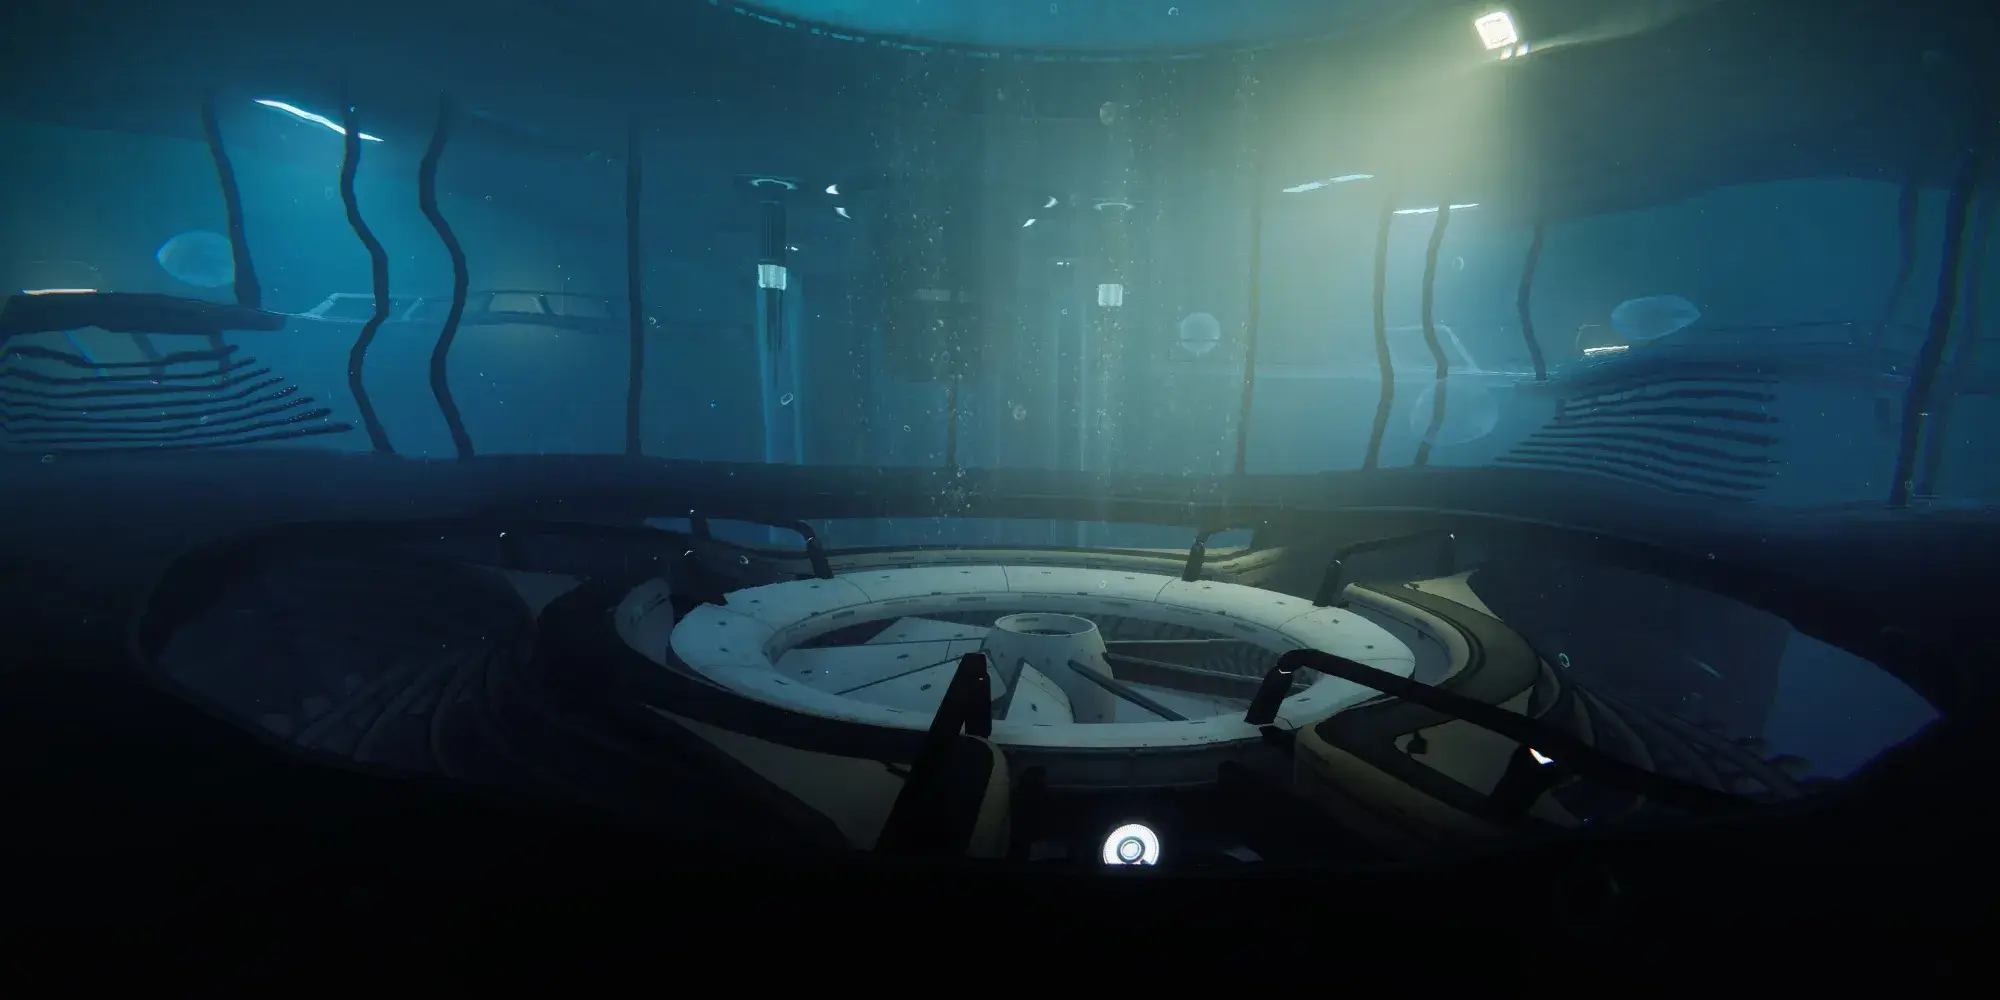
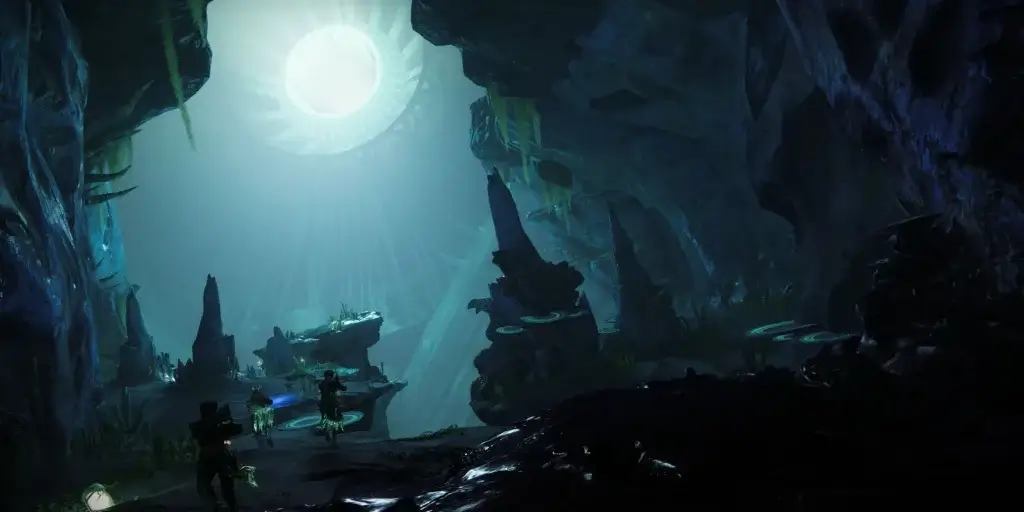
The ocean floor is straightforward, with few branching paths, and you aim to locate water barriers to walk into. But before that, you need to go through Hive caves, one containing the secret chest. To locate it, follow the left wall of the first Hive cave you enter until it ends, then turn around. To continue, ascend the ledge on your right and continue along the path. At the end of it, near a water barricade, you’ll find a chest.
Once you’re done with the caves, look for water barriers. These mark a non-flooded room, permitting weapon usage and normal movement. Proceed deeper until you come across the Dreadnaught wreckage. Enter it and navigate a brief jump section to advance to the next encounter.
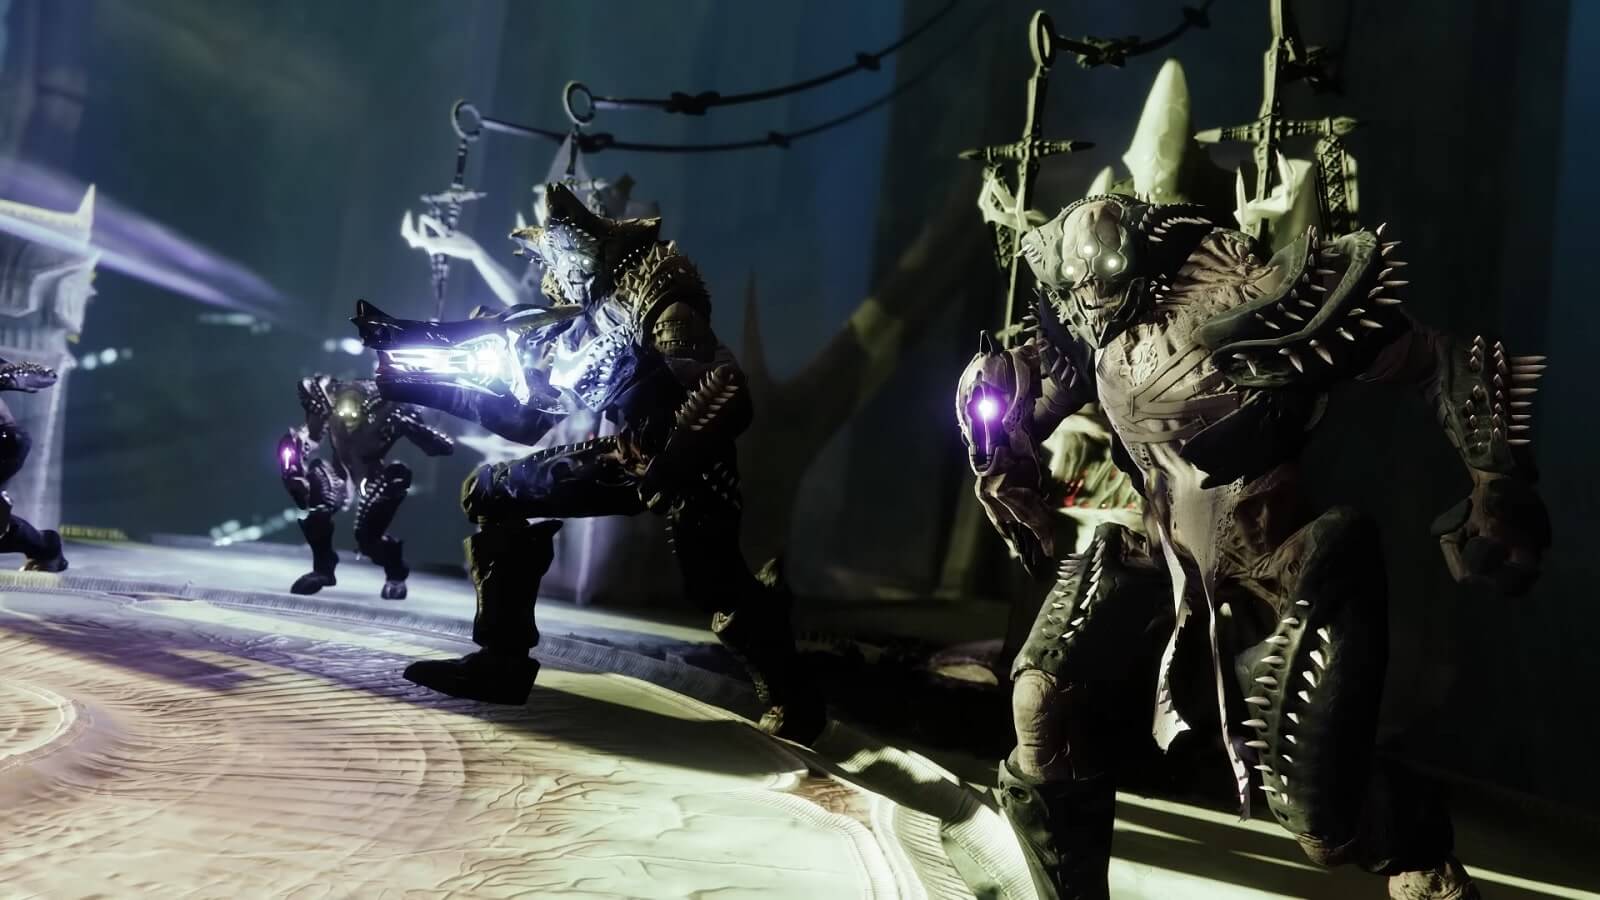
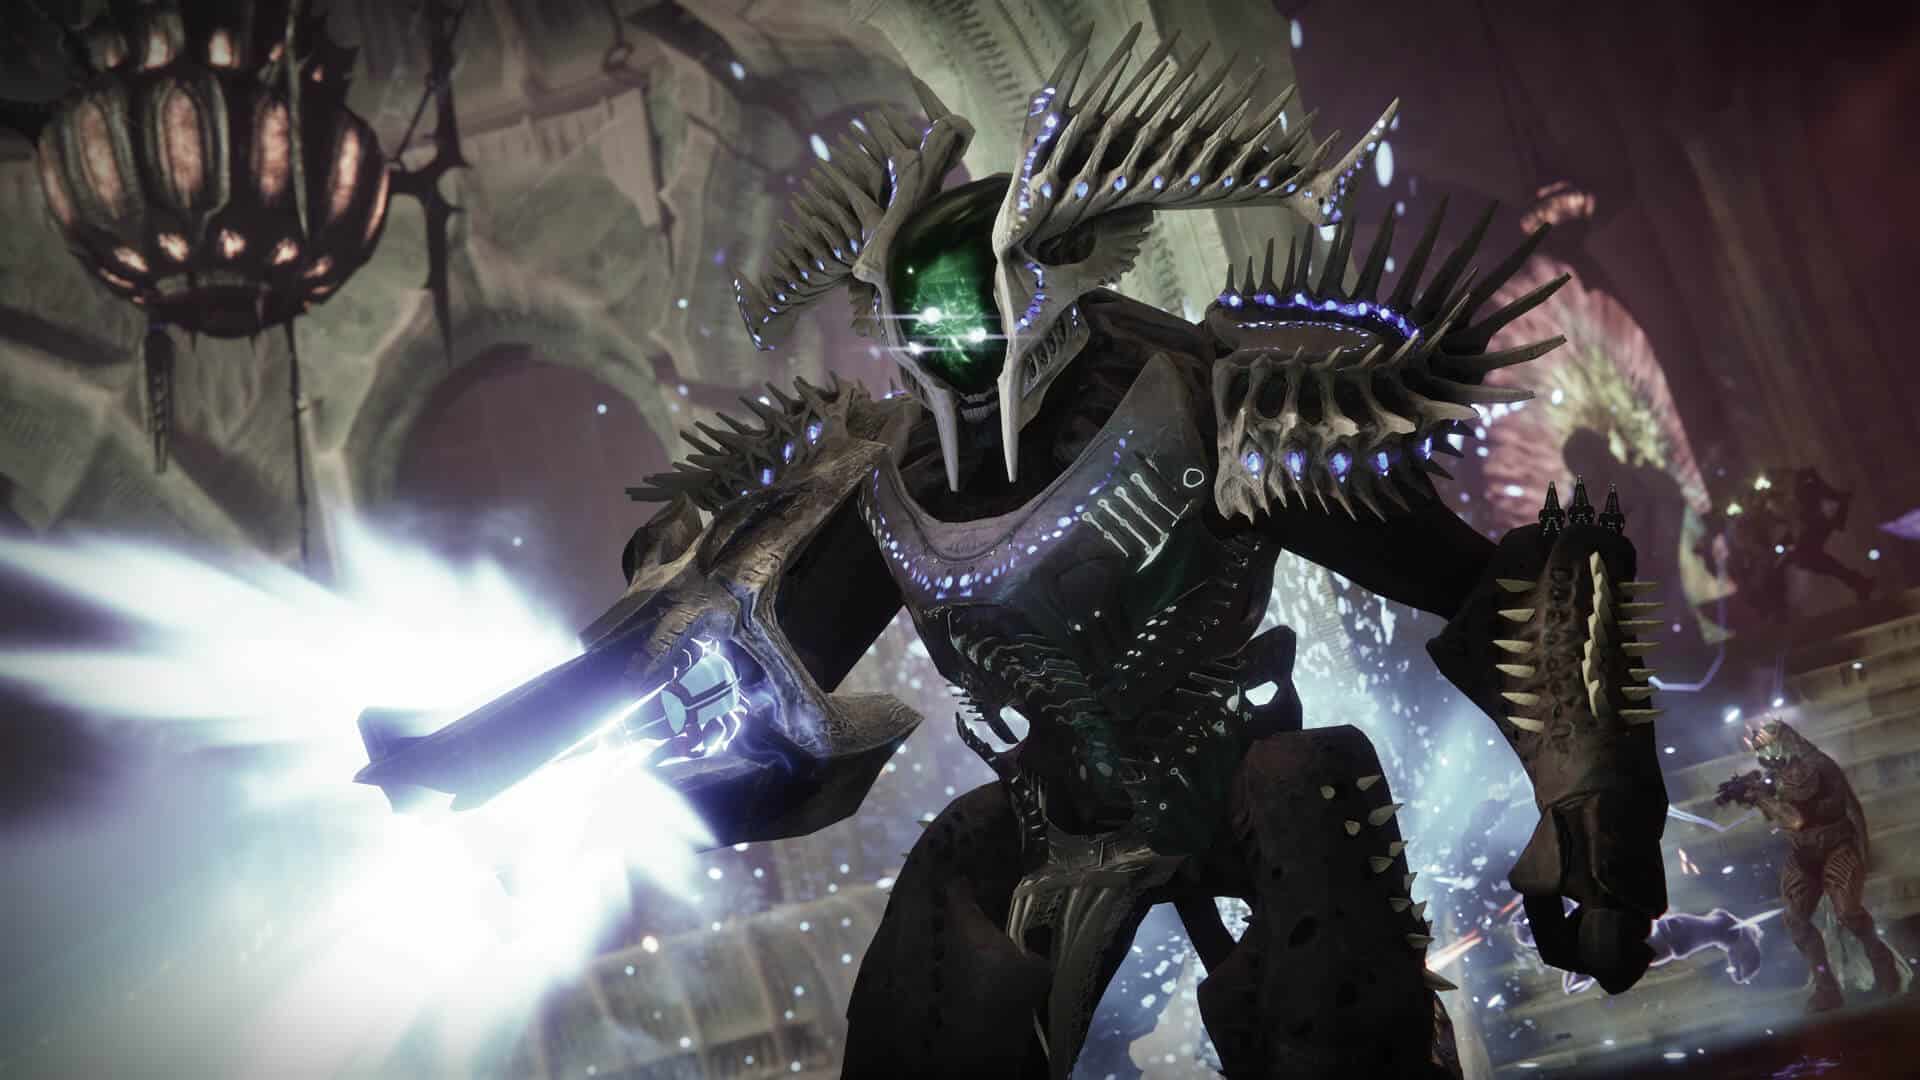
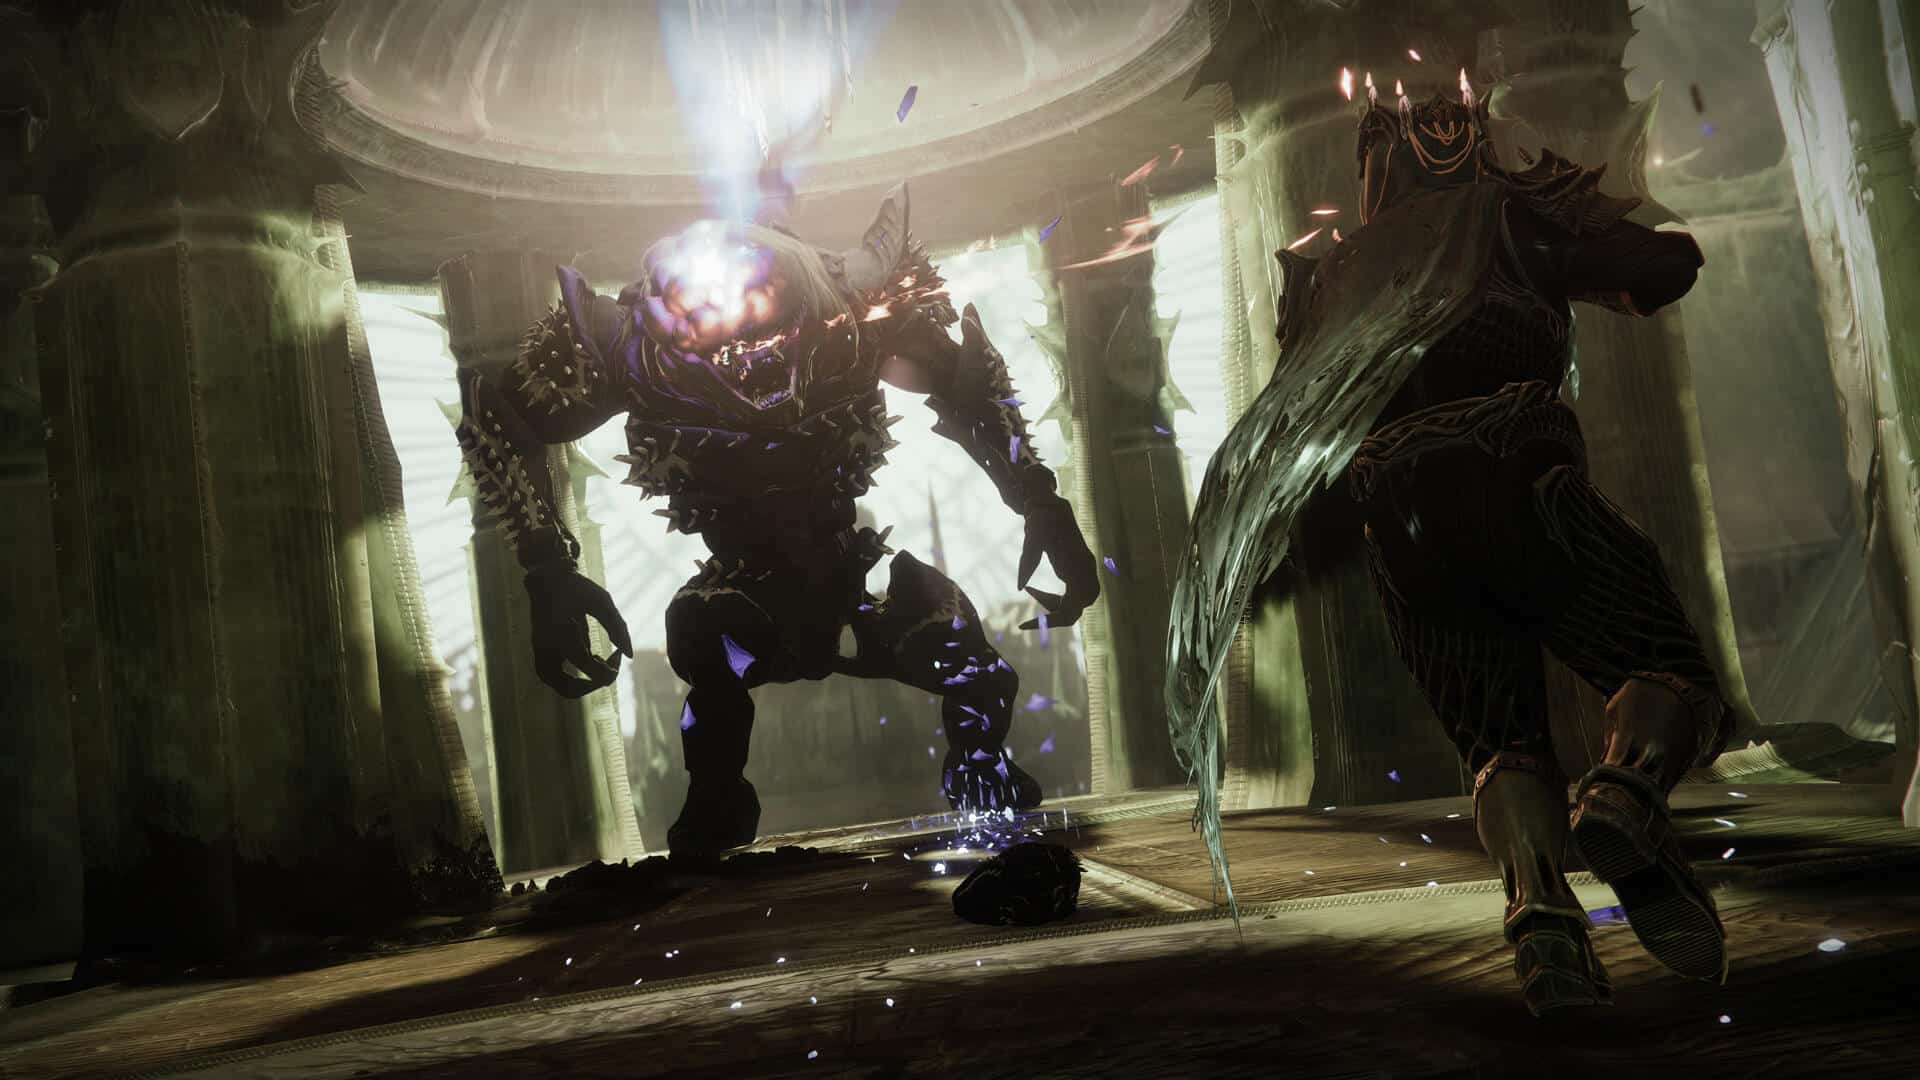
Ecthar, the Shield of Savathun
Kill Acolytes kneeling in the middle of a room to begin the encounter and make Ecthar spawn. Be aware that the boss is immune to incoming damage. To spawn an Ogre, you’ll have to defeat three Blistered Knights and then kill it, too, to get the Deepsight orb. But before using it, make sure there are no adds around.
When Deepsight orb is activated, three symbols will appear on plates located throughout the ship. Remember them and go underwater through the gasps you find on Dreadnaught’s floor. On the walls and flora, you’ll find more of the symbols you saw. Activate those that match the ones inside the ship to spawn Hive and a Lucent Lightbearer there.
Kill the latter to get Vestige of Light to imbue one of three statues with it. The DPS phase will start as soon as the three statues are charged. Before that happens, make sure to clear the adds.
A Blistered Knight will appear near Ecthar, and you need to kill it to stand in the energy pool it leaves. Thus you will gain a buff, with which you can damage and eventually break the boss’ shield. This will allow you to freely move and hit Ecthar within 30 seconds until the shield is restored. Repeat these actions several times until the boss is defeated.
Continue Your Exploration
This part is mostly about exploring Dreadnaught further with the platforming aspect. Also, there you’ll find a big room with Shrieker, Hive, Wizards, and an Ogre. The latter will spawn under the gazebo, and after killing the enemy, you can climb there to find the second hidden chest. You will enter the last encounter once you’re done with that and all the enemies.
Simmumah Ur-Nokru, Lucent Necromancer
Get ready for intense fights with multiple adds and the boss with a massive health pool, who, however, don’t move much, unlike the previous one. The veterans will also notice that the creature in the ground is Oryx, the Taken King, whose exposed limbs serve as ritual sites.
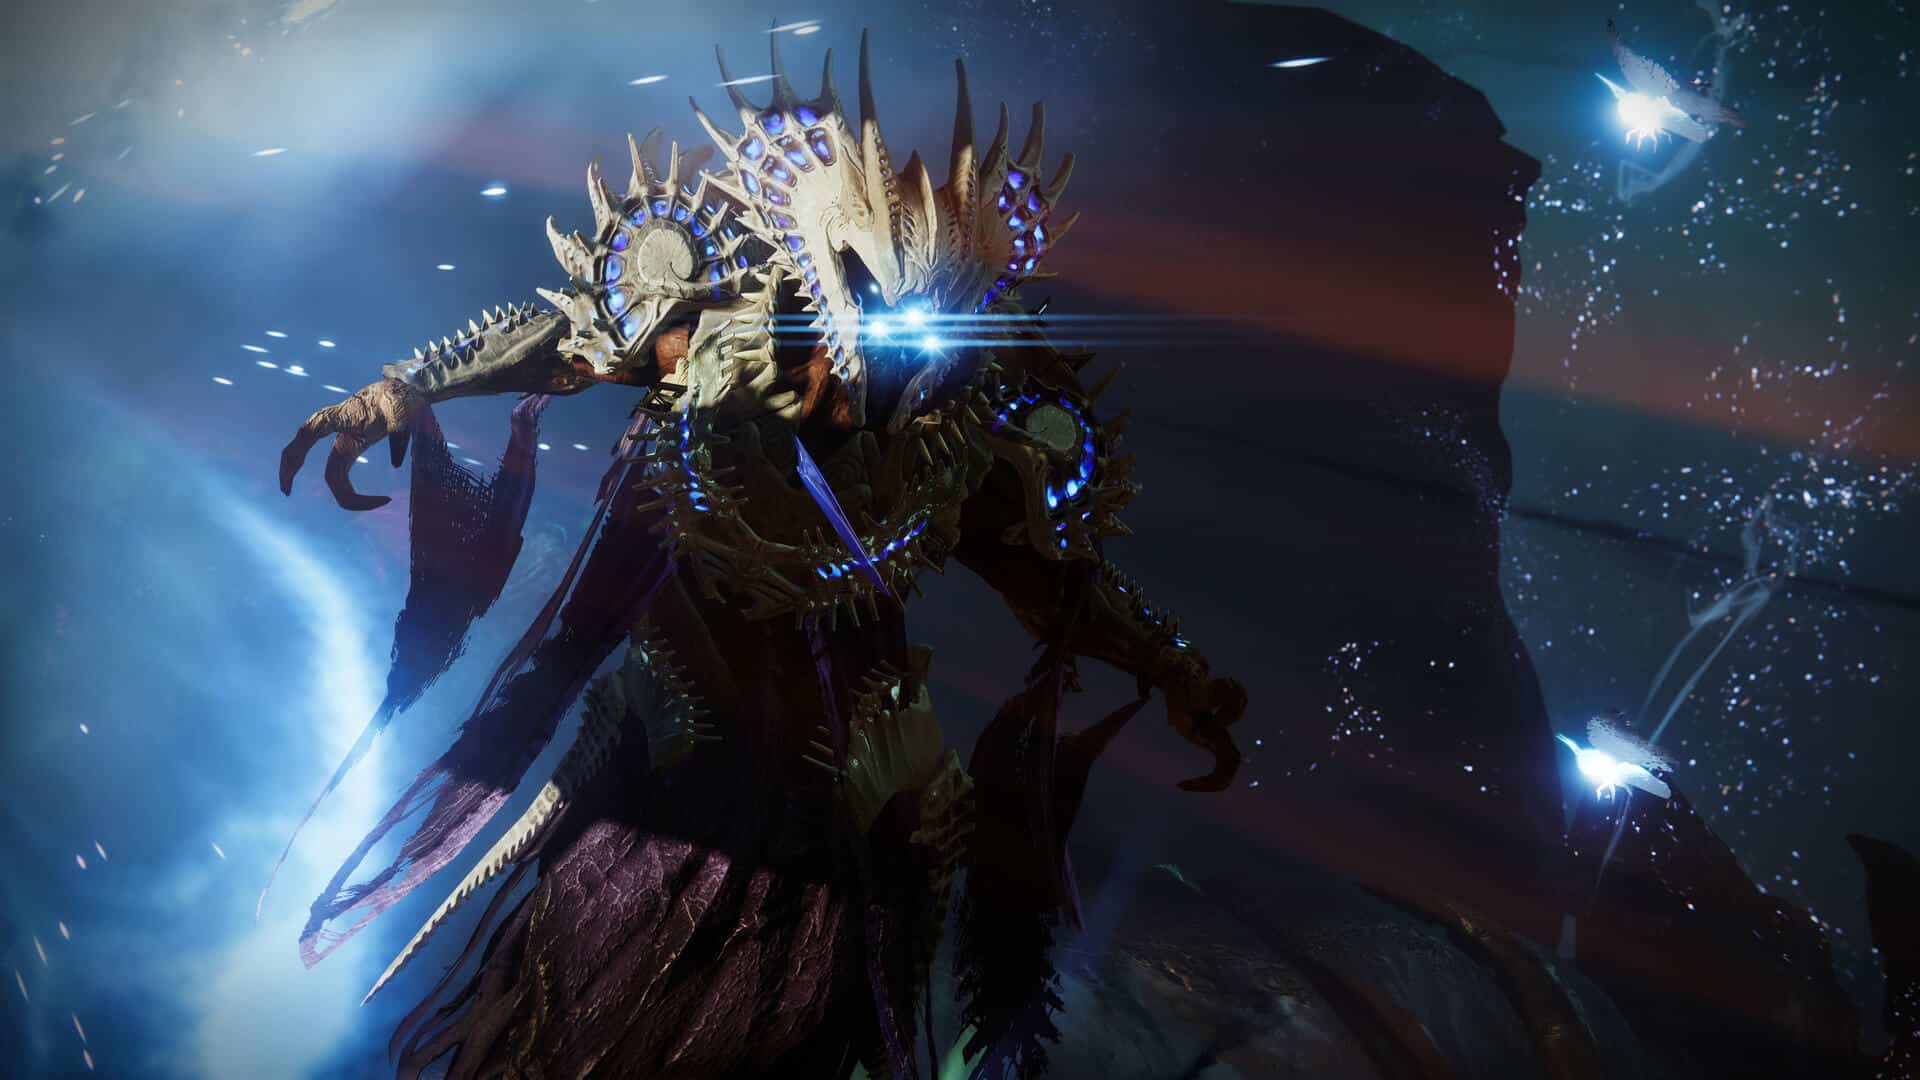
To begin the encounter, crush the Hive Ghost, as it will Simmumah. Shortly after she initiates the attack, a Deepsight orb will materialize in the arena. Engage with this orb to disclose a triangular shape hovering above Oryx, pinpointing specific body parts. Approaching these areas bestows the “Ritual Conductor” buff. Your mission is to vanquish Vorlog at each illuminated ritual location.
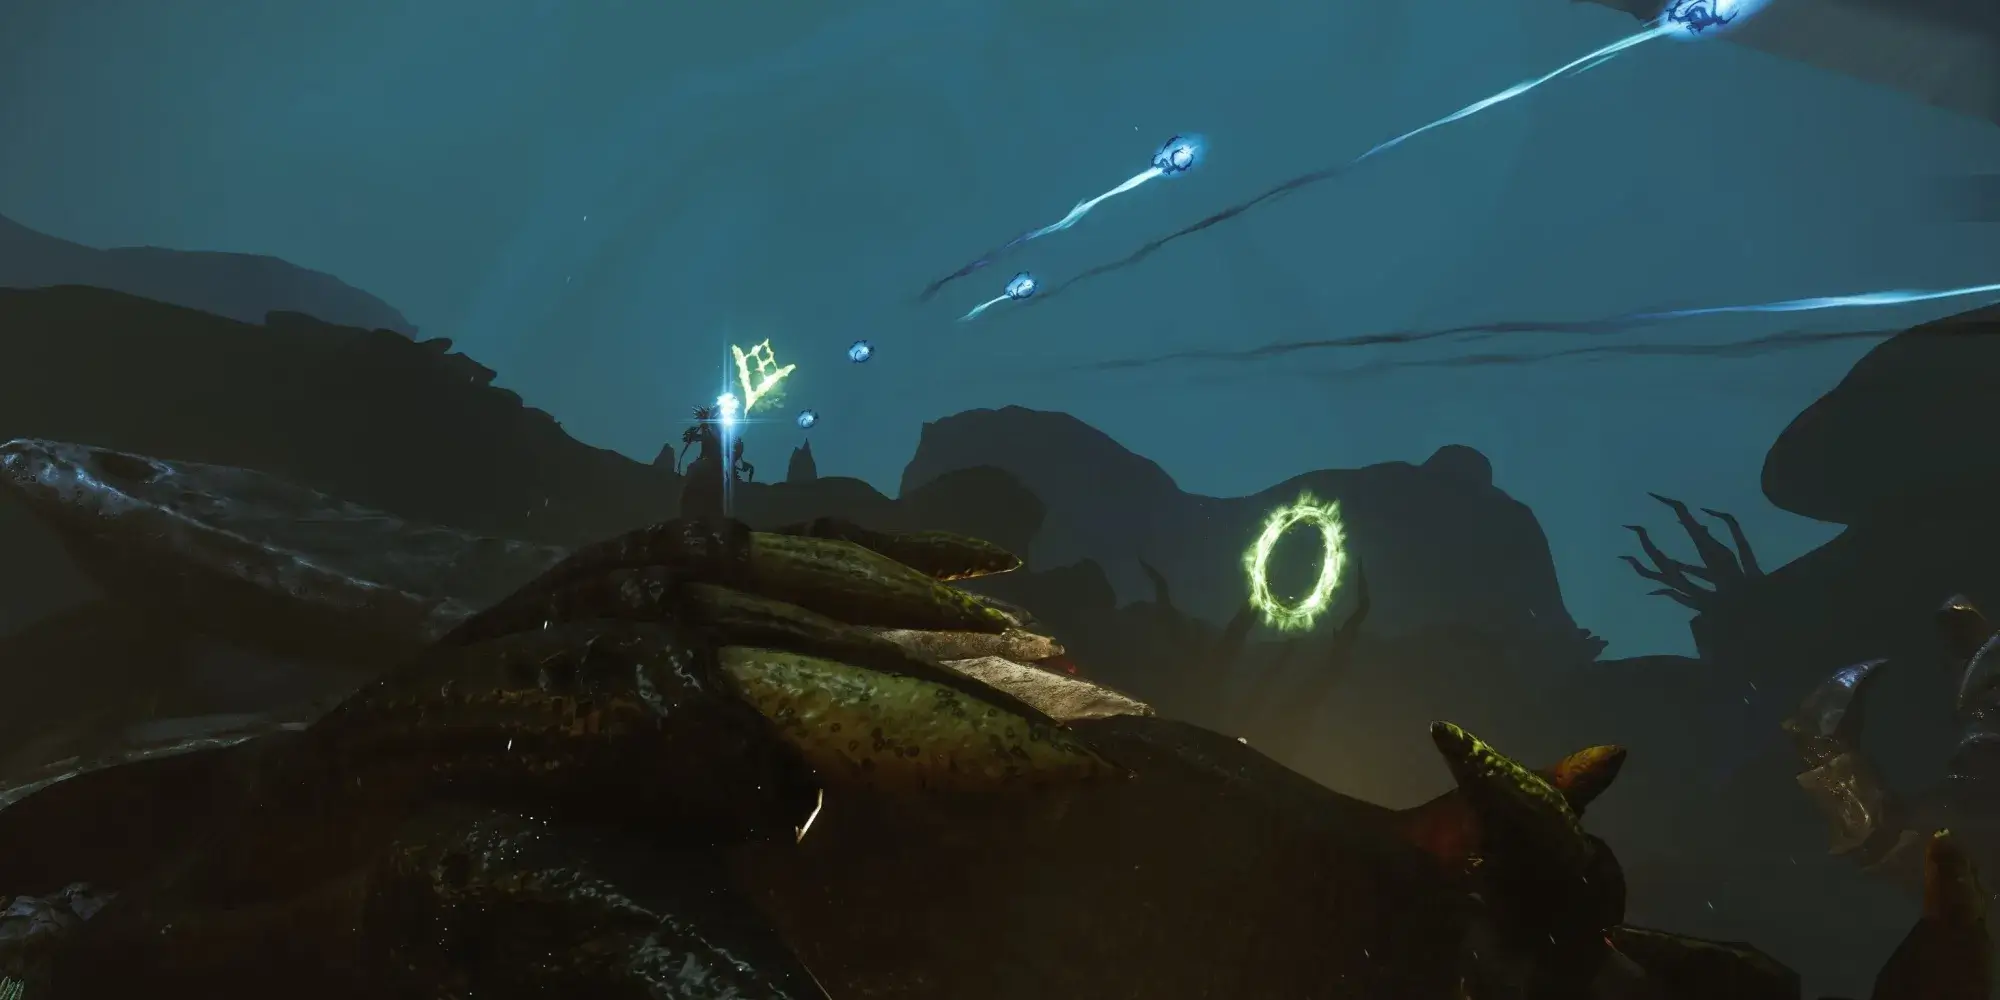
Success yields a notification, “Vorlog is slain at the [body part] or Oryx, luring Simmumah to his doom!” Two green emblems – a circle and a Taken symbol – emerge next to the activated ritual site. Line up these icons by observing from a particular location, akin to the Savathun symbols in the Witch Queen campaign. Identify a place in the arena where the circle fully encases the Taken symbol. Achieving this triggers a prominent Hive symbol above the body part. Repeat this procedure twice, revealing three symbols in total.
With that out of the way, use Vestiges of Light to free Oryx’s body of Simmumah’s dark magic. There will be water barriers, each leading to a place where you’ll find a Lightbearer (Wizard, Acolyte, or Knight) and one of the Hive symbols you saw. You need to remember it, as it’ll disappear upon the death of the enemy.
Defeat all foes in the room, including the Lightbearer’s Ghost, to obtain the Vestige of the Lightbearer you just killed. Return to the main area to activate Deepsight. Below each shrine icon, you’ll notice some dunking orbs. Place the Vestige in the shrine with the corresponding symbol in the Lightbearer room. Repeat all steps until all three shrines are charged, and it will start the DPS phase.
The three shrines will release energy fields that will enhance your weapons, allowing you to deal damage to the boss’ immunity shield. Once it’s broken, you can change your position, though it’s better to fight the Simmumah by staying in the same location and placing a Well of Radiance near you.
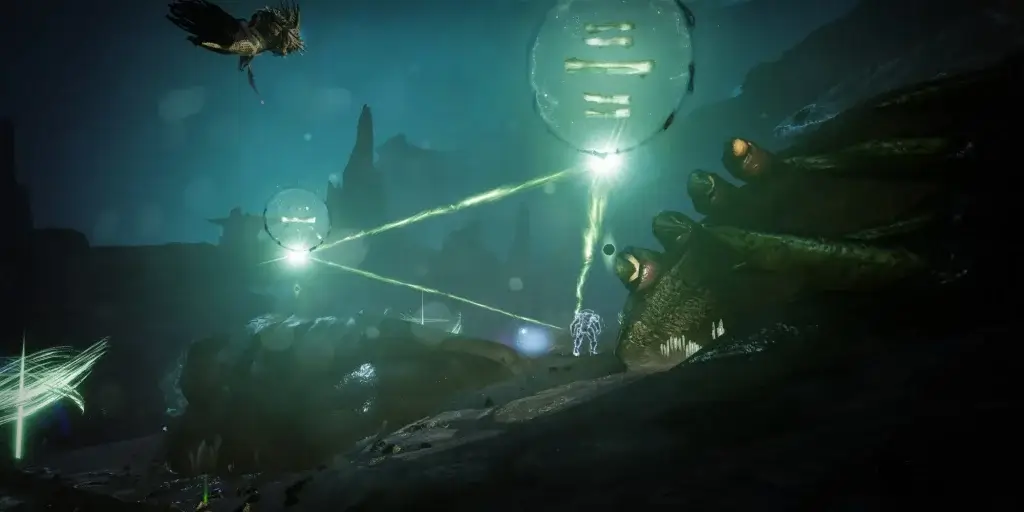
After a while, the boss will move away from your team and remain stationary, so you can use Linear Fusion Rifles, heavy weapons, and your Super to damage them until Simmumah is dead. Once the boss is defeated, the dungeon will end, and you can freely enjoy your rewards, including the New Pacific Epitaph Grenade Launcher, Greasy Luck Glaive, No Survivors Submachine Gun, and armor pieces of the Taken King.
Conquer Ghosts of the Deep without Breaking a Sweat
As you can see, the new activity is quite complex and challenging, and it might take you a few attempts to finish it right. And don’t even get us started on how many times you need to complete it to acquire all weapons and armor pieces!
If you’d rather run a dungeon with your friends to have fun and a little bit of challenge without the need to go through any grind, LFCarry is here to help. Our PRO players will be more than happy to assist you in achieving your goals or acquiring anything you want from the dungeon while you relax and enjoy other aspects of the game.
So, if you want to save time and have only the best gaming experience, go to LFCarry.com today and let us handle all the hard work for you!
Read also:
Polly Gruse is a seasoned gamer with extensive experience in the Call of Duty series, as well as deep expertise in Destiny 2 and World of Warcraft, allowing her to craft detailed guides and insightful analyses that help players refine their skills, master game mechanics, and stay ahead of the competition.